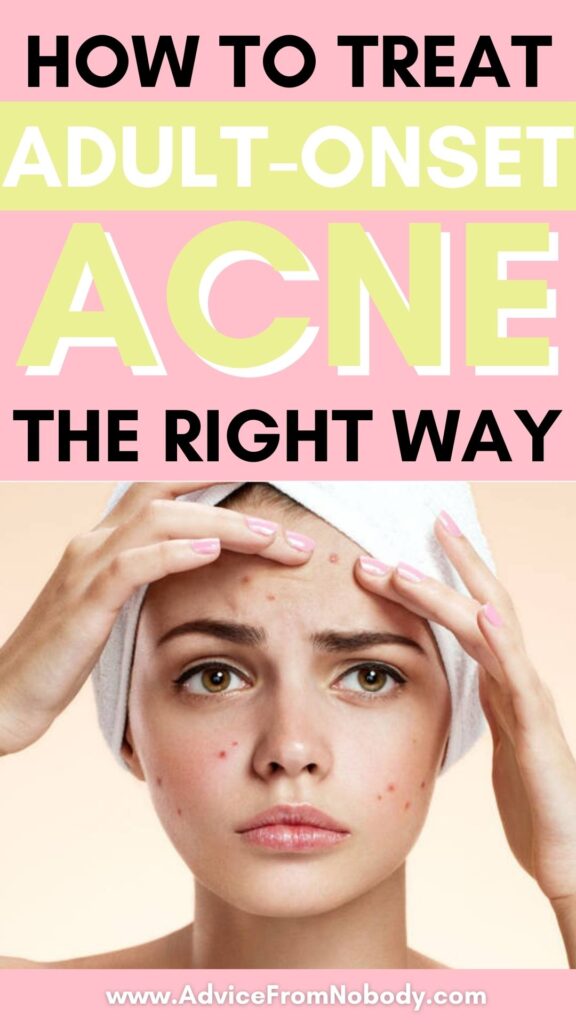
Dark circles, which can range from a light shadow to nearly bruise-like, are one of the most difficult skin care issues to resolve.
However, depending on the cause, a brightening eye cream may be able to help, at least temporarily.
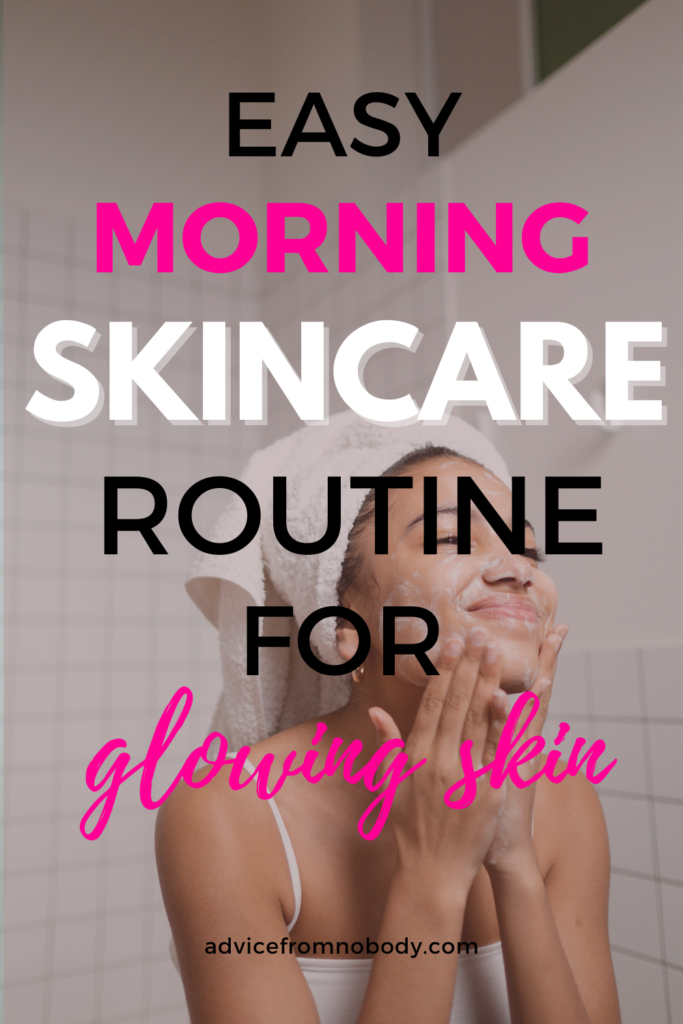
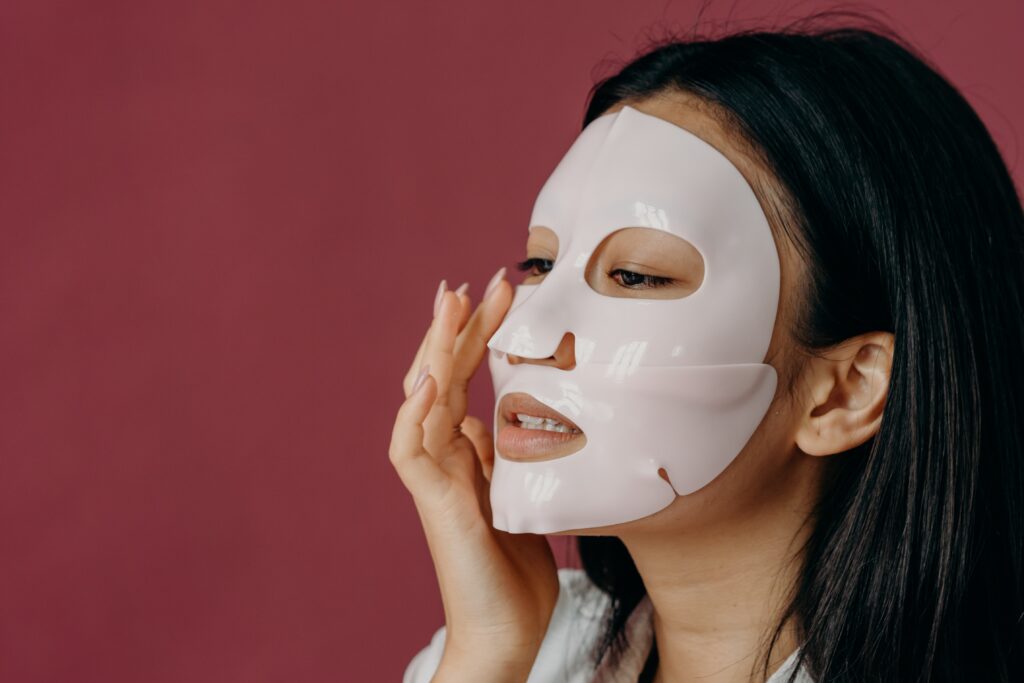
They emphasize on waking and stimulating the eye area with substances like vitamin C and niacinamide, and many offer refreshing effects as well. Continue reading if you desire brighter under eyes in your future.
What Are Eye Creams?
Eye creams are products that are intended to minimize the appearance of skin aging around the eyes. Fine lines, wrinkles, and dark circles are all signs of age.
Eye creams have a thicker texture and more oils than typical facial creams. This is due to the fact that the skin surrounding the eyes is sensitive and delicate, requiring less moisture than the rest of the face.
However, eye creams enter more quickly into the eye area, and if a person uses powerful lotions, their skin may become irritated.
What Causes Dark Circles?
They are merely genetic in certain circumstances.
Others, however, are caused by external and behavioral variables. Lack of sleep, dehydration, excessive alcohol consumption, smoking, and poor nutrition are all potential causes of dark circles, underlying medical issues such as anemia or vitamin deficiencies can also play a role.
They also tend to become more noticeable with age. Over time, the natural aging process causes volume loss, particularly in the area beneath the eye. Because the skin on the eyelids is thinner, it is easier to see the vasculature beneath when there is a loss of volume, making the area appear darker.
Allergies are another cause, as are other skin issues. Other dermatologic conditions, such as contact dermatitis, can cause inflammation in the area, resulting in post-inflammatory hyperpigmentation (PIH).
Some of the things that can cause dark circles beneath the eyes are as follows:
- aging
- excessive sun exposure
- hyperpigmentation
- smoking
- dehydration
- allergies such as hay fever
Related Post: How to Treat Dark Circles, Under-Eye Puffiness, and Lines
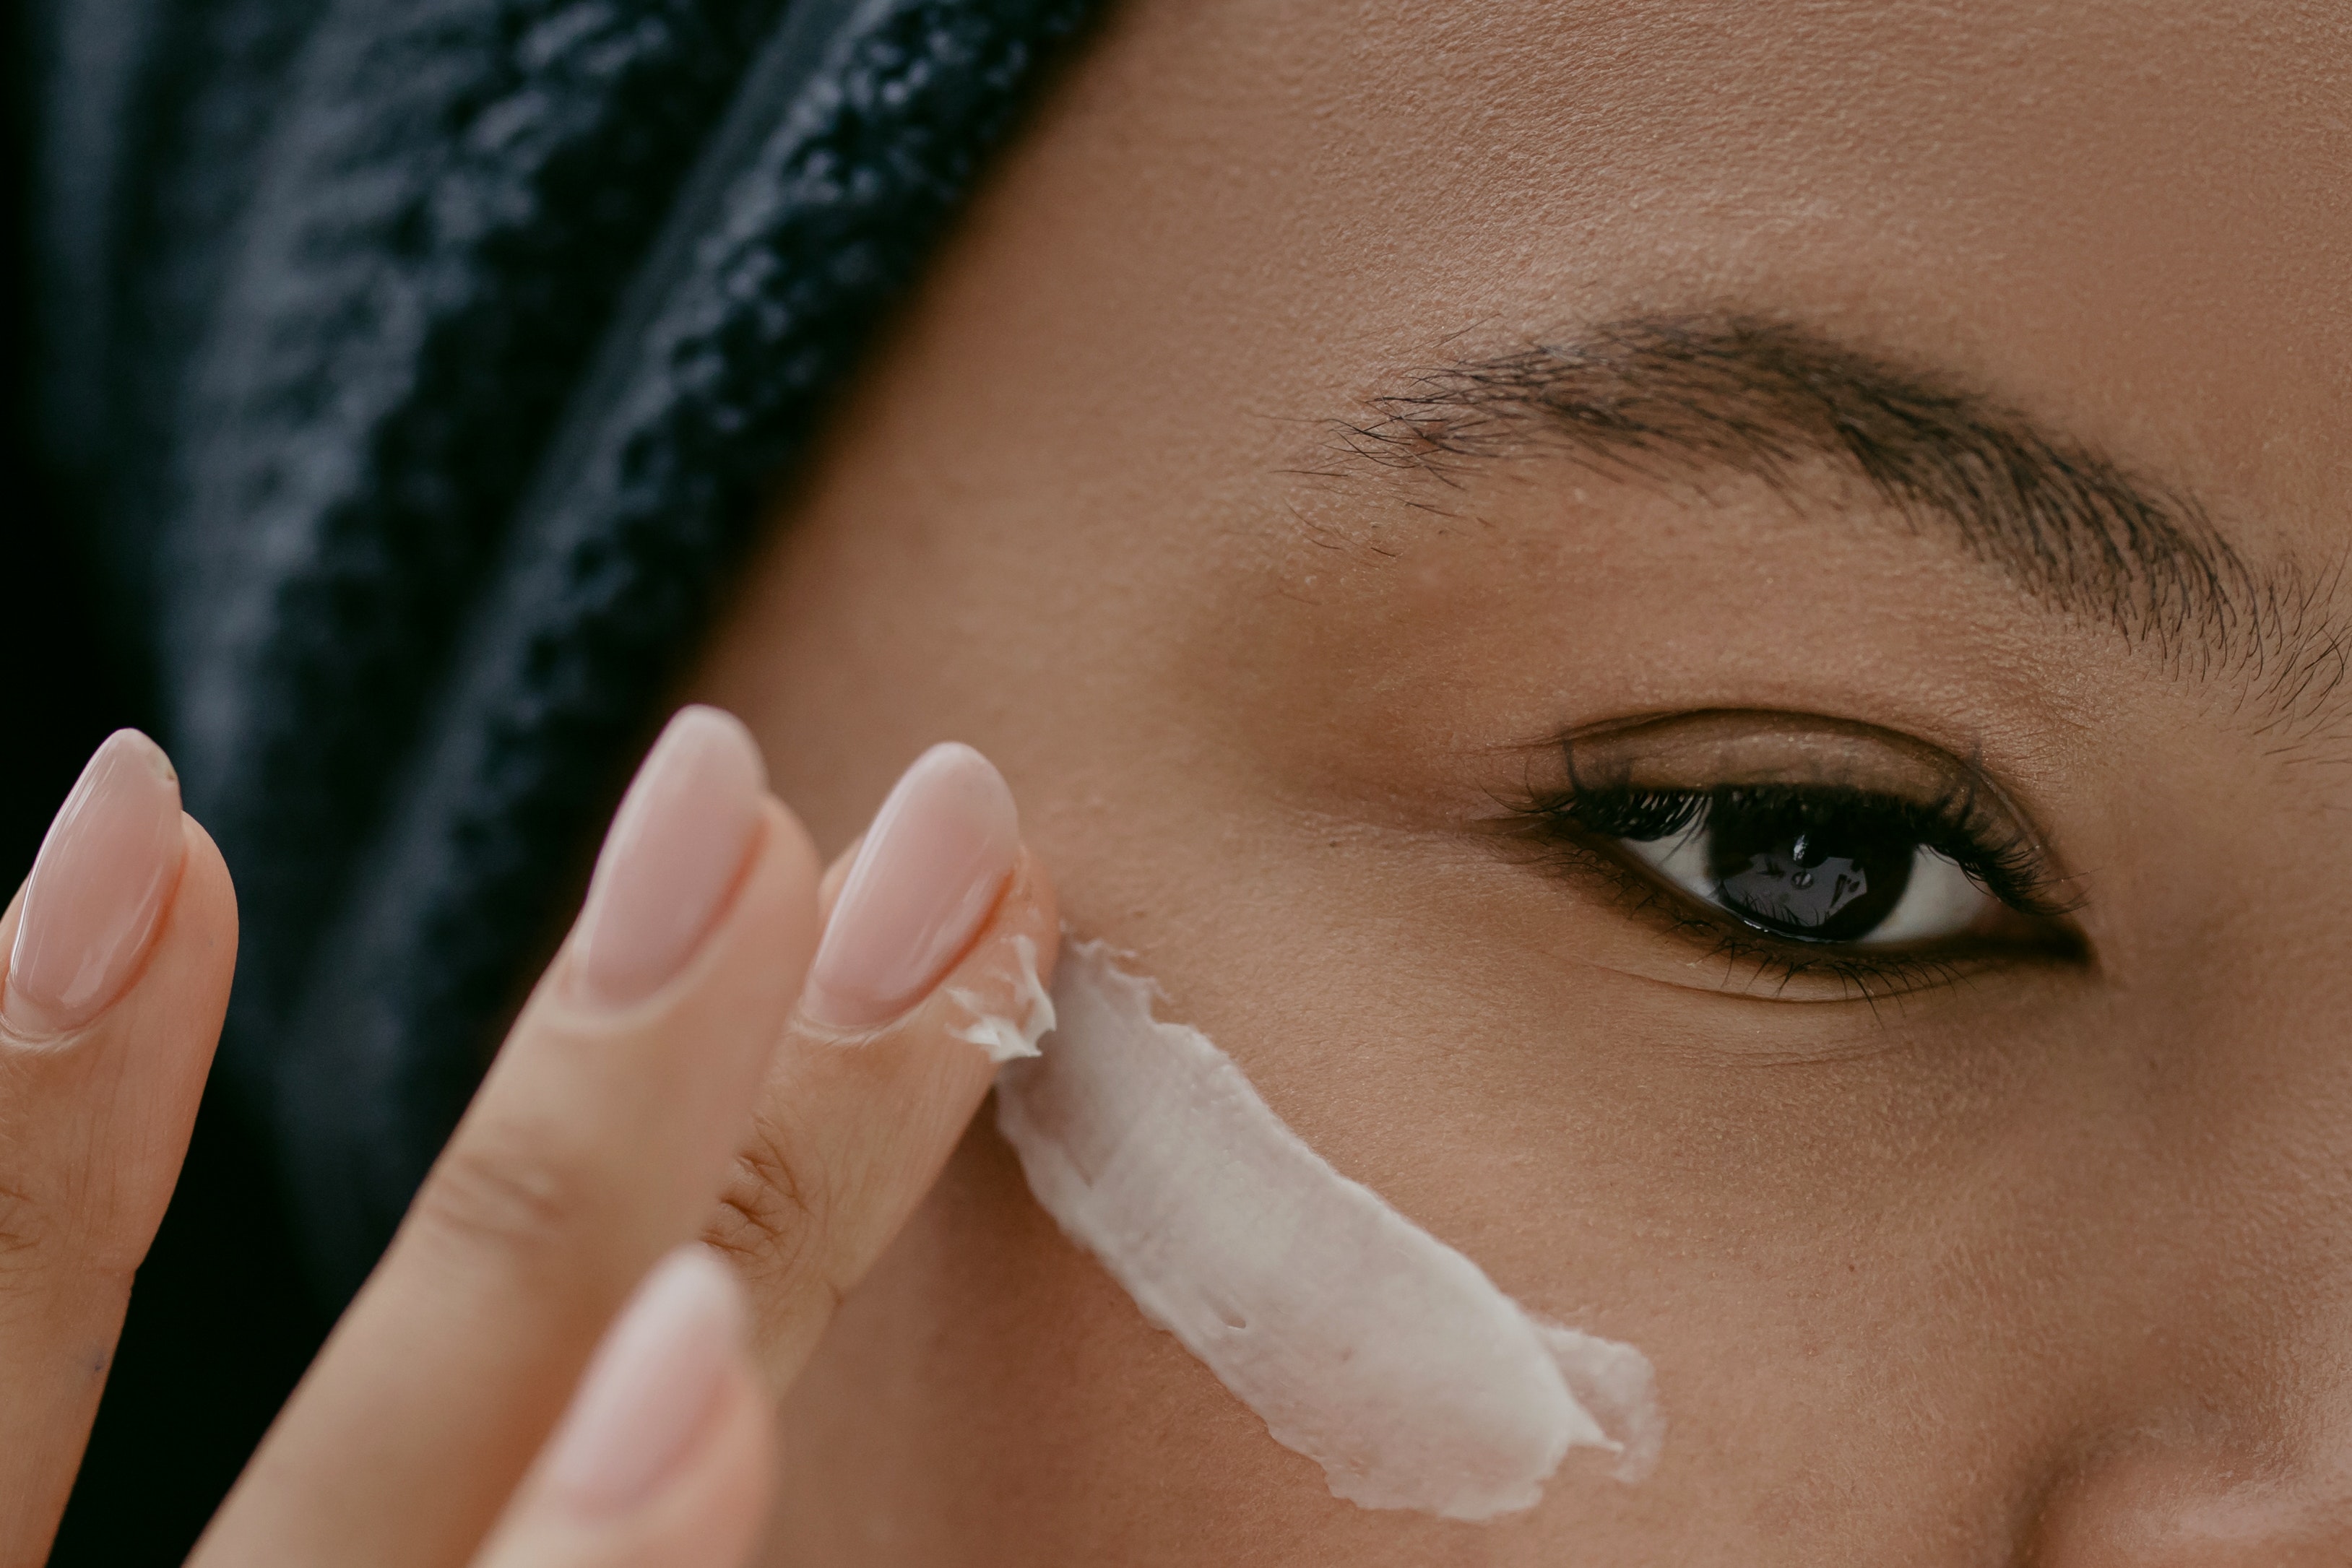
How To Use Eye Creams
Many firms advise customers to use eye cream twice a day, after cleansing and before moisturizing their face.
Some manufacturers give recommendations on how to include the cream into a person’s skincare routine if they use other products, such as toners.
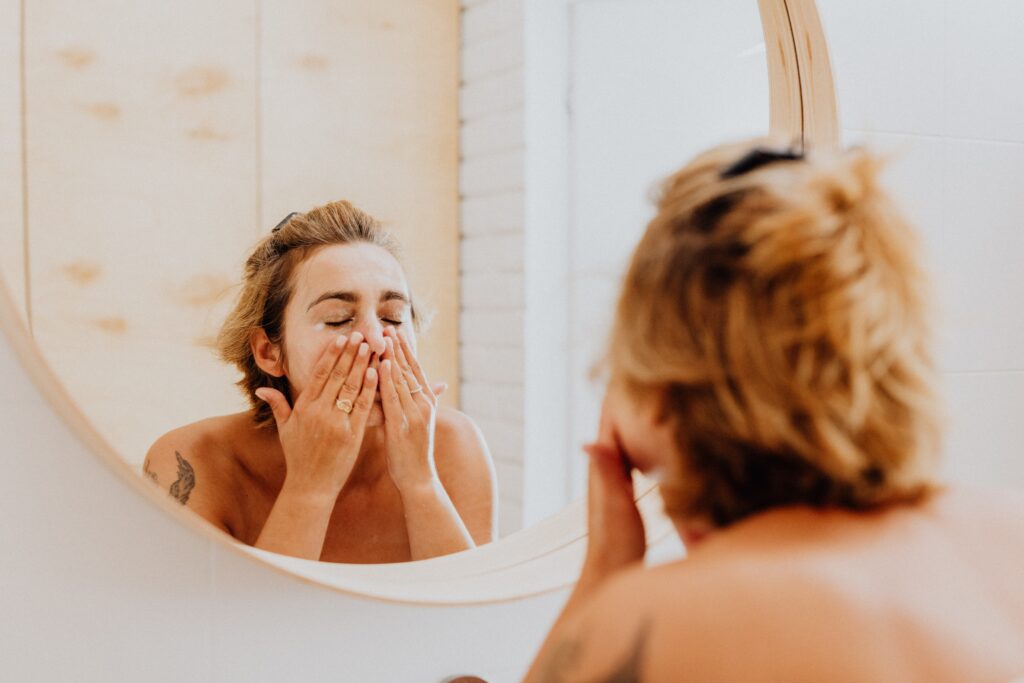
To de-puff and promote circulation, I like to give a light eye massage before bedtime, pinching the tops and bottoms of my eyebrows and below my eyes.
Because rubbing causes discoloration, it is best to apply by tapping lightly or with a metal or ceramic applicator, starting from the center of the face and moving outwards.
Benefits Of Eye Creams For Dark Circles
The skin around your eyes is incredibly thin and frequently exhibits the earliest noticeable indications of skin aging. Because this skin is so fragile, you should use a cream specifically designed for the under-eye area.
Products for the eyes can target:
- puffiness around the eyes, dark circles
- wrinkles fine lines
- hyperpigmentation
Treating the delicate eye contour area is all about prevention, so the earlier you start using an eye contour product, the better. Remember though that aging skin isn’t the main cause of dark circles.
The effectiveness of eye creams may vary depending on the underlying cause of the dark circles.
Lifestyle changes such as adequate sleep, hydration, and a healthy diet, along with treatment of any underlying medical conditions, may be the first step in the treatment plan for some people.
The eye creams may not produce immediate results, so consistent use may be required to see these longer-term benefits.
There are several formulae or compounds available to address pigmentation, overall puffiness, and the aging process. Brightening creams with ingredients like vitamin C, kojic acid, and niacinamide may be helpful.
If the dark circles are caused by underlying swelling or puffiness, consider caffeine or vitamin K creams instead. Retinol can help boost collagen production in those who are experiencing more age-related changes.
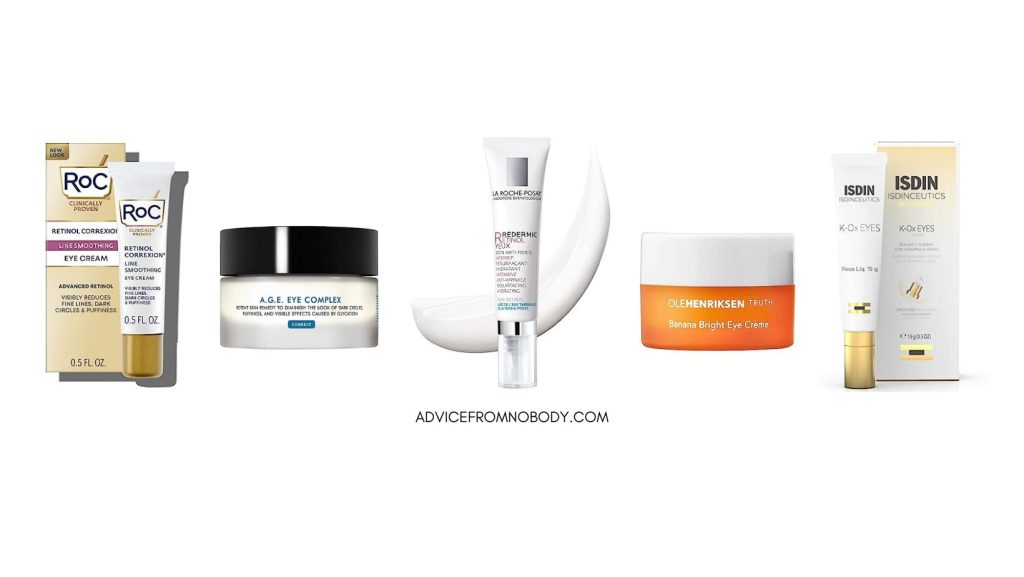
Top 5 Best Eye Creams To Revive And Refresh Your Under Eyes
Whether you have fine lines and wrinkles, dark circles, or puffiness around your eyes, these eye creams will be your savior throughout your twenties and beyond.
Once you’ve incorporated this core product into your daily skincare routine, your eyes will look younger, fresher, and more alive in no time.
1
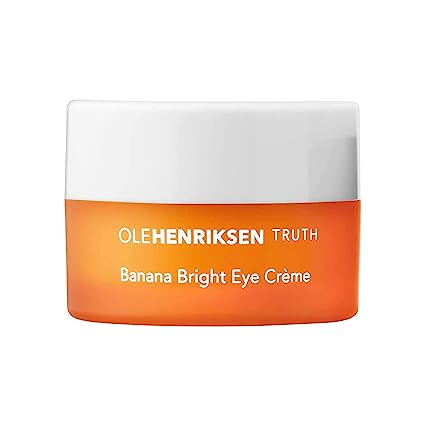
Ole Henriksen Banana Bright Eye Cream
The Banana Bright Eye Crème is another fantastic anti-aging eye cream that is designed with banana powder pigments (which are recognized for their brightening abilities), vitamin C, aloe juice, and green tea extracts.
This lightweight little tub of magic will gradually minimize dark circles, fill in fine lines and wrinkles, and firm and hydrate your under-eyes, while instantly rejuvenating and awakening your tired eyes, giving your under-eyes a glow every day.

2
RoC Retinol Correxion Under Eye Cream for Dark Circles & Puffiness
Consider this RoC eye cream filled with retinol—one of my top selections since it contains retinol intended for the thin skin of the under-eye, which helps promote collagen synthesis.
It’s a fantastic drugstore solution that contains retinol, hyaluronic acid, and glycerin to aid with dark circles, fine lines, and wrinkles. All for the reasonable price of $15.
However, because retinol can be irritating and increases the risk of sunburn, it may not be suited for persons with more sensitive skin.
3
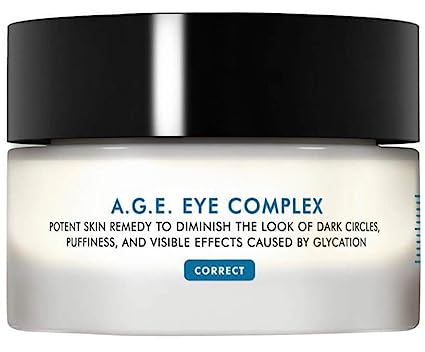
SkinCeuticals A.G.E. Eye Complex
SkinCeuticals A.G.E. Eye Complex For Dark Circles is an excellent choice, particularly for mature skin.
This is ideal for anyone suffering from severe dryness and lack of elasticity, which is common in mature skin—it’s an intensely moisturizing cream with exfoliating blueberry extract. It instantly helps the eyes look more radiant and, with constant usage, gives more youthful-looking skin in the long run.
This eye cream contains a mix of flavonoids and synergistic peptides that help minimize the look of dark circles and under-eye bags.
Other elements in the cream, according to SkinCeuticals, inhibit the formation of wrinkles and replenish water and nutrients to the area.
The product contains no alcohol or dyes.
4
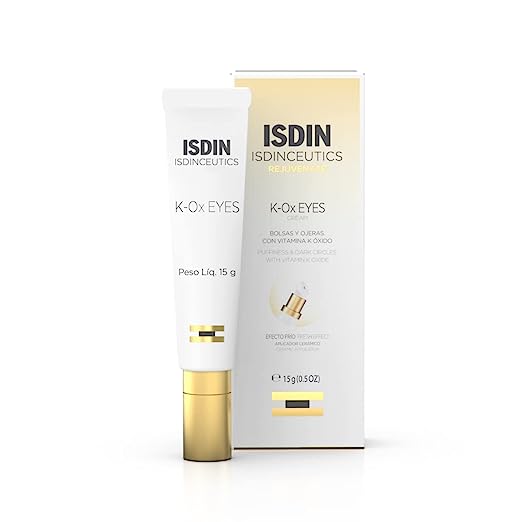
ISDIN K-Ox Under-Eye Brightening Cream
The ceramic applicator on this option may be the first appeal, but what’s inside is equally impressive.
It contains hyaluronic acid and vitamin K, which assist to reduce dark circles and puffiness, and the ceramic application can provide a cooling effect, which may aid with swelling.
The large blood vessels and hemosiderin deposits that give the area a purple color are visible through the thin skin of the eyelids. It contains vitamin K, which treats the darkness, haloxyl, which improves firmness and tone, and hyaluronic acid, which improves moisture while moisturizing.
5
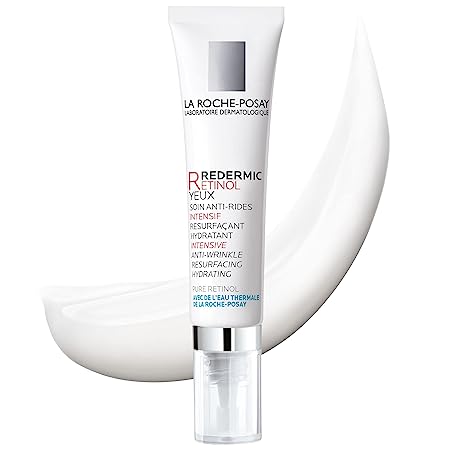
La Roche-Posay Redermic R Eyes Retinol Eye Cream
The La Roche-Posay Pigmentclar is an all-around solid eye cream that is powered by niacinamide, caffeine, and the brand’s thermal spring water. Even better, it has a cooling metal applicator that helps to relax and decongest the under-eye area after each application.
Which Cream Is Best To Remove Dark Circles Under Eyes?
Because these treatments moisturize and firm the skin, any cream that is appropriate for use around the eyes may enhance the look of dark circles.
People should always examine the ingredient list before purchasing a product to ensure it does not include an ingredient to which they are allergic.
Ingredients To Look For In Eye Creams
Eye creams are available in a variety of formulae and consistency, with a variety of components meant to meet a number of skin care aims.
“The key to choosing the right product for under the eyes is understanding what is causing those dark under-eye circles in the first place,” Ilyas says.
The optimal product for you may be determined by the underlying cause of your eye problems. Consider the following crucial ingredients:
Hyaluronic Acid
This naturally produced glycosaminoglycan is found in connective tissue throughout your body. It assists your skin in retaining water and remaining hydrated.
To keep the skin under your eyes maintained and hydrated, we recommend creams containing hyaluronic acid, as well as peptides and ceramides.
Caffeine
Caffeine can do more than just get you through a workday slump. It may also be beneficial to your eyes.
Caffeine is a well-known and well-liked chemical that is frequently found in under-eye treatments because it works to constrict the blood vessels beneath the eyes.
This chemical can also aid to brighten the under-eye area, making weary eyes appear more awake.
Vitamin C
Dark circles are often accompanied by dull skin around the eyes, but using an eye lotion high in vitamin C may help brighten up your under-eye area.
Vitamin C is a potent antioxidant that can brighten the under-eye area, fortify thinning skin, and increase collagen formation – a protein that keeps your skin smooth and elastic.
When it comes to brightening, vitamin C is a go-to.
In certain conditions, it can help reduce the appearance of dark circles when combined with other antioxidants. There isn’t much you can do to help if the discoloration is inherited or caused by bone structure.
Retinoid
The skin around your eyes may thin with age and eventually take on a crepe-like look. Fine lines, sometimes known as crow’s feet, can form over time.
If thinning skin is the problem, look for an eye cream that contains a light retinoid that can help thicken the skin over time.
By assisting with skin cell turnover, retinoids help reduce the body’s natural decrease in collagen production.
However, remember retinoids are extremely potent, so proceed with caution — and use a product designed specifically for the under-eye area. When it comes to applying retinoid cream, a little goes a long way.
Peptides
Increase collagen production to plump the skin and maybe minimize dark circles.