There’s just something about cowboy boots that instantly makes any outfit feel cooler. Whether you’re heading to a country concert, grabbing brunch with friends, or just want to add a little “main character energy” to your everyday look, these boots always deliver. They’ve gone from western wear to full-on fashion statement — and honestly, we’re so here for it.
The best part? Cowboy boots are way more versatile than people give them credit for. You can rock them with denim shorts, flowy skirts, mini dresses, or even oversized sweaters and still look totally put-together. It’s that perfect blend of edgy and feminine, casual and chic — basically, they’re the ultimate “do it all” shoe.
And since styling them can be half the fun, I’ve rounded up some seriously cute cowboy boots outfit ideas that’ll have you strutting into any season with confidence. From cozy fall vibes to effortlessly cool summer looks, these combos prove that you don’t have to live on a ranch to pull off western fashion. So grab your boots, throw on your favorite playlist, and get ready to kick up your style game — because these cowboy boot outfits are about to turn every sidewalk into your runway.
You Might Also Like:
- Baggy Jeans Outfit Ideas That Are Effortlessly Cool
- Chunky Loafers Outfit Ideas to Step Up Your Style Game
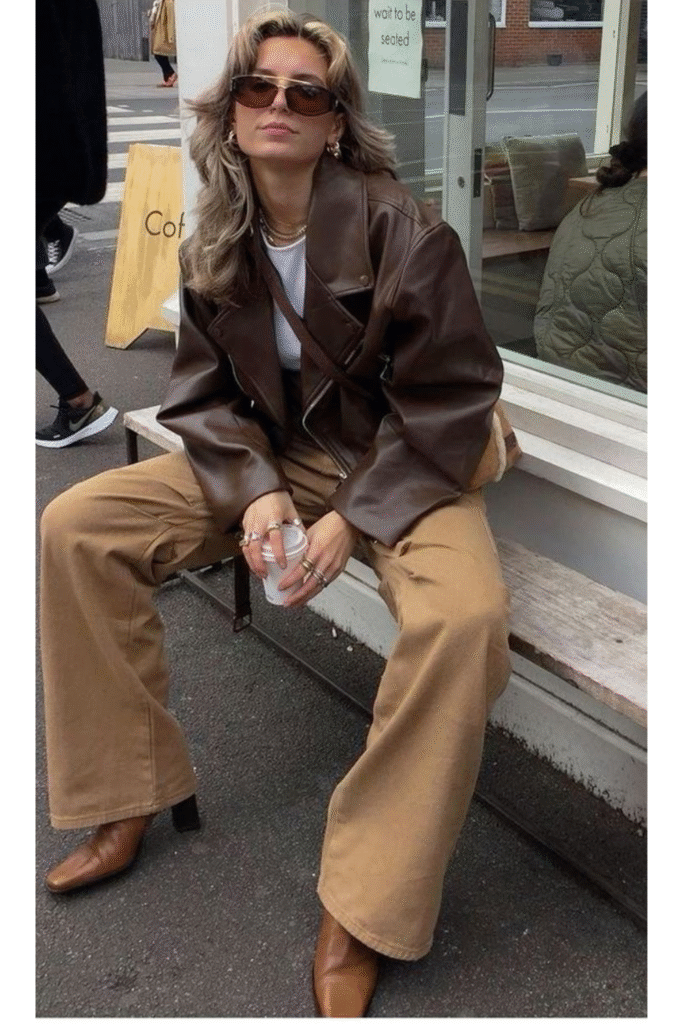
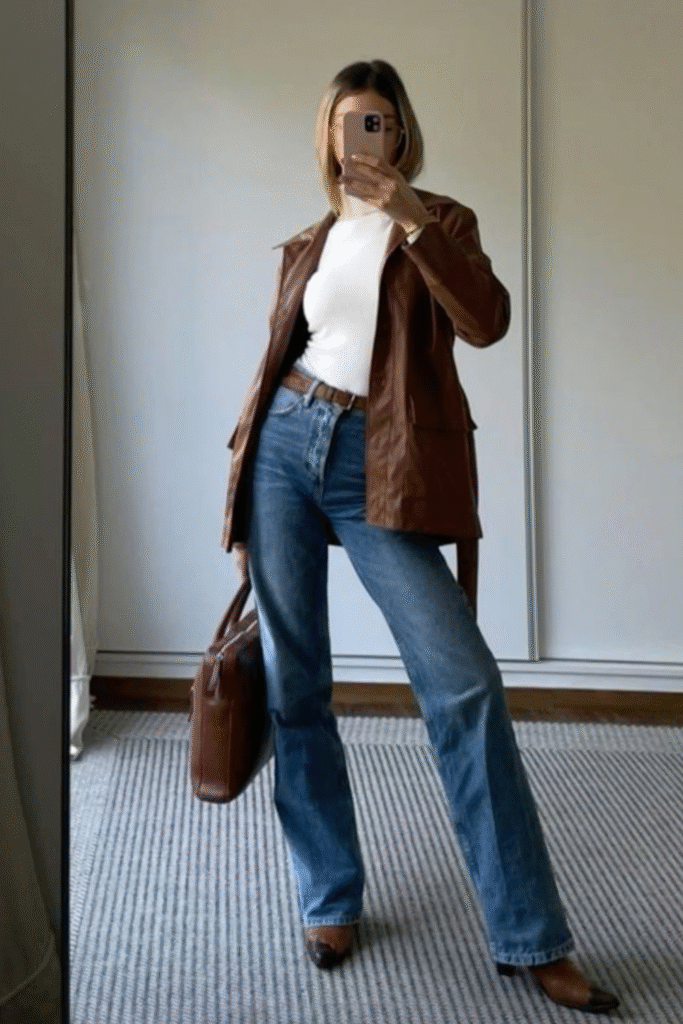
- Brown Leather Jacket Outfit Ideas That Scream Effortlessly Cool
Cowboy Outfit Ideas
1. Vest + Jorts Vibes.

The ultimate “cool girl meets country” combo. A lightweight vest with jorts (aka denim shorts) gives you that effortless off-duty feel while keeping things playful. Finish with cowboy boots to add a little yeehaw energy — perfect for warm fall days or casual outings.
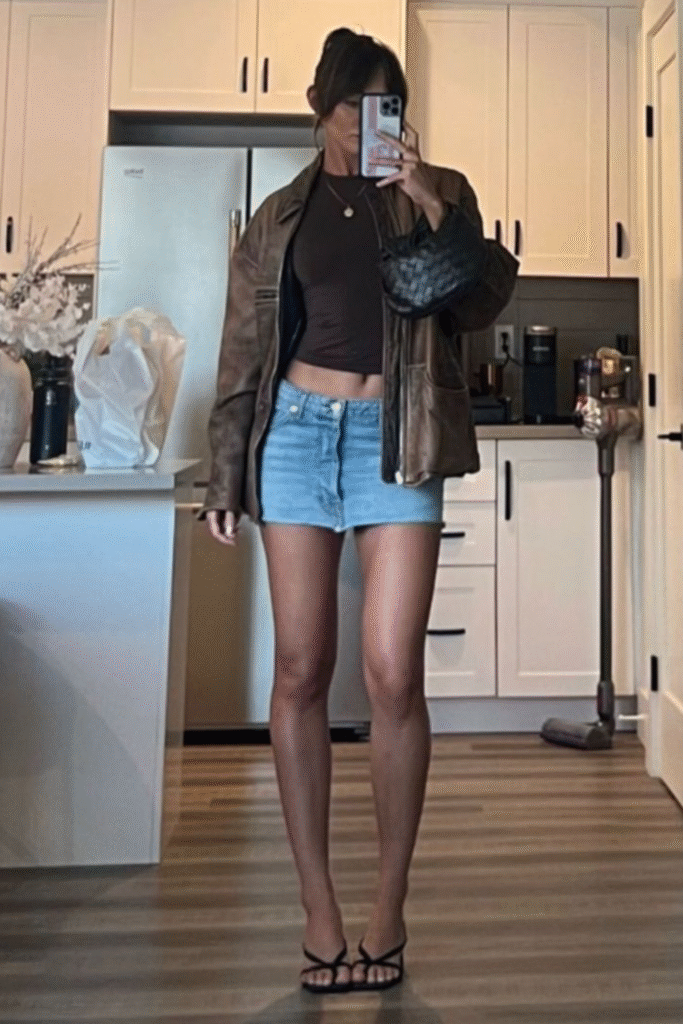
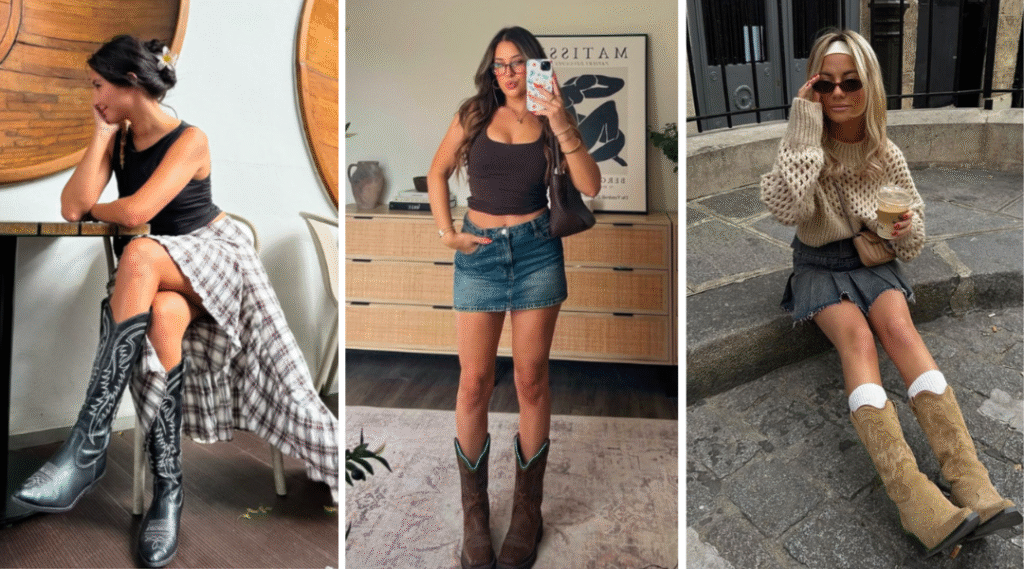
2. Denim Mini + Black Crop Top.
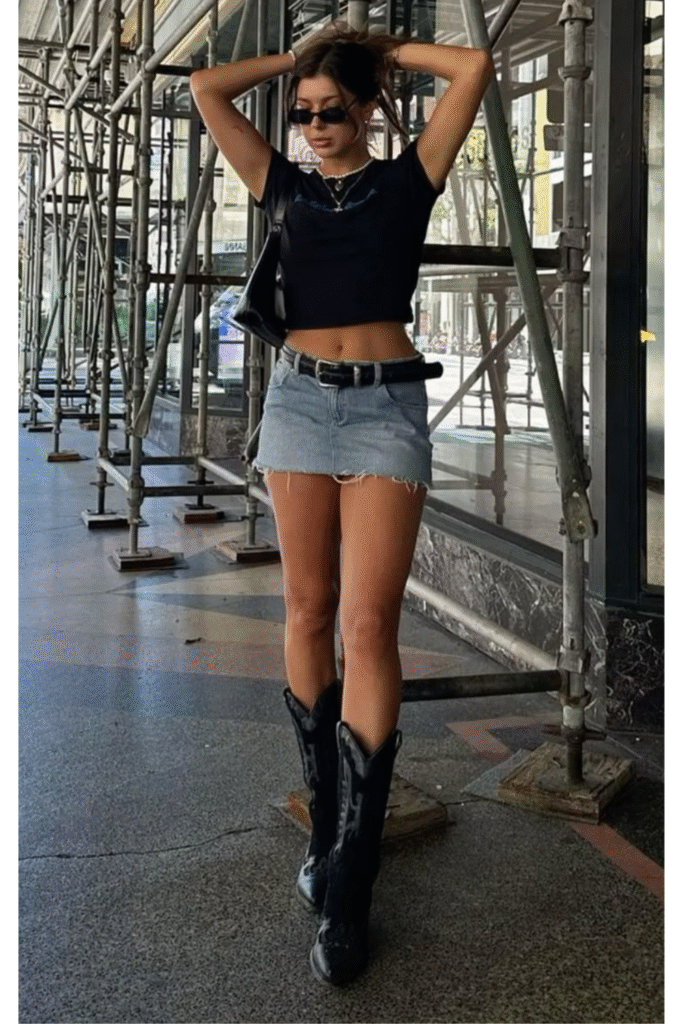
A black crop top and a denim mini skirt? Absolute power duo. Pair them with sleek black cowboy boots for a look that’s part edgy, part flirty — and totally confident. Add layered jewelry for that downtown-meets-ranch aesthetic.
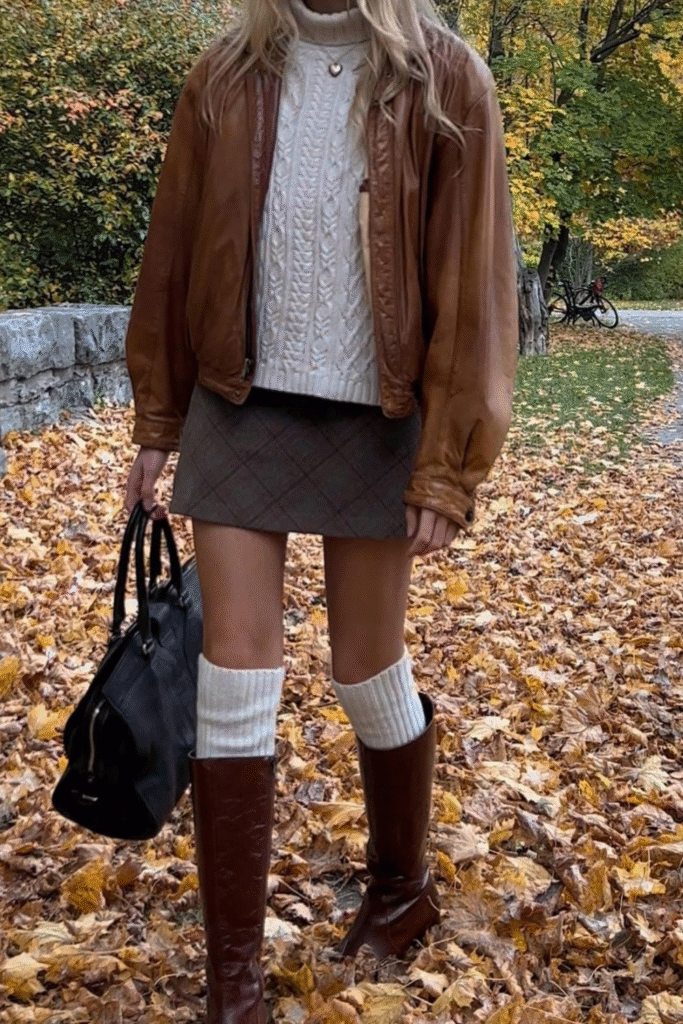
3. Cozy Brown Skirt Set.
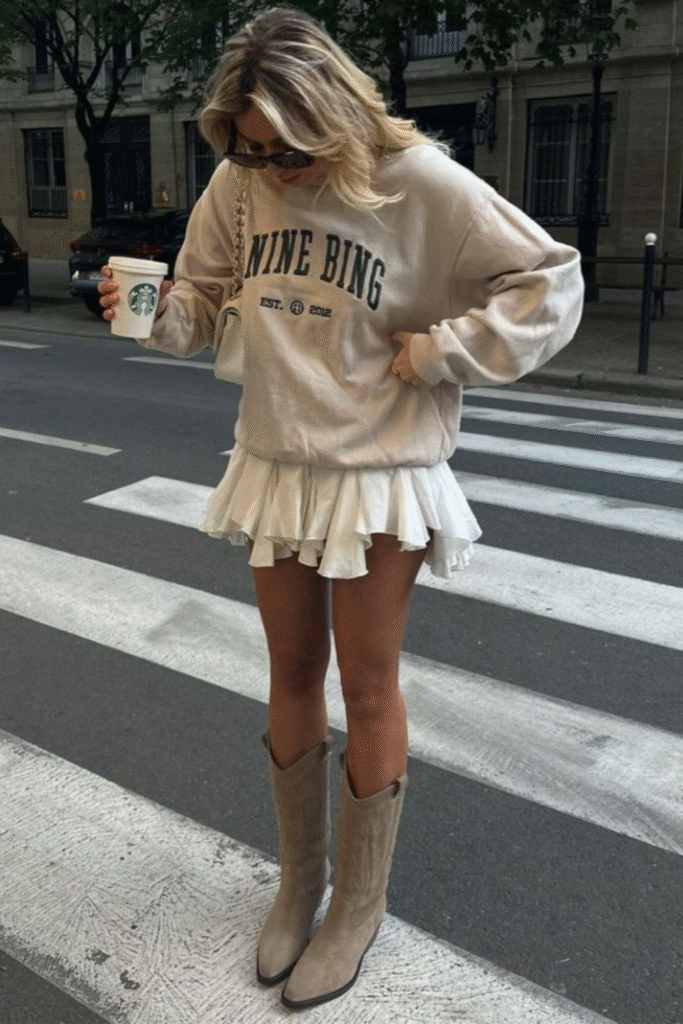
Think cozy, chic, and oh-so-fall. A brown sweatshirt tucked into a matching skirt paired with brown cowboy boots gives major autumn energy. It’s comfy enough for coffee runs but cute enough for a casual date.
4. White Dress + Denim Vest.
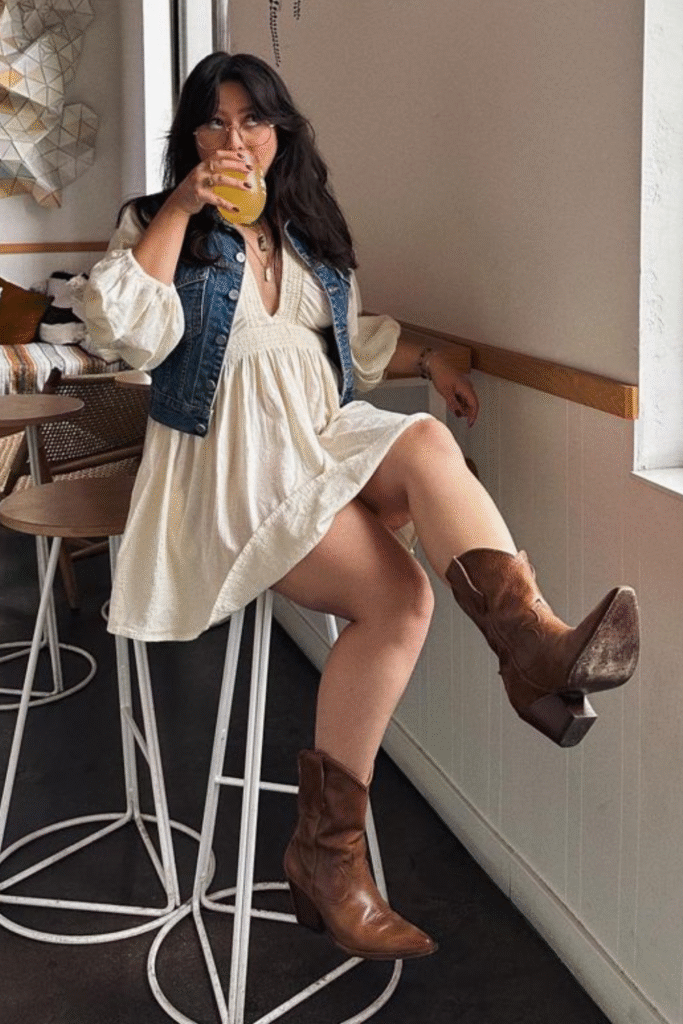
This one screams “country concert ready.” A flirty white dress layered with a denim vest feels fun and fresh, especially when paired with brown cowboy boots. It’s giving effortless charm and a little bit of small-town sparkle.
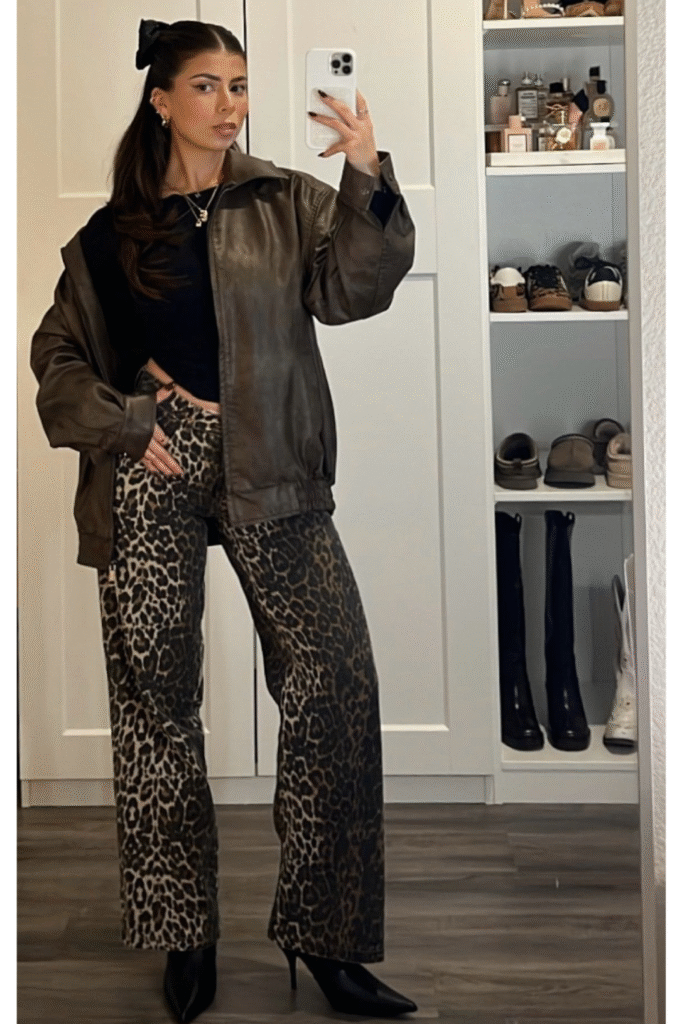
5. Red & Leopard Moment.

When you want to stand out, this combo delivers. A red top with a leopard print skirt and brown cowboy boots creates a bold yet balanced look. It’s fun, fierce, and made for girls who love a little drama in their outfits.
6. Corset Cowgirl.
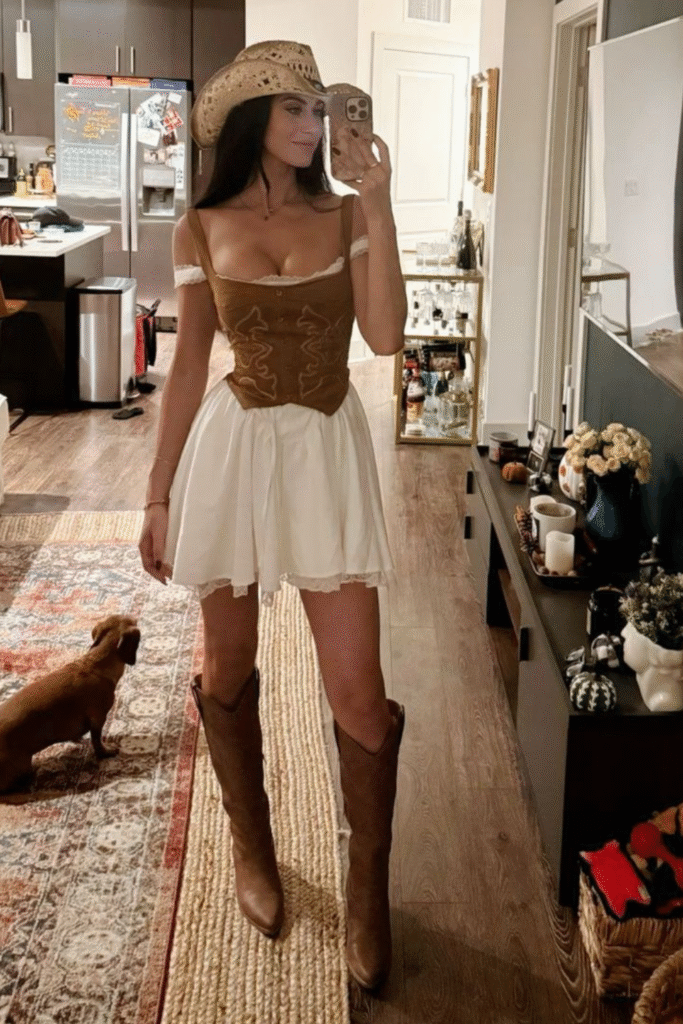
Turn up the western glam with a white dress, a brown corset, and matching boots — bonus points for adding a cowboy hat. This look feels straight out of a modern fairytale with a western twist. Perfect for photoshoots, festivals, or just feeling iconic.
7. Denim Vest + White Skirt.
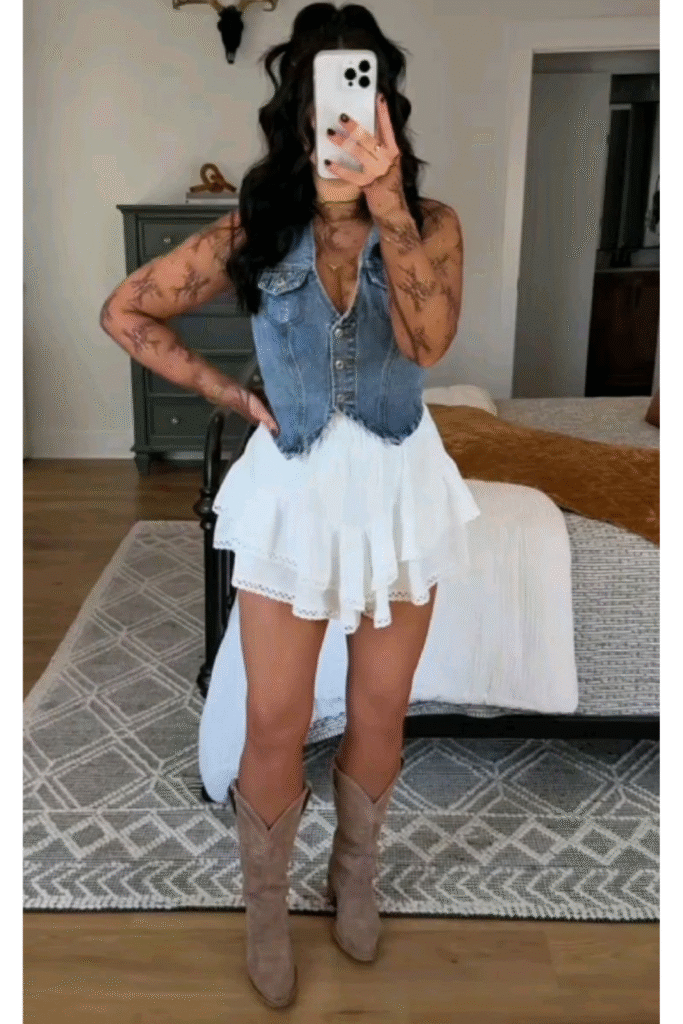
Simple yet so cute. A denim vest paired with a white skirt and brown boots gives easy-breezy country vibes. It’s playful, feminine, and perfect for a sunny afternoon adventure.
8. Denim Mini + White Top.

You can never go wrong with this classic combo. A white top tucked into a denim mini skirt with brown boots (and a matching bag!) makes for an effortlessly polished look. It’s casual but still put-together — basically your new go-to weekend outfit.
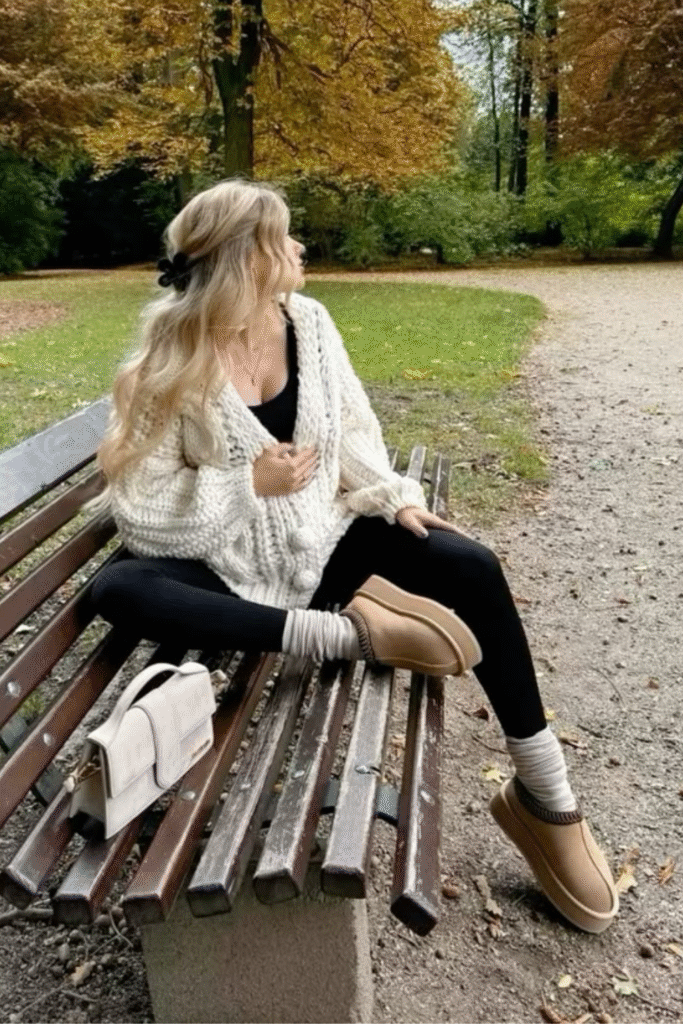
9. Sweater + Denim Skirt Combo.

Cozy meets cool. Pair your favorite chunky sweater with a denim skirt and brown cowboy boots for that laid-back autumn look. Ideal for pumpkin patch days or cozy brunches with friends.
10. Double Denim Dream.
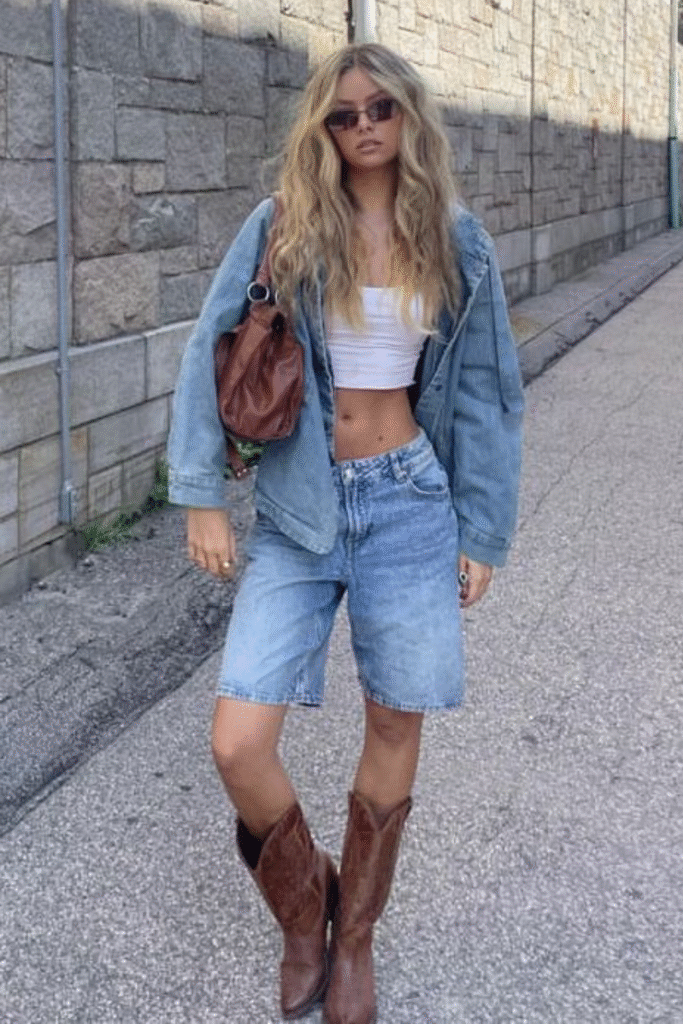
Nothing says confident like rocking denim on denim. Go for long denim shorts, a denim jacket, and a white tee — then pull it all together with brown boots and a matching bag. It’s casual, comfy, and surprisingly chic.
11. Classic White Skirt Look.
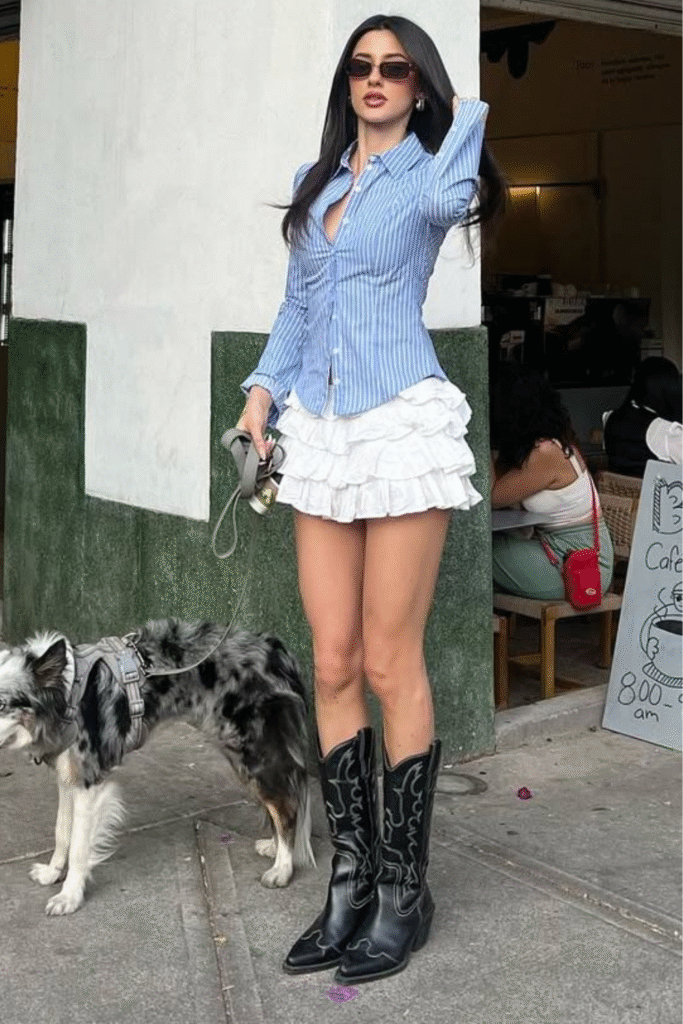
A white skirt with a crisp dress shirt and black cowboy boots gives that effortlessly clean aesthetic. It’s a little preppy, a little western, and totally timeless. Add a belt for some extra flair.
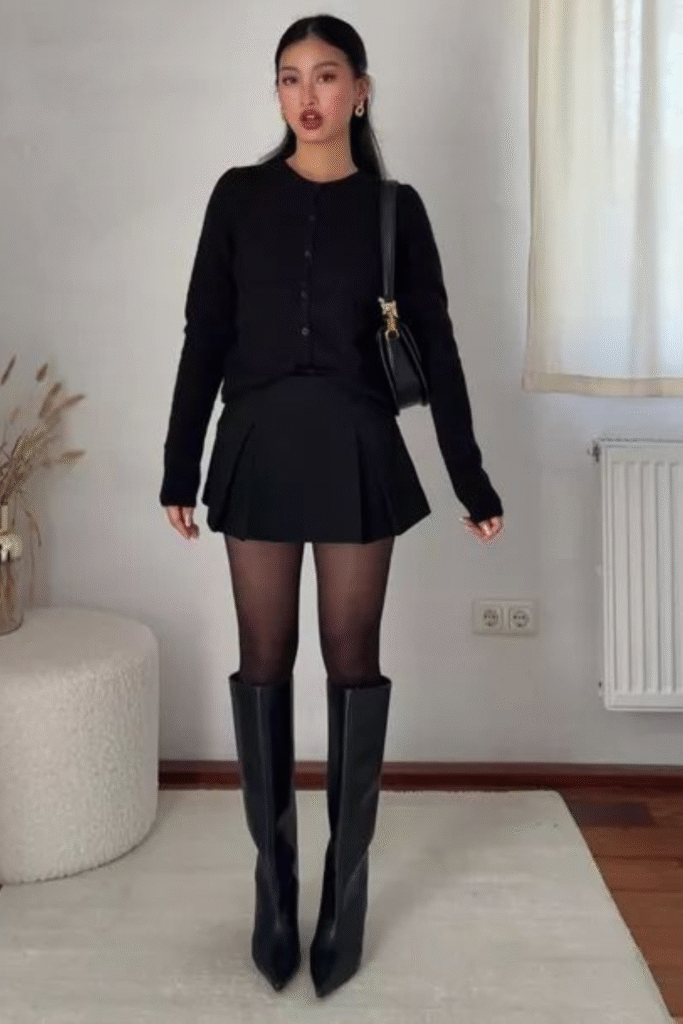
12. All Black Glam.
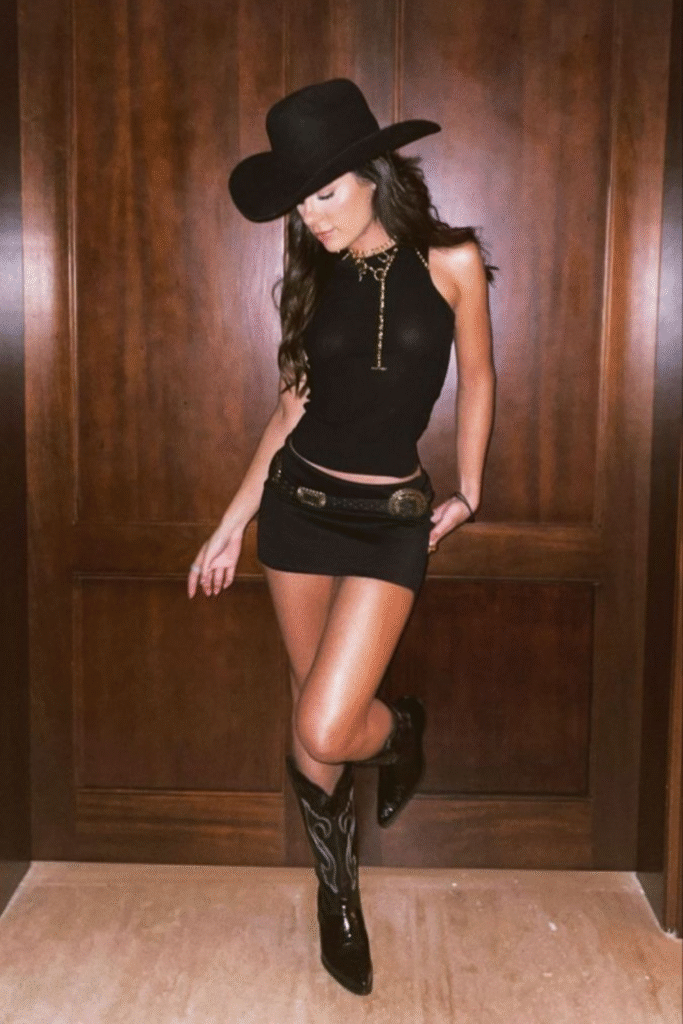
Head-to-toe black is always a power move. Go with a mini skirt, fitted top, black boots, a cowboy hat, and gold accessories to tie it all together. It’s mysterious, sleek, and seriously stunning.
13. Color Pop Cowgirl.
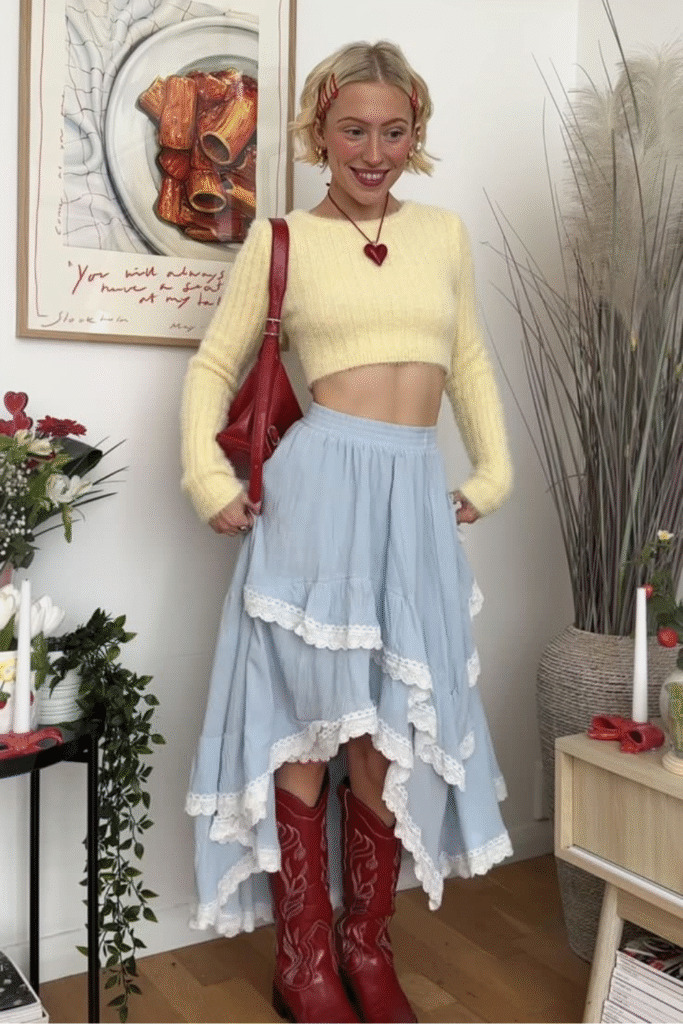
If you love color, this one’s for you. Pair a yellow sweater with a flowy blue skirt, red cowboy boots, and a matching red bag for a fun, vibrant twist on western style. It’s the perfect outfit for days when you want to brighten things up.
14. Belted Black + White.
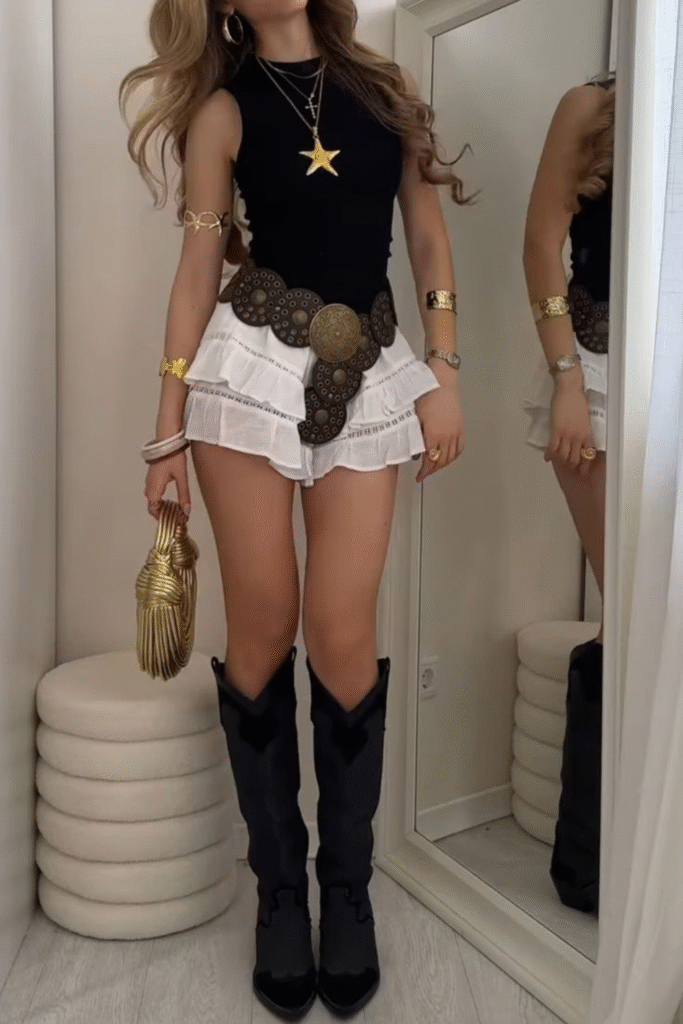
A white mini skirt and black mockneck top paired with black cowboy boots is always a chic move. Add a chunky belt for a statement finish. It’s minimalist yet bold — ideal for casual nights out.
15. Oversized Tee + White Skirt.

A flowy white skirt and oversized white tee combo is the definition of effortless style. Add black cowboy boots for a little edge and instant balance. It’s giving “I didn’t try, but still look amazing.”
16. Sporty Cowgirl.
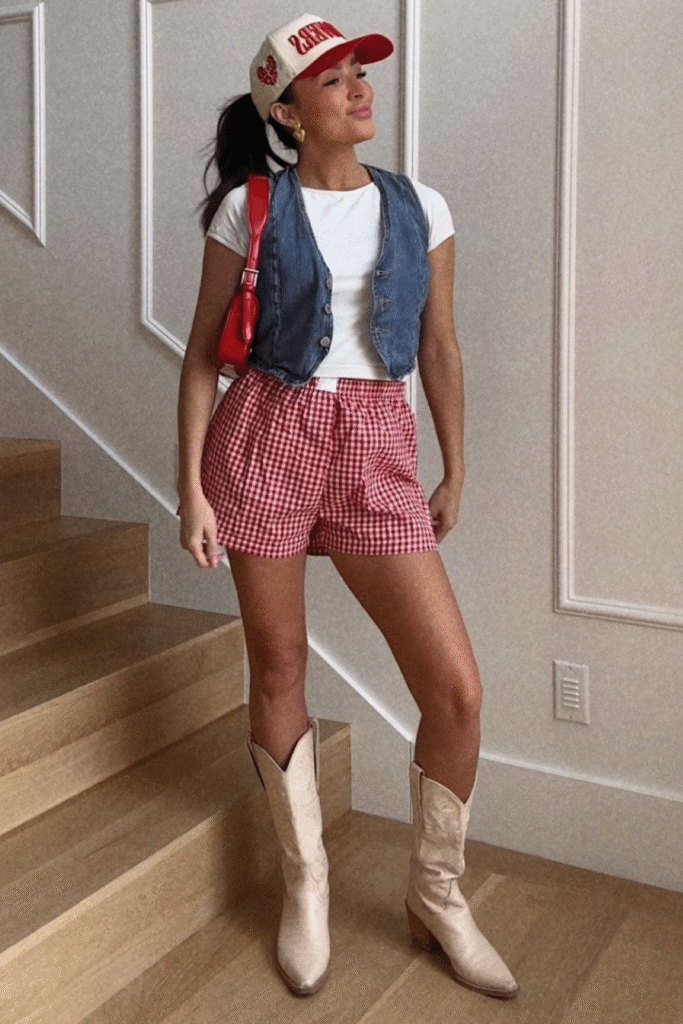
Red boxer shorts and a white tee layered with a denim vest bring serious laid-back vibes. Throw on a baseball cap and beige boots to keep things chill but stylish. Perfect for a day at the fair or a lowkey hangout.
17. Red Boots Energy.
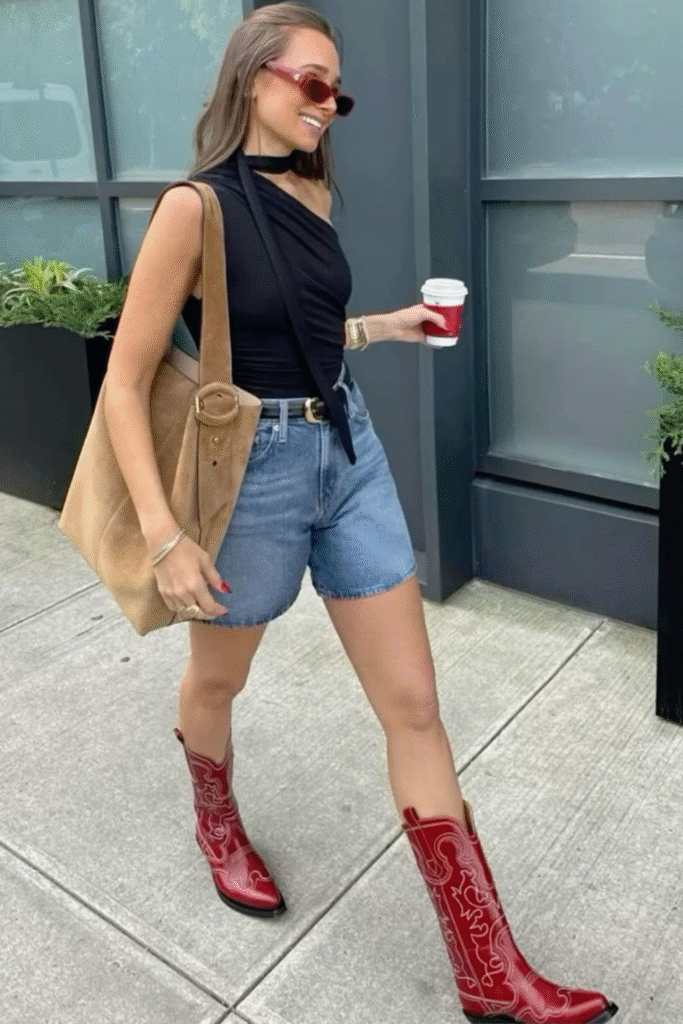
A black top and denim shorts let those red cowboy boots totally steal the show. It’s simple, bold, and just a little rebellious. Pair with a crossbody bag and minimal accessories to let the boots do all the talking.
18. Jersey Dress Moment.

Take your favorite oversized baseball jersey and wear it as a dress with beige cowboy boots. It’s comfy, cute, and a total game-day statement. Add a messy bun and hoop earrings for that “cool girl on the go” vibe.
19. Checkered Skirt Chic.
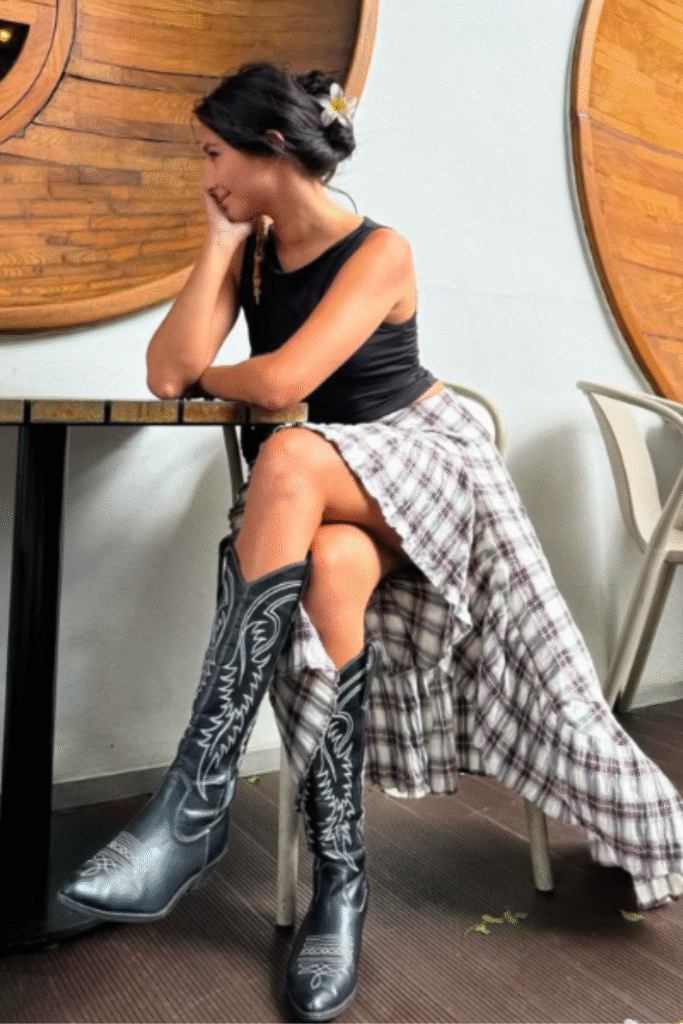
Mix classic and country with a black top, flowy checkered skirt, and black boots. It’s giving flirty and feminine with a hint of edge. Ideal for coffee dates or fall strolls downtown.
20. Classic Jeans + Tank.
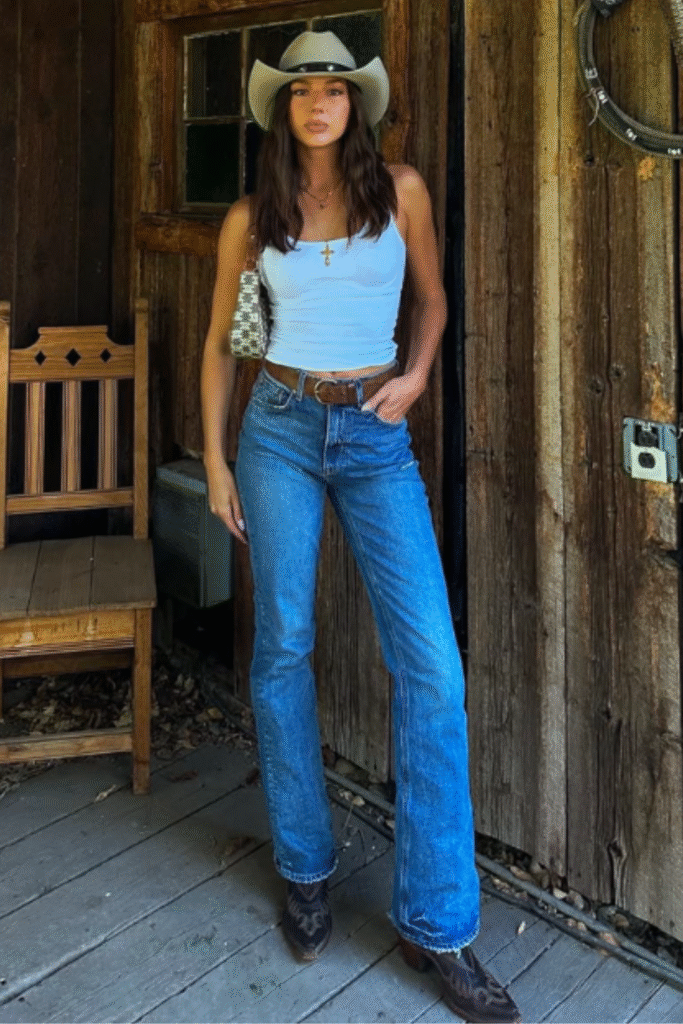
You can’t go wrong with the basics. A pair of jeans, a white tank top, cowboy hat, and boots — it’s timeless and effortlessly cool. Think classic western charm meets modern minimalism.
21. Brown Tank + Denim Skirt.
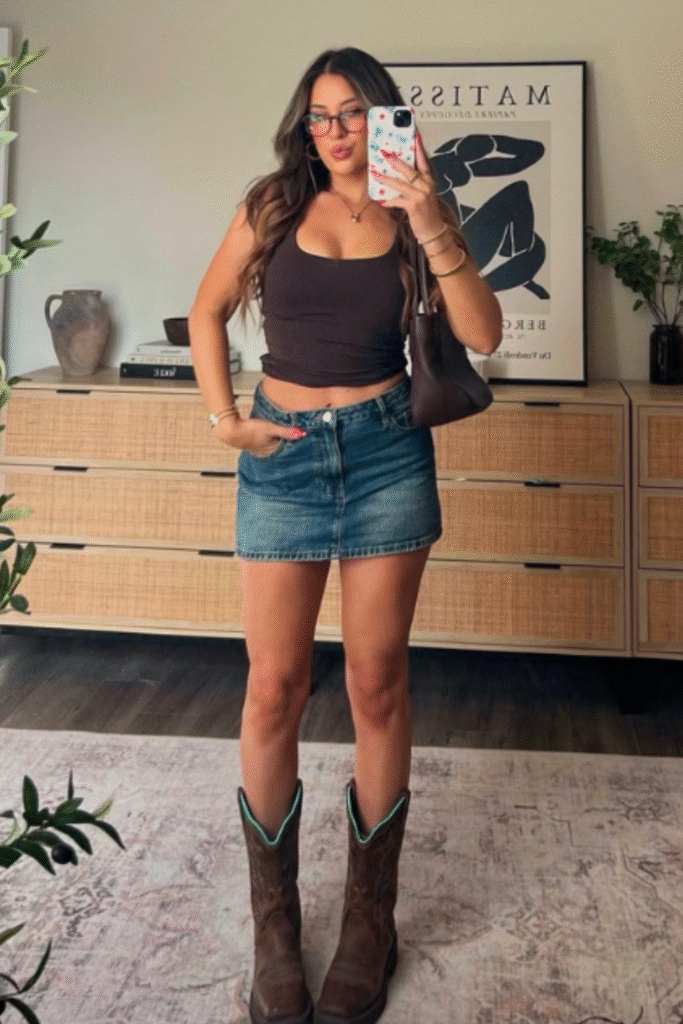
Simple, earthy, and endlessly flattering. A brown tank top paired with a denim skirt and brown cowboy boots feels casual yet pulled together. It’s the perfect go-to outfit for easy weekend plans or a casual concert night.
And there you have it — all the cowboy boot outfit inspo you could possibly need! Whether you’re channeling full-on western chic or just adding a subtle country twist to your everyday style, these looks prove that cowboy boots are truly timeless. They add personality, confidence, and that little spark of sass every outfit deserves.
So, go ahead and dust off those boots (or treat yourself to a new pair — you deserve it!) and start experimenting with your own combos. From denim minis to cozy sweaters and flowy skirts, there’s no wrong way to rock them. Once you find your favorite look, trust me — you’ll be wondering how you ever lived without cowboy boots in your wardrobe.