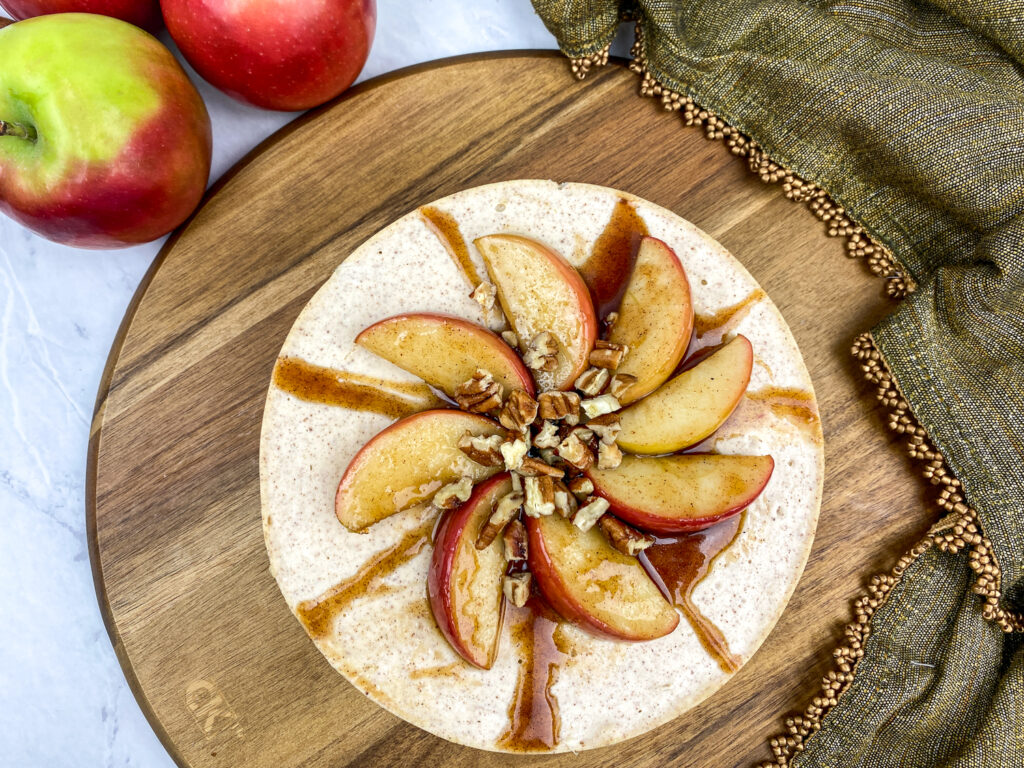
There’s something undeniably comforting about a warm dessert, especially when it’s made with fresh fruit and delightfully fragrant spices. Today, I am excited to share with you an amazing recipe for Baked Cinnamon Apple Crisp! This isn’t just any apple crisp, though. One taste of this delightful dessert, and you won’t believe it’s both gluten and refined sugar-free! The surprising addition of fresh thyme gives it a unique twist, adding a subtle savory note that beautifully complements the sweetness of the apples.
Imagine sinking your fork into a warm, bubbling dish, with tender slices of apple enveloped in a crisp, golden topping. It’s a treat that not only pleases the palate but also brings back nostalgic memories of family gatherings and cozy evenings at home. Perfect for serving after dinner or as a sweet afternoon snack, this dessert will quickly become a staple in your recipe repertoire.
More Apple Recipes:
- Classic Apple Pie A La Mode
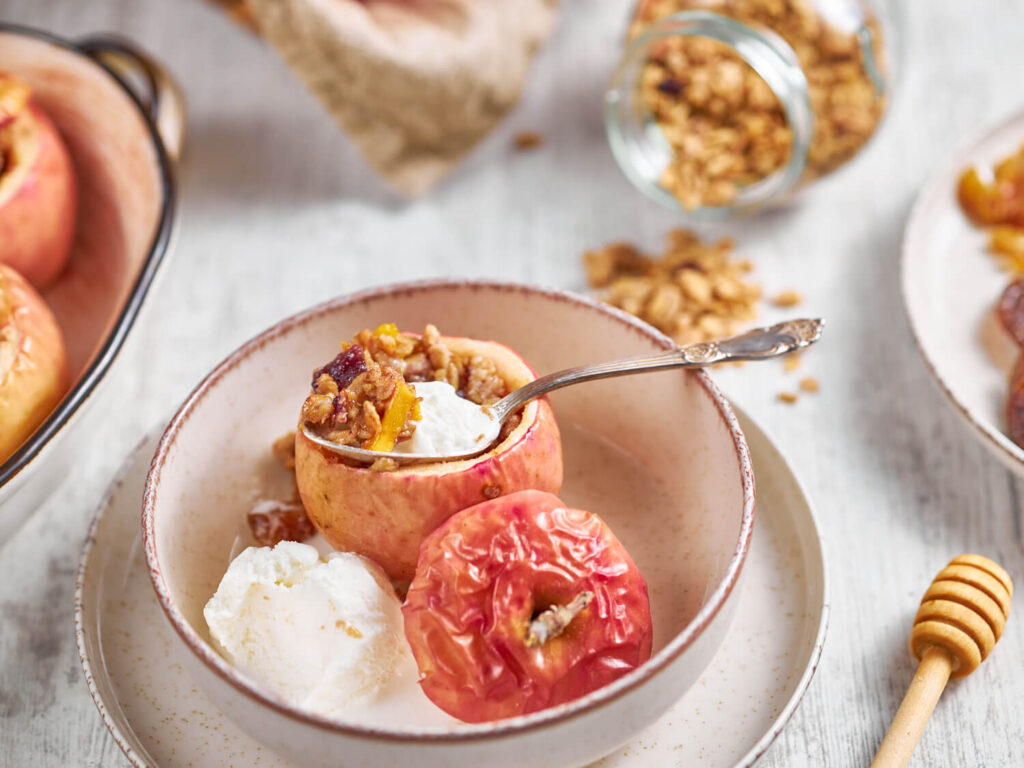
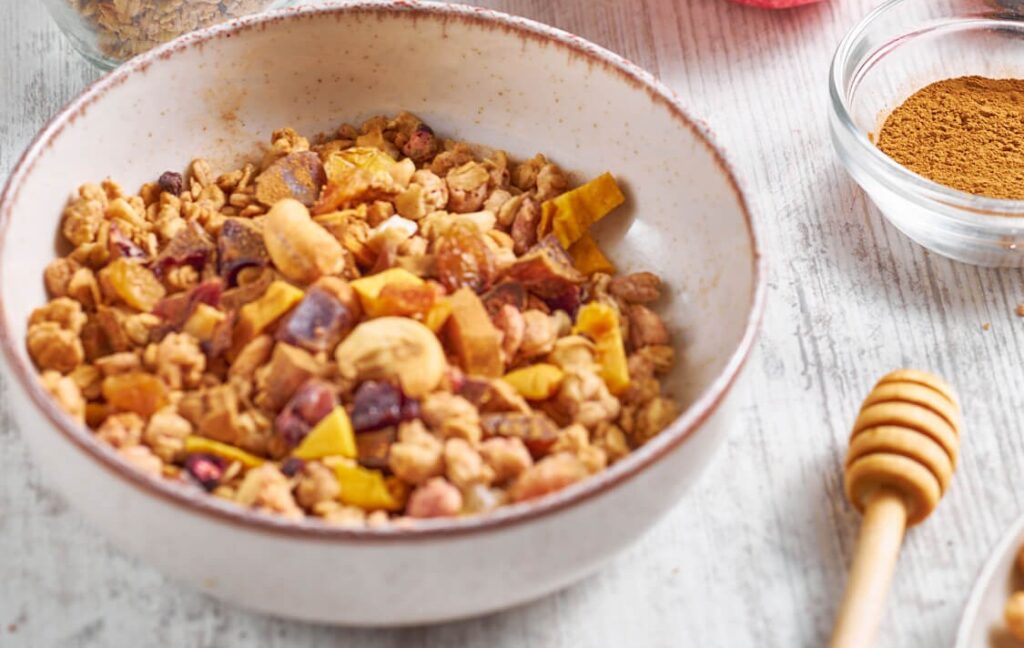
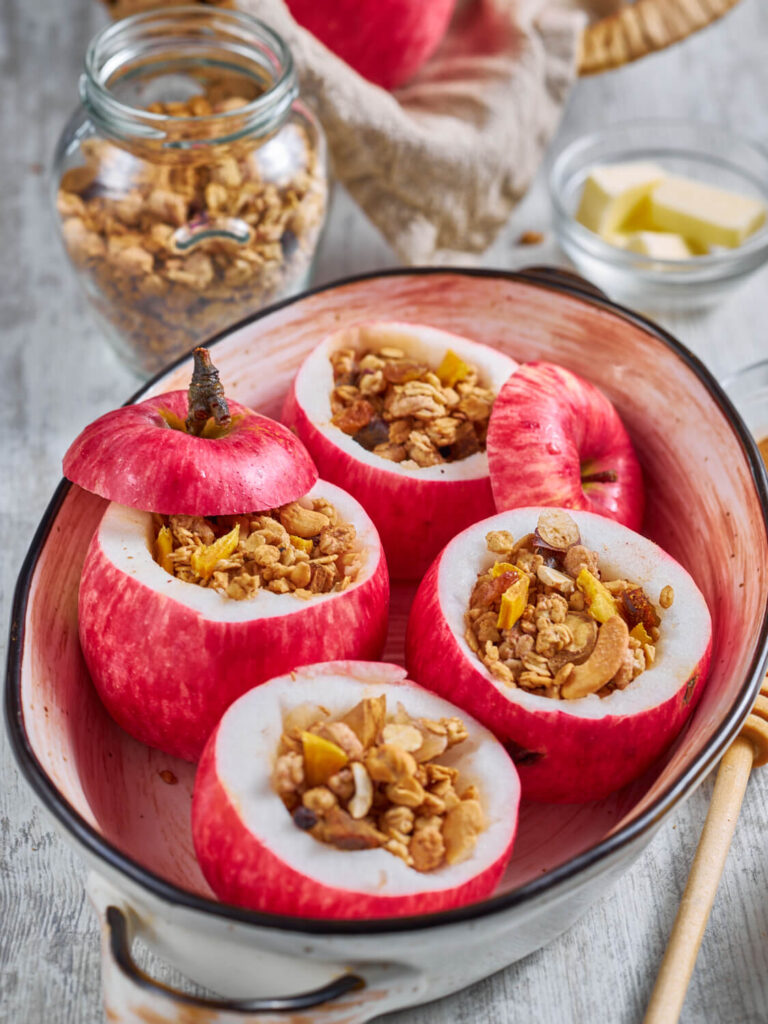
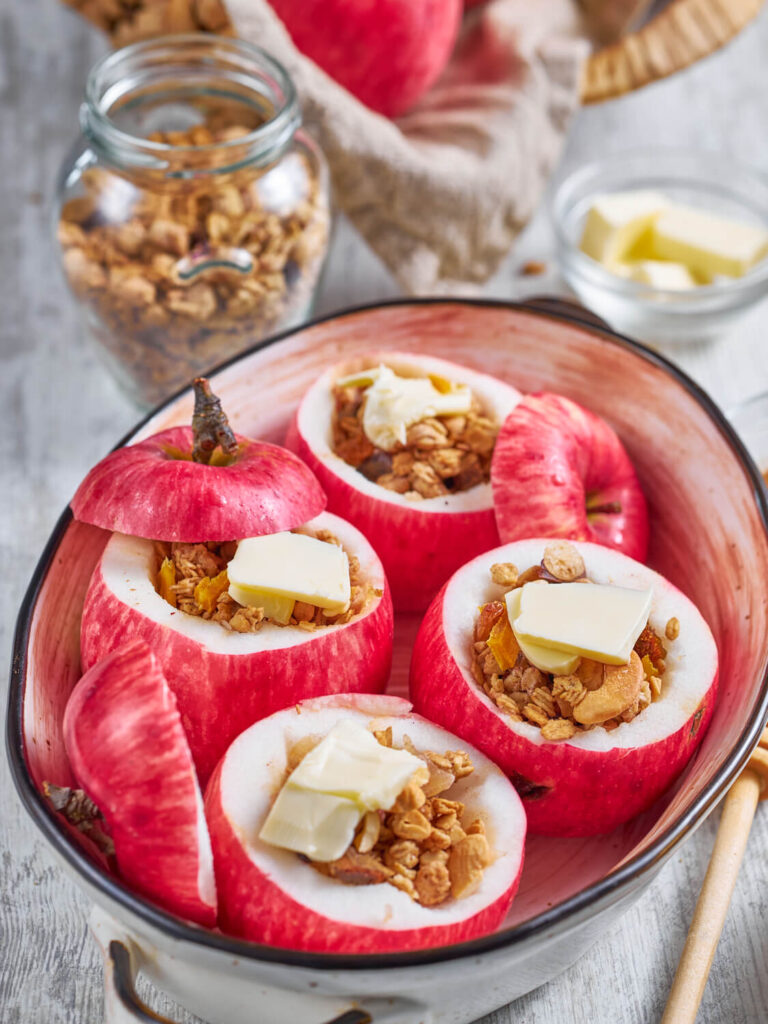
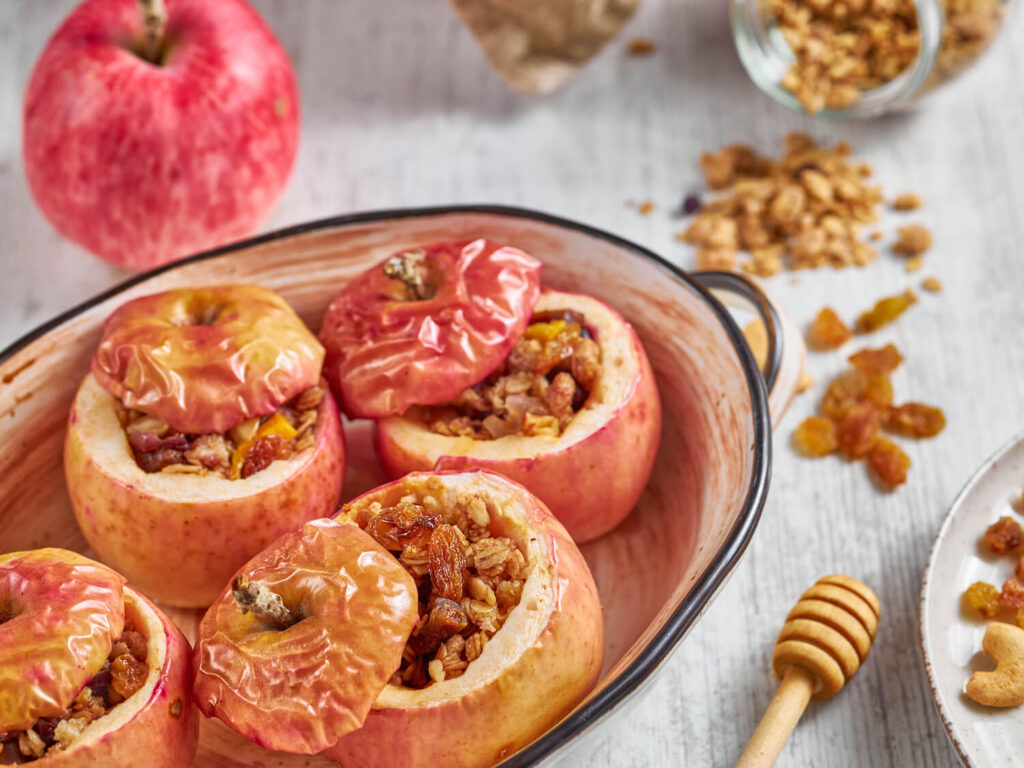
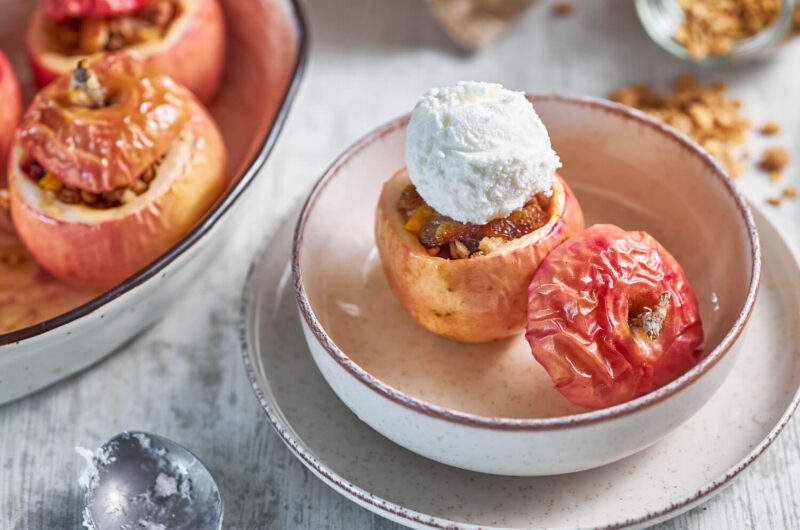
- Quick & Easy Granola Stuffed Baked Apples
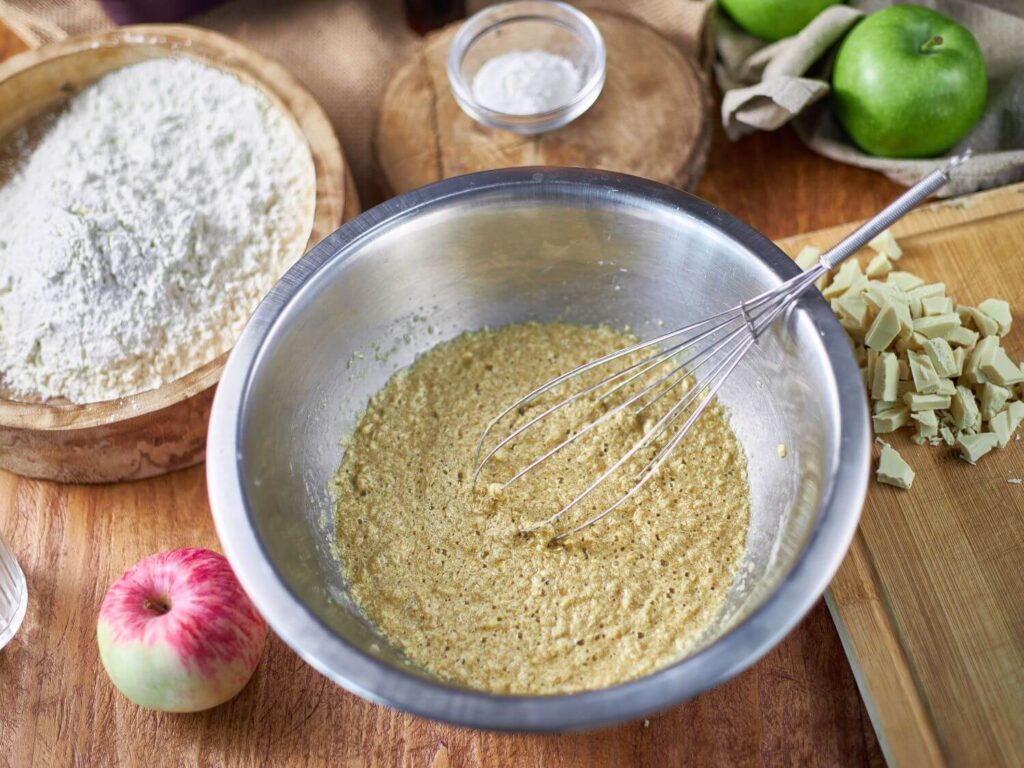
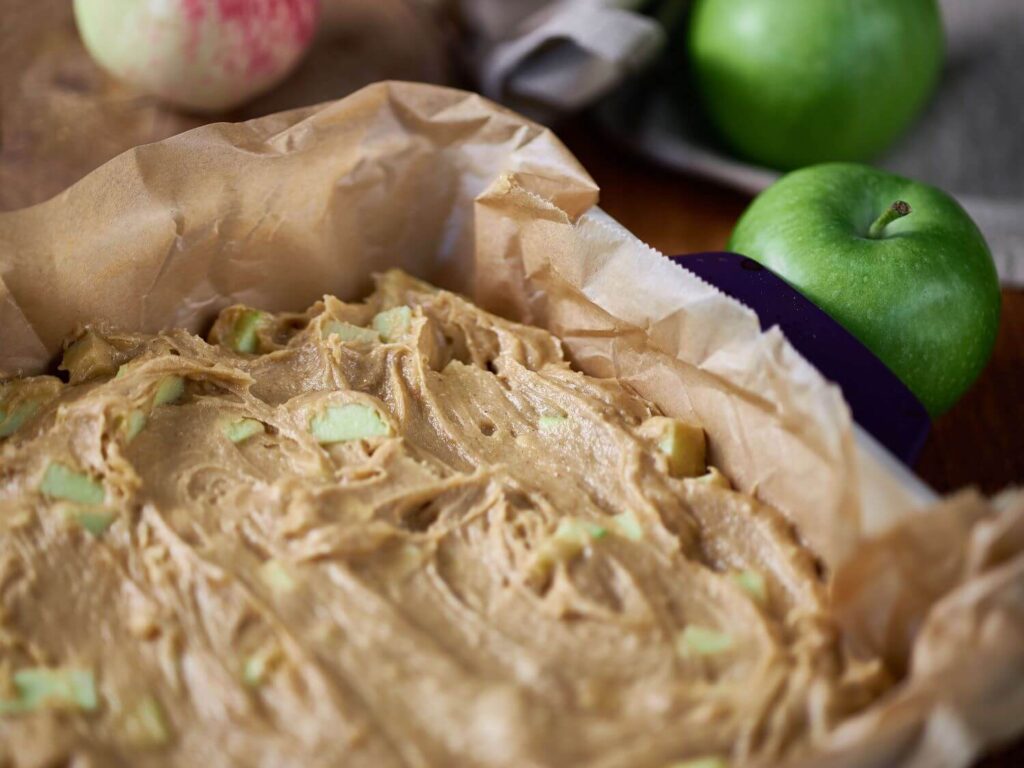
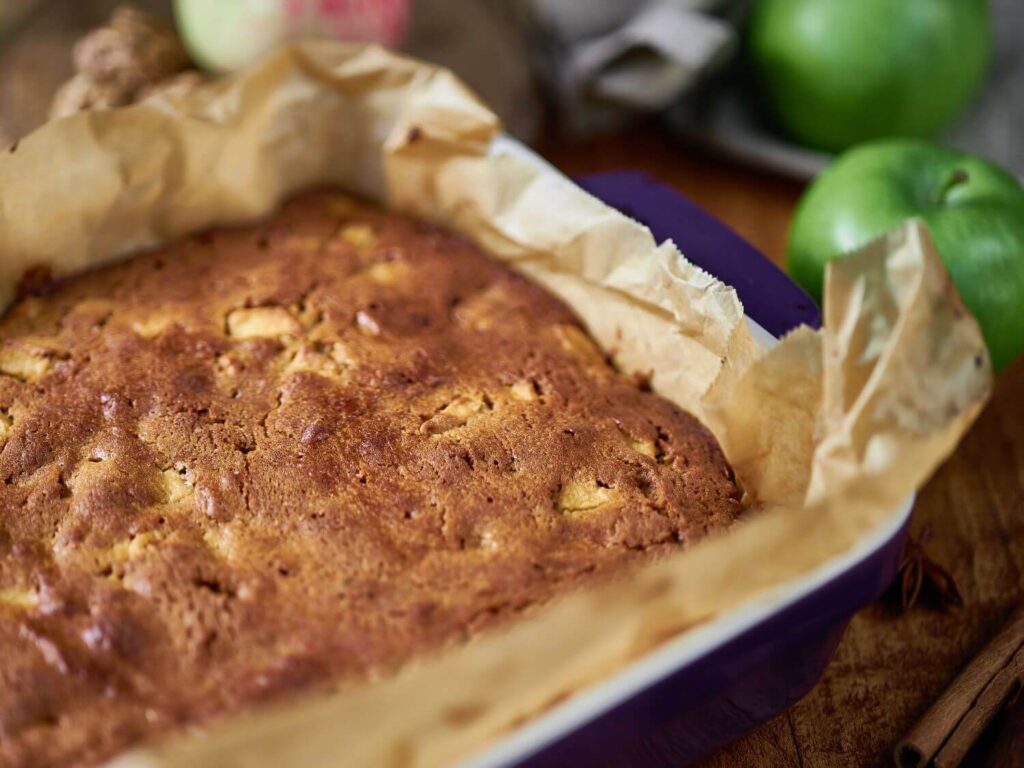
- Delicious Cinnamon Apple Blondies
- Deliciously Easy Instant Pot Apple Cinnamon Cheesecake
Why You’ll Love This Recipe
Before we dive into the recipe, let’s talk about why this apple crisp stands out. Not only is it easy to whip up in under an hour, but it also uses wholesome ingredients. I recommend using firm apples like Granny Smith or Pink Lady because they hold up beautifully in the oven without turning to mush. Plus, this recipe is perfect for anyone looking to reduce their sugar intake while still indulging in a sweet treat!
About Thyme
The addition of fresh thyme might seem unusual, but trust me on this! It elevates the flavor profile, creating a delicious balance that will have your taste buds dancing.
How To Make This Cinnamon Apple Crisp

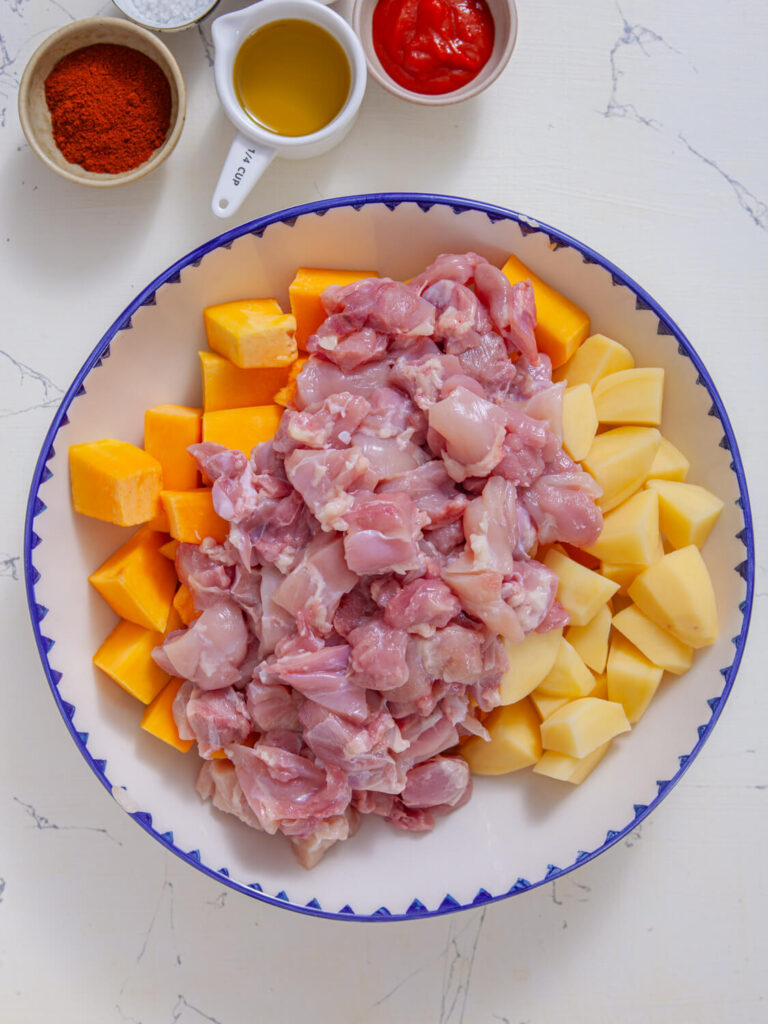
To prepare this beauty, you will need:
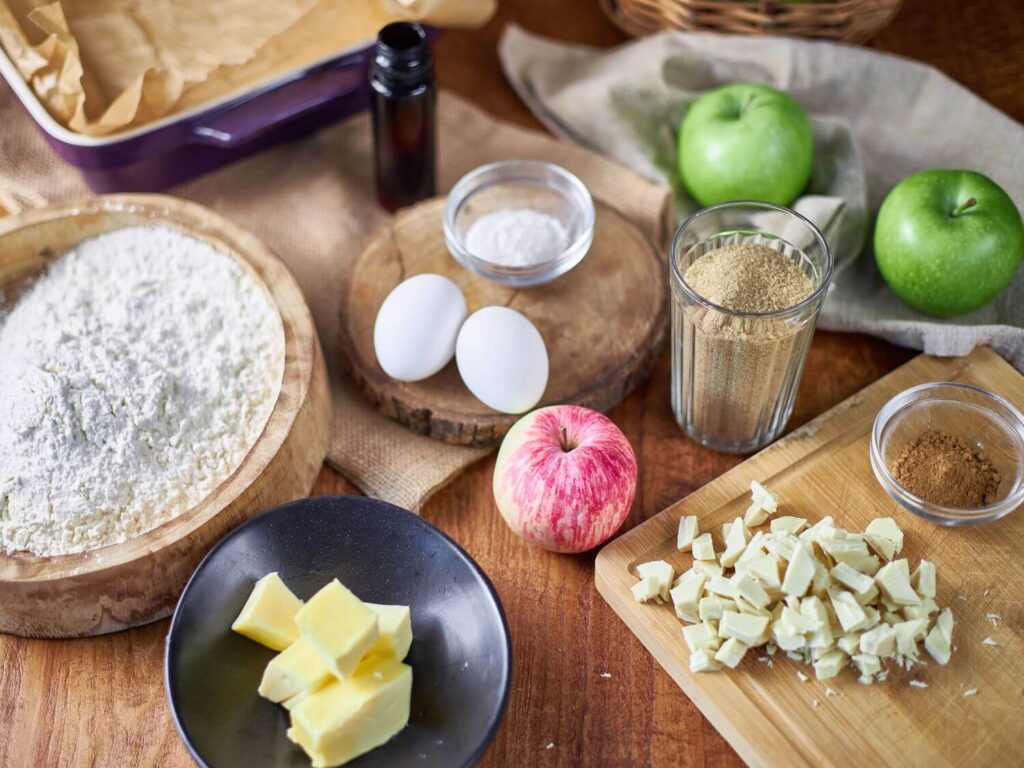
Ingredients
- For The Apple Crisp:
6 large apples, cored, peeled, and sliced
1 tablespoon fresh lemon juice
1/3 cup real maple syrup
2 tablespoons 100% apple juice (sugar-free)
1 teaspoon ground cinnamon
1/2 teaspoon ground allspice
1 1/2 teaspoons fresh thyme leaves
1/4 teaspoon salt
- Topping Ingredients:
1 cup old-fashioned rolled oats
1/3 cup almond flour
1/3 cup sliced almonds
1/3 cup honey (preferably local)
3 tablespoons unsalted butter, melted
Step-By-Step Directions
Now, let’s get into making this delightful dessert:
1. Preheat your oven to 350°F and place the top oven rack in the center position. Grease an 8” x 8” or a 7” x 10” baking dish and set it aside.
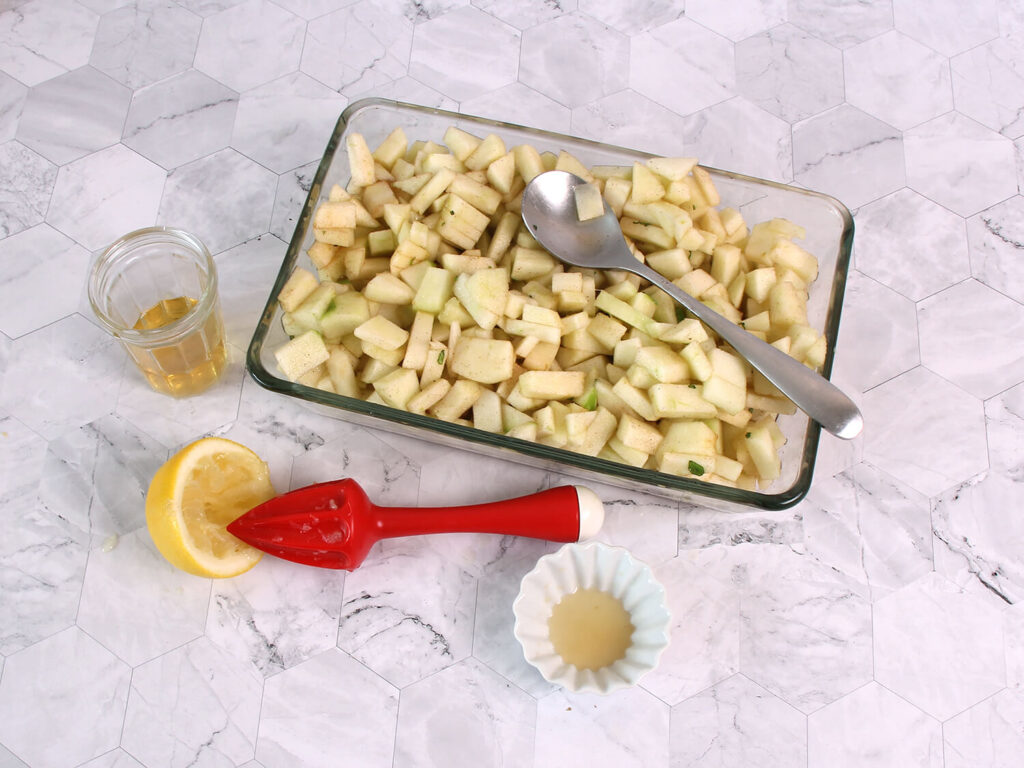
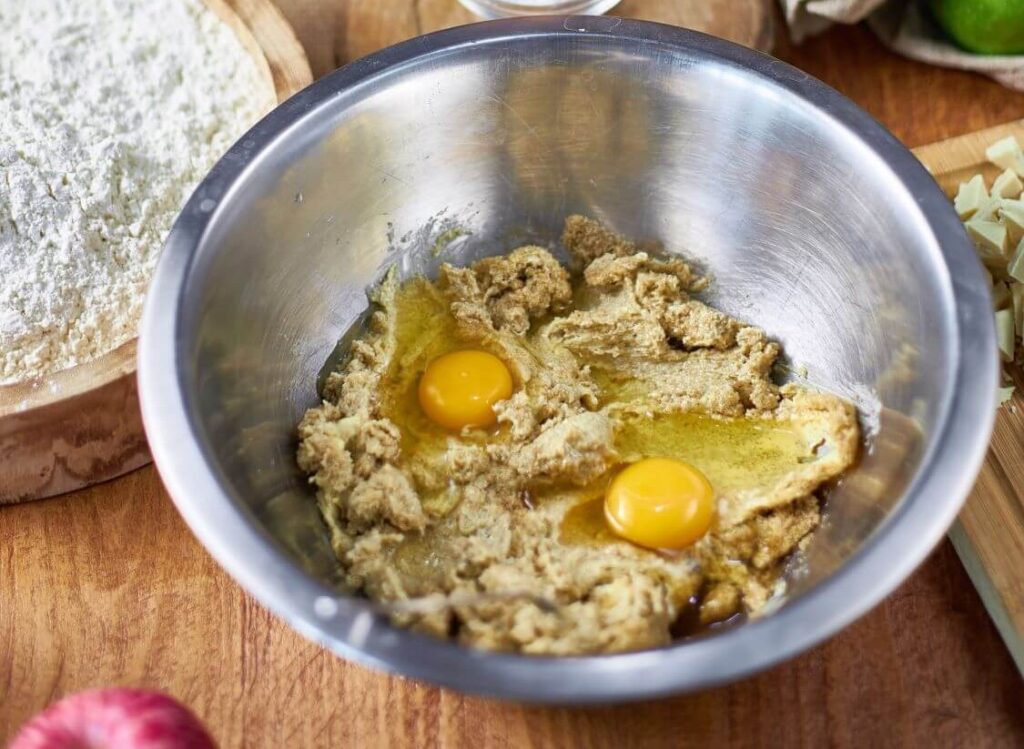
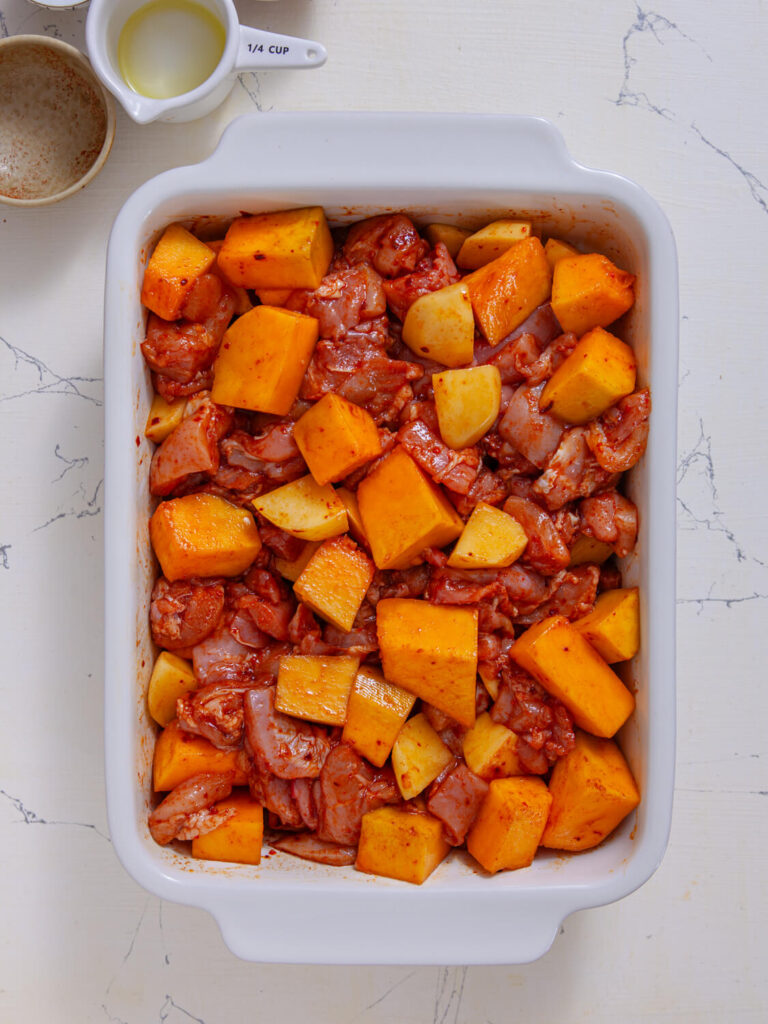
2. In a large non-reactive bowl, toss the sliced apples with fresh lemon juice. Next, add maple syrup, apple juice, cinnamon, allspice, thyme leaves, and salt. Toss everything together and set aside.
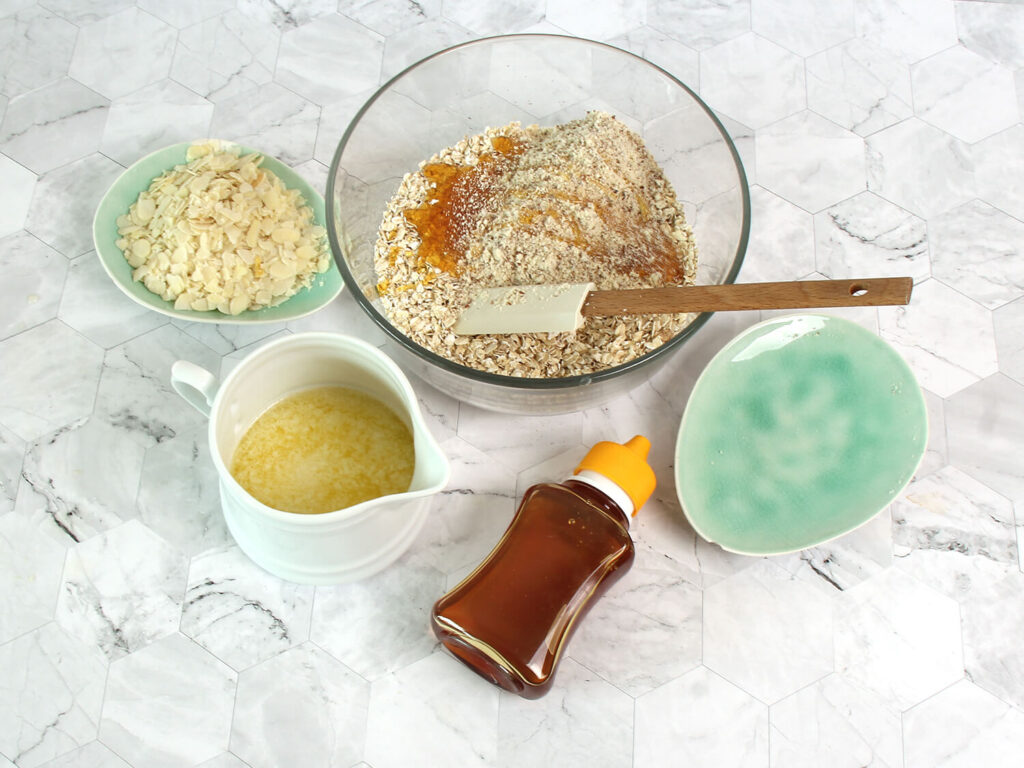
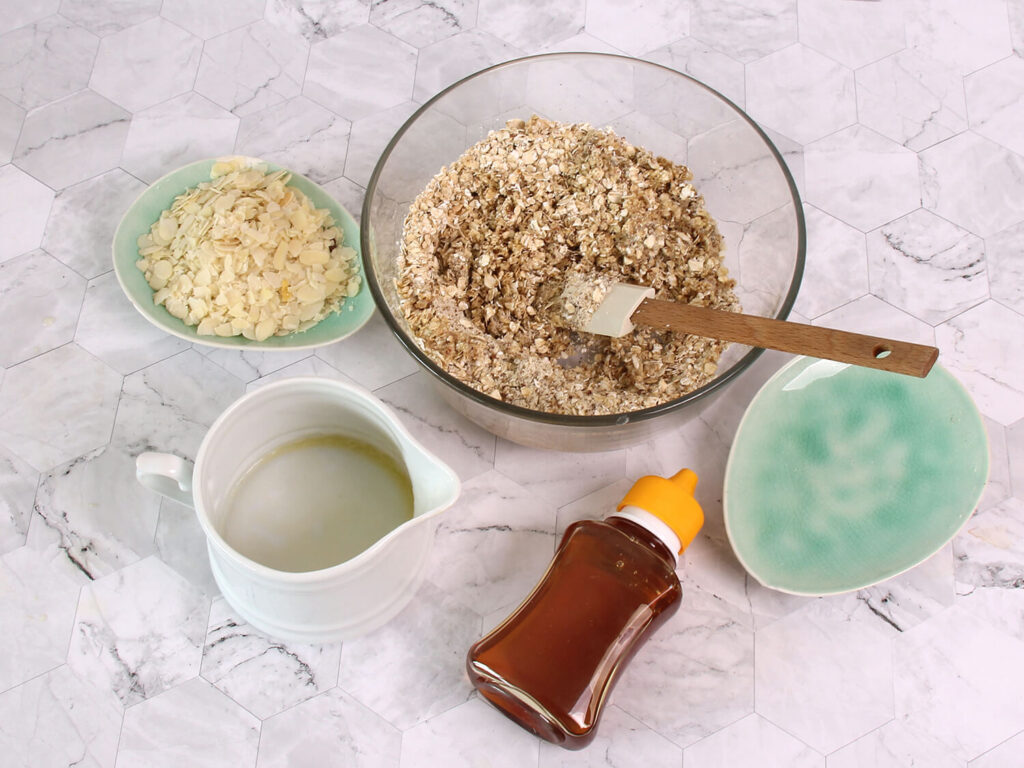
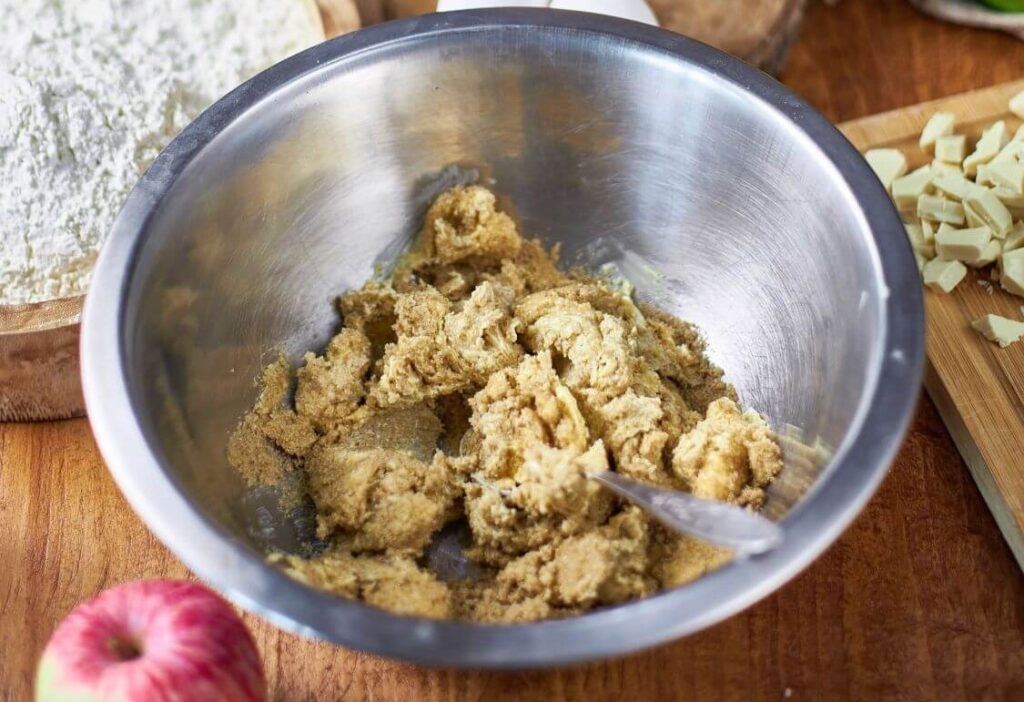
3. In a separate bowl, combine the topping ingredients and stir until the oats are thoroughly coated and everything is well combined.
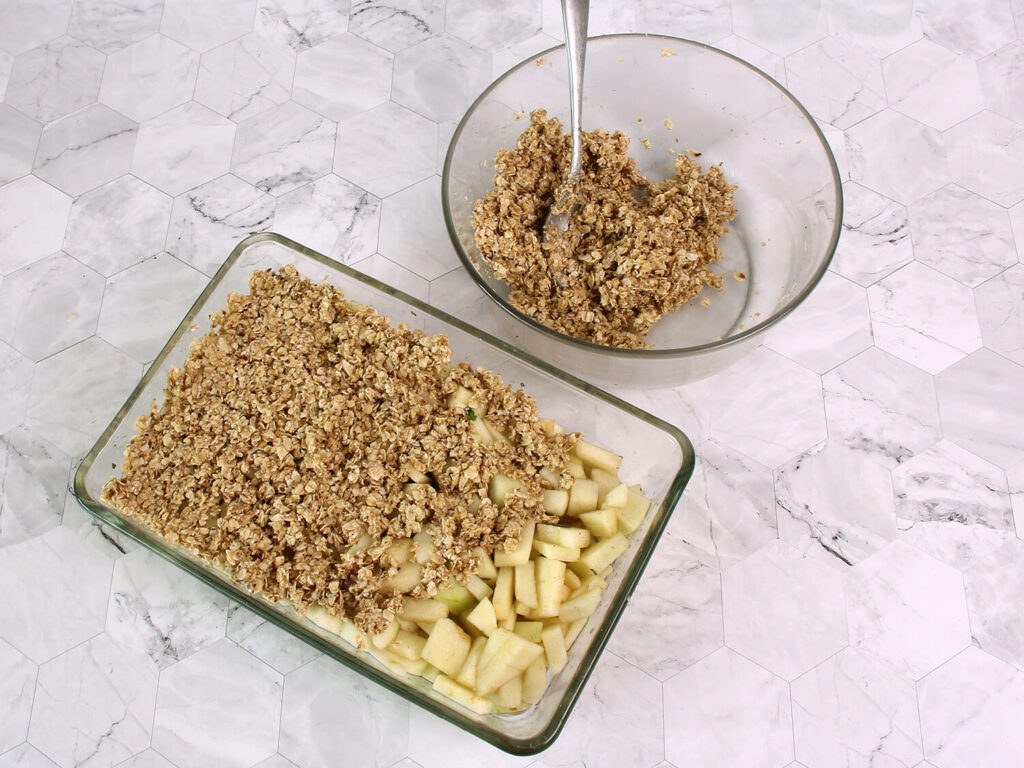
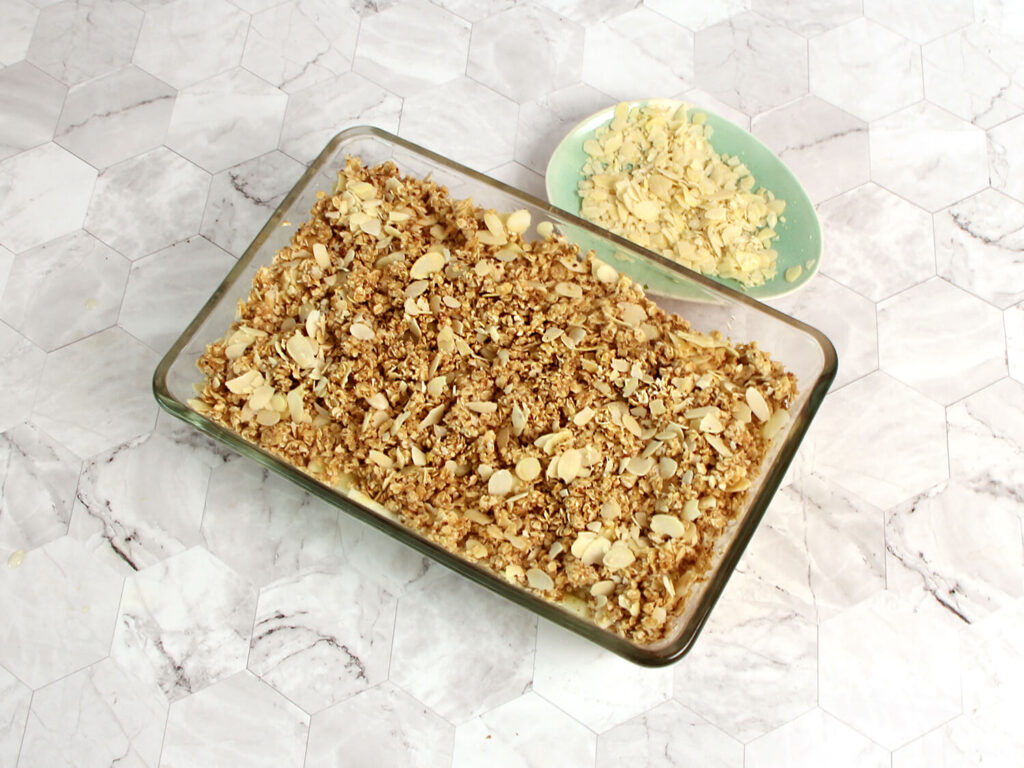
4. Pour the apple mixture into your prepared baking dish and spread it evenly. Layer the topping on top so that it covers the apples completely.
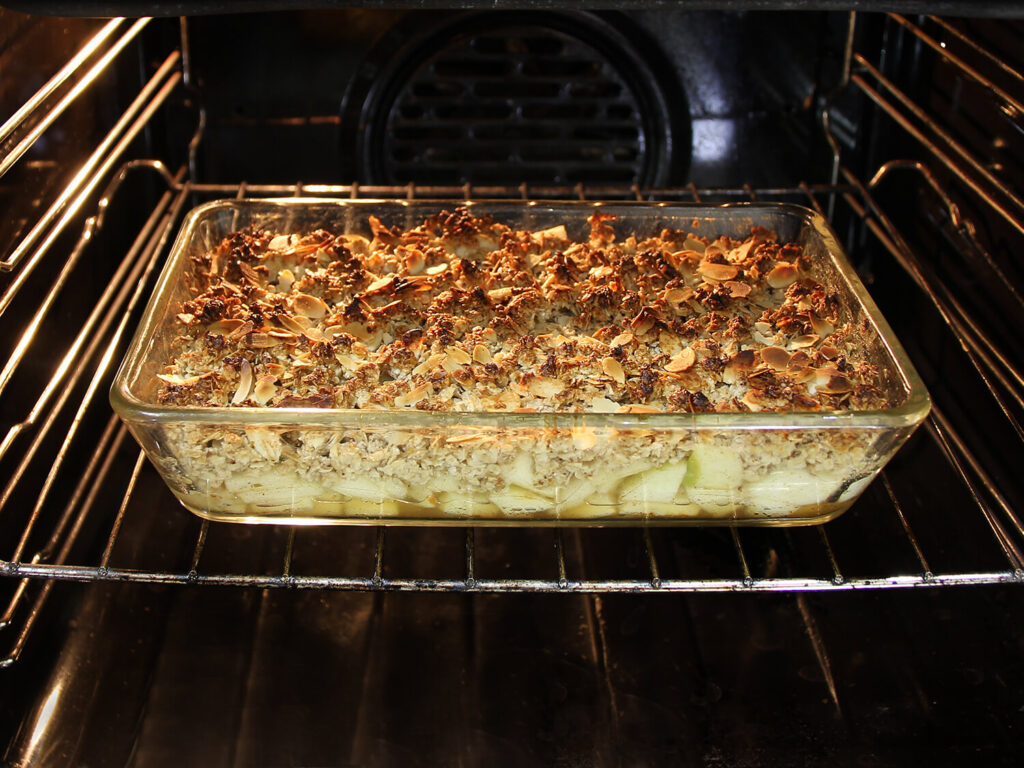
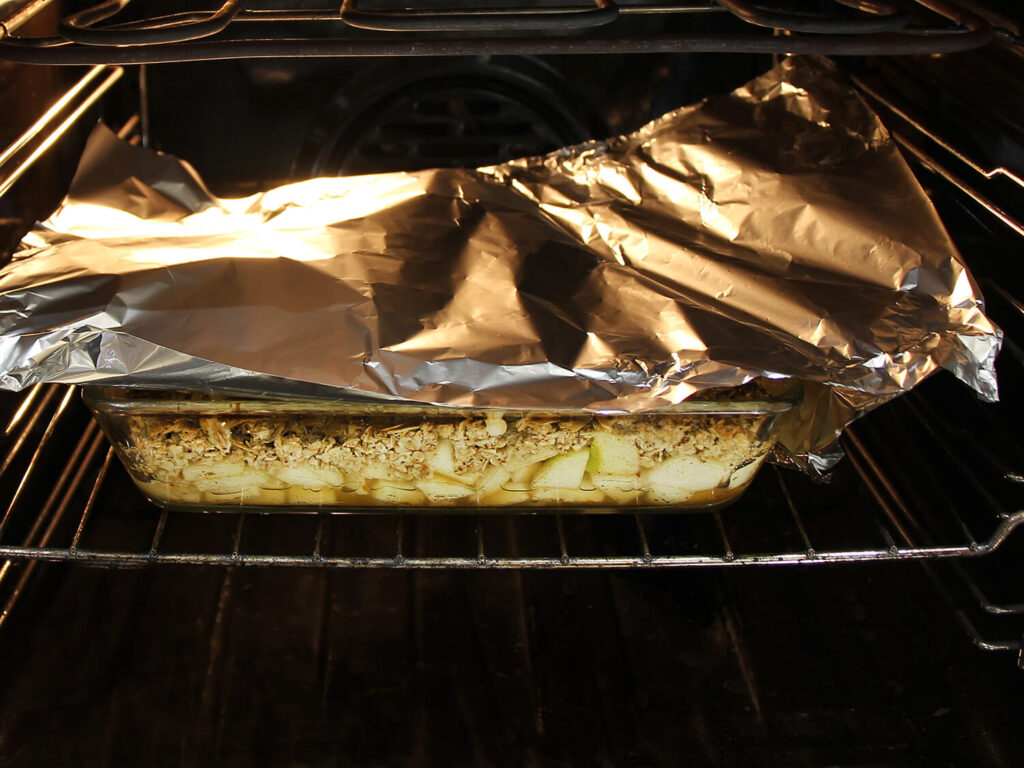
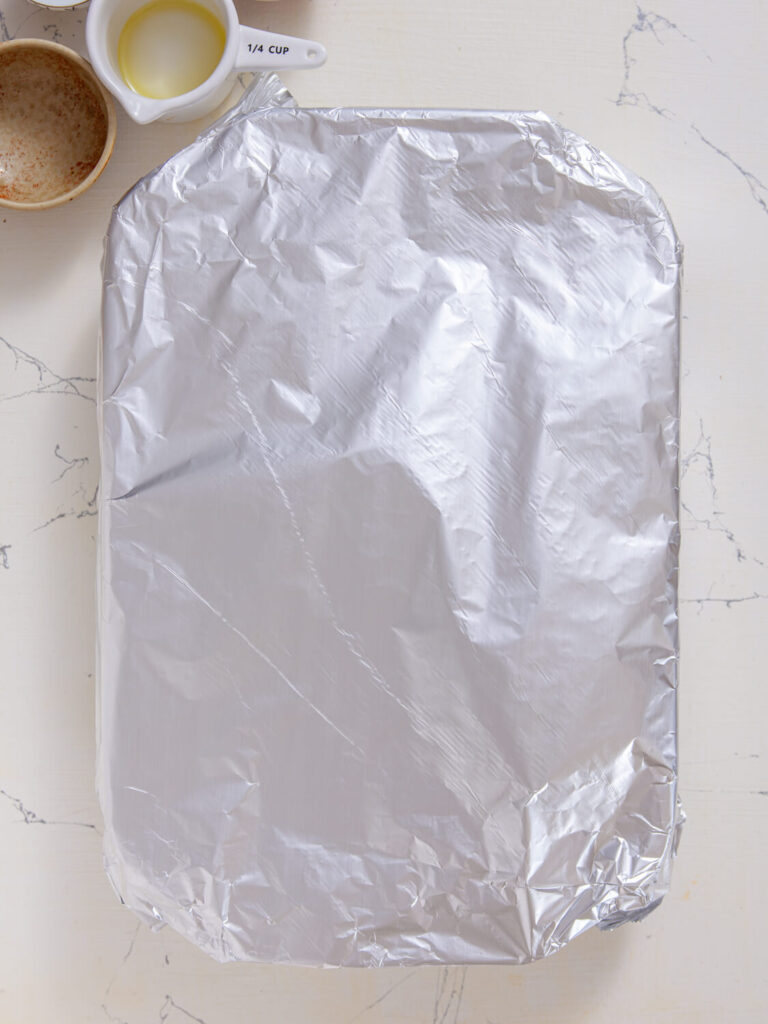
5. Place your dish in the oven and bake for 30 minutes. Once the topping is nicely browned, cover the dish loosely with aluminum foil to prevent over-browning. Bake for an additional 15-20 minutes, or until the apple crisp is bubbling.
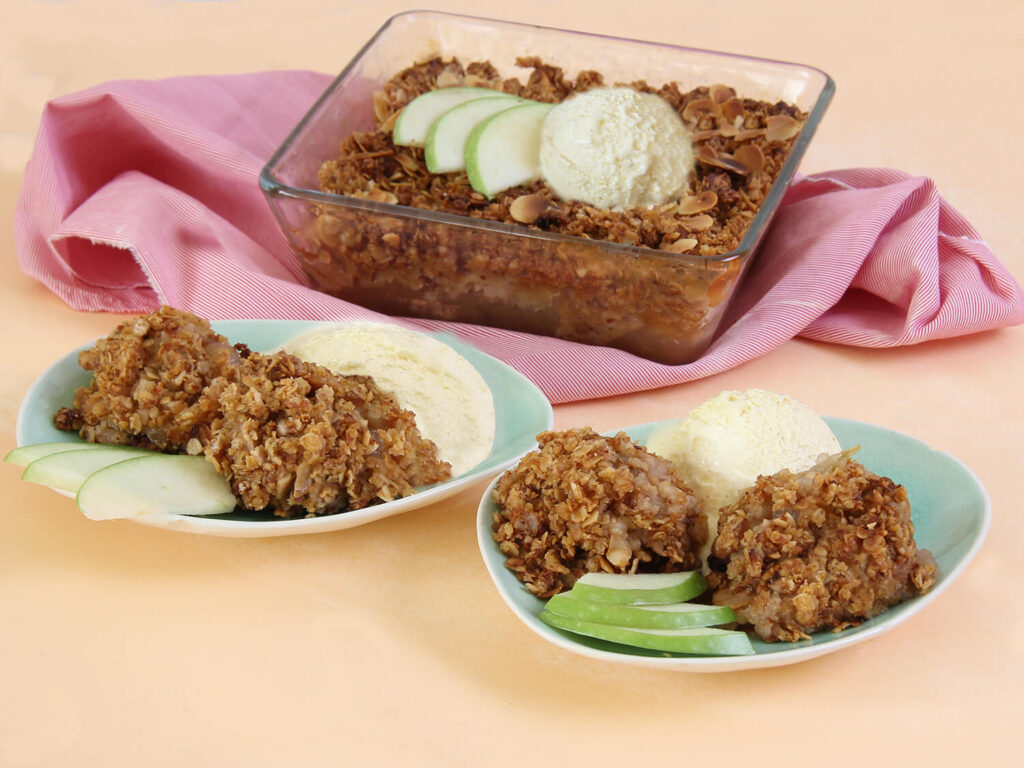
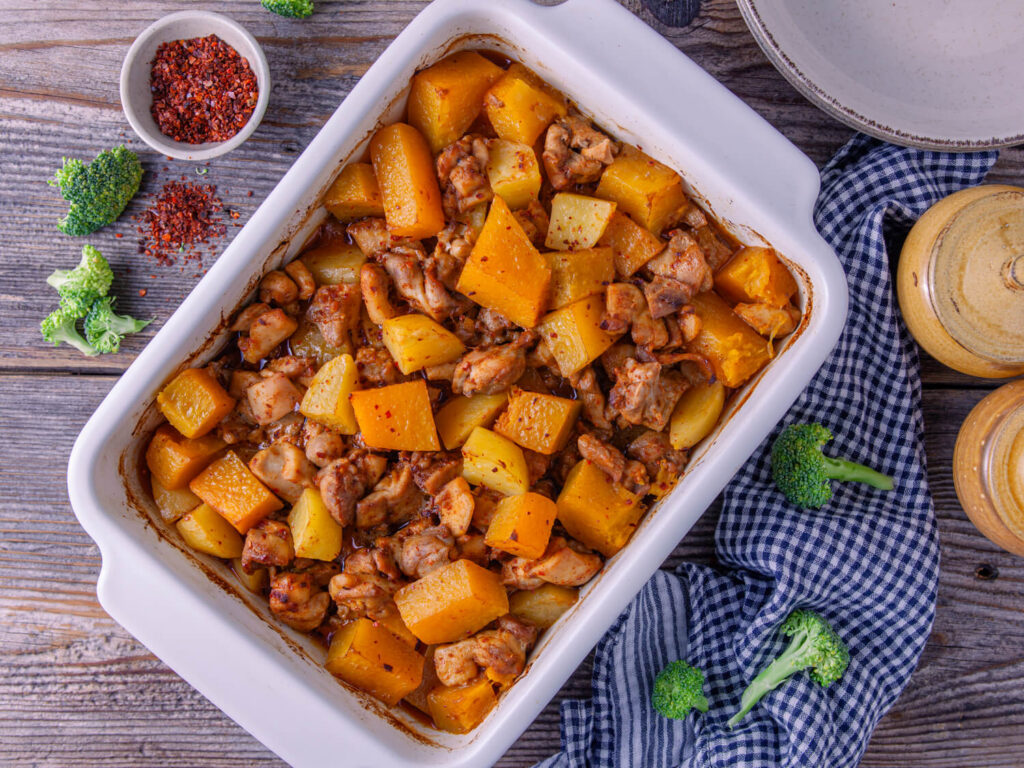
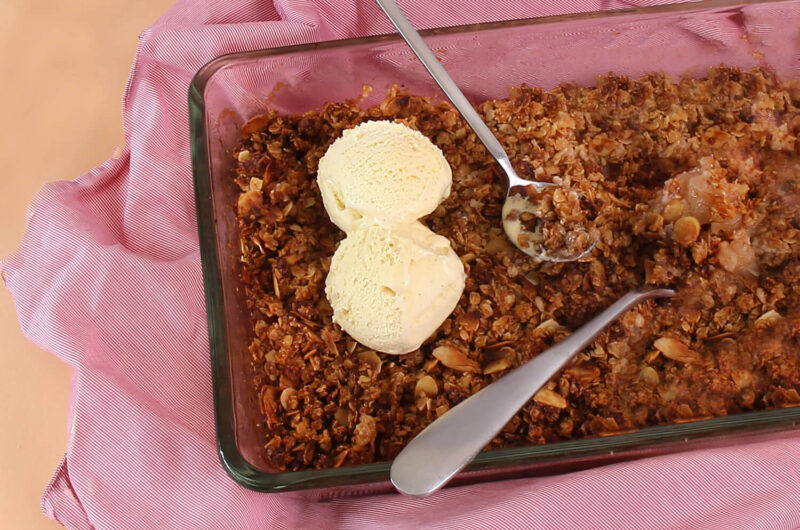
6. Remove from the oven and let cool for 5-10 minutes before serving.
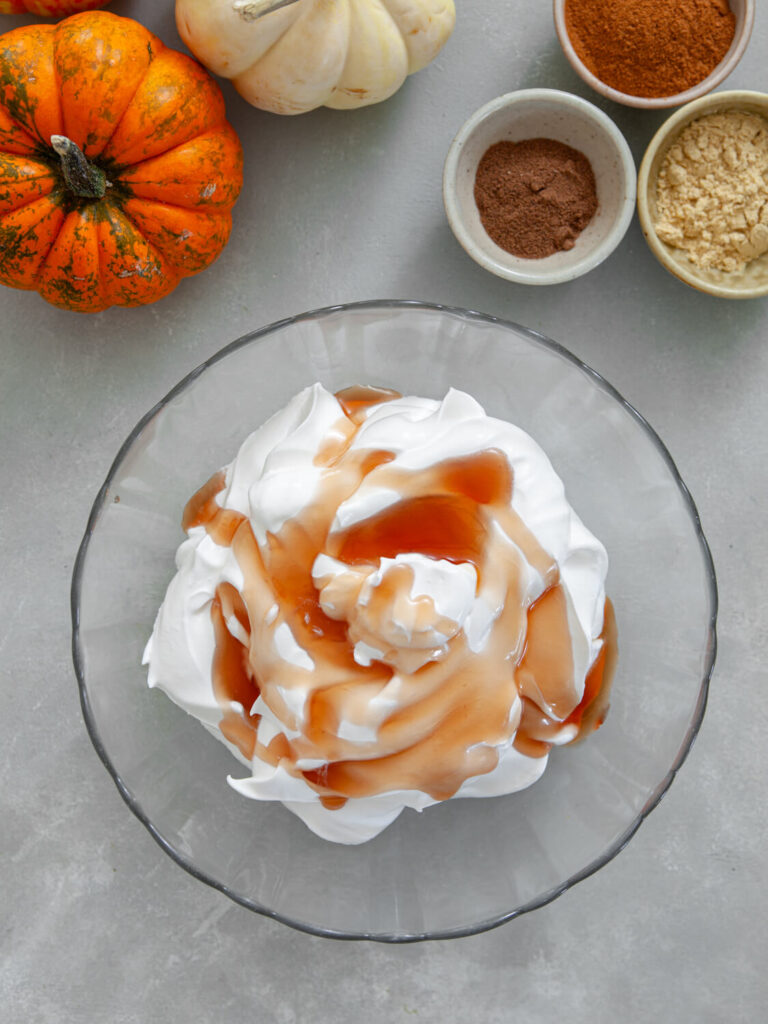
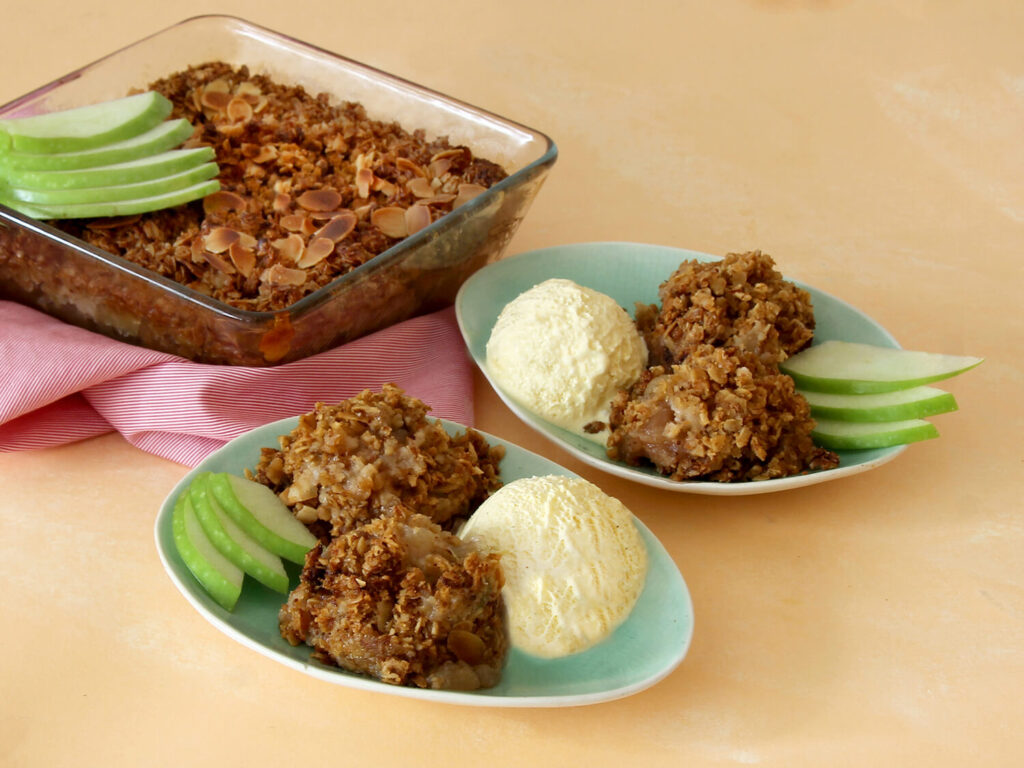
For the ultimate indulgence, serve your warm Baked Cinnamon Apple Crisp with a scoop of vanilla bean ice cream or a dollop of freshly whipped cream. Your taste buds will thank you!
Make It Your Own
If you want to customize this recipe, feel free to experiment with different types of apples or toss in a few berries for an added pop of flavor. You can also substitute coconut oil in place of butter for a dairy-free option.
Health Benefits Of This Apple Crisp
Beyond being delicious, the ingredients in this apple crisp offer several health benefits. Apples are rich in fiber and antioxidants, while oats provide essential vitamins and minerals, making this dessert a delectable and guilt-free indulgence.
Common Mistakes to Avoid
While making your Baked Cinnamon Apple Crisp, it’s essential not to rush the process. Allowing the apples to soak in the lemon juice and maple syrup enhances the flavor. Also, remember to cover the dish with foil after the initial baking time to prevent burning the topping.
Have you tried making this Baked Cinnamon Apple Crisp? I’d love to hear your experience! Share your thoughts in the comments, and let’s swap tips and stories.
Delightful Baked Cinnamon Apple Crisp Recipe
Course: DessertCuisine: AmericanDifficulty: Easy4-6
servings20
minutes50
minutesThere’s something undeniably comforting about a warm dessert, especially when it’s made with fresh fruit and delightfully fragrant spices. Today, I am excited to share with you an amazing recipe for Baked Cinnamon Apple Crisp!
Ingredients
6 large apples, cored, peeled, and sliced
1 tablespoon fresh lemon juice
1/3 cup real maple syrup
2 tablespoons 100% apple juice (sugar-free)
1 teaspoon ground cinnamon
1/2 teaspoon ground allspice
1 1/2 teaspoons fresh thyme leaves
1/4 teaspoon salt
- Topping Ingredients:
1 cup old-fashioned rolled oats
1/3 cup almond flour
1/3 cup sliced almonds
1/3 cup honey (preferably local)
3 tablespoons unsalted butter, melted
Directions
- Preheat your oven to 350°F and place the top oven rack in the center position. Grease an 8” x 8” or a 7” x 10” baking dish and set it aside.
- In a large non-reactive bowl, toss the sliced apples with fresh lemon juice. Next, add maple syrup, apple juice, cinnamon, allspice, thyme leaves, and salt. Toss everything together and set aside.
- In a separate bowl, combine the topping ingredients and stir until the oats are thoroughly coated and everything is well combined.
- Pour the apple mixture into your prepared baking dish and spread it evenly. Layer the topping on top so that it covers the apples completely.
- Place your dish in the oven and bake for 30 minutes. Once the topping is nicely browned, cover the dish loosely with aluminum foil to prevent over-browning. Bake for an additional 15-20 minutes, or until the apple crisp is bubbling.
- Remove from the oven and let cool for 5-10 minutes before serving.