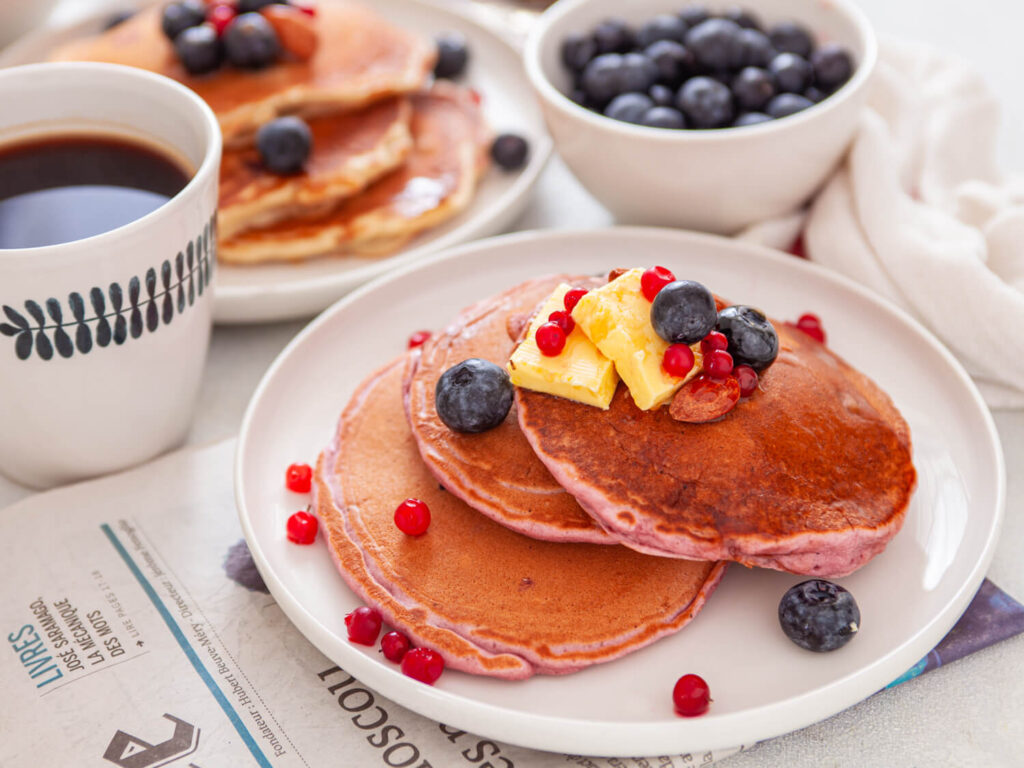
If you’re in the mood for a sweet treat that’s not only delicious but also offers a bit of culinary adventure, you’ve come to the right place! Enter syrniki – the beloved Ukrainian sweet ricotta pancakes. These delightful bites are light, fluffy, and wonderfully cheesy, making for a perfect dish any time of the day. Are you ready to discover how easy they are to make?
More Pancake Recipes:
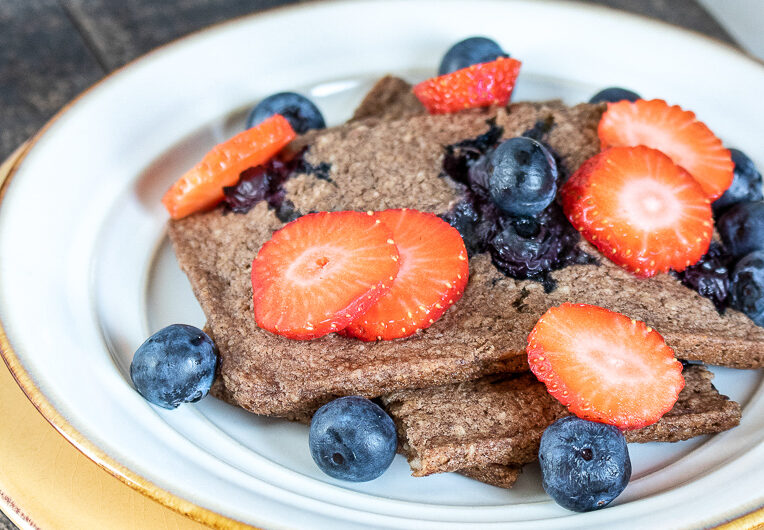
- Fluffy Paleo Pumpkin Spice Pancakes
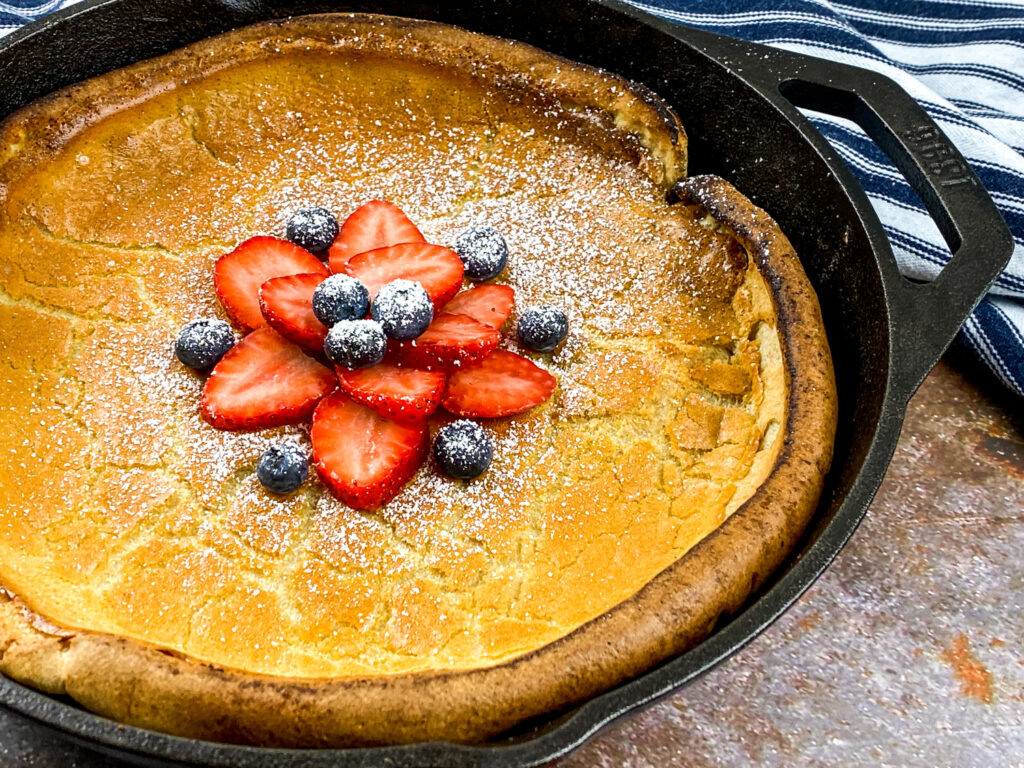
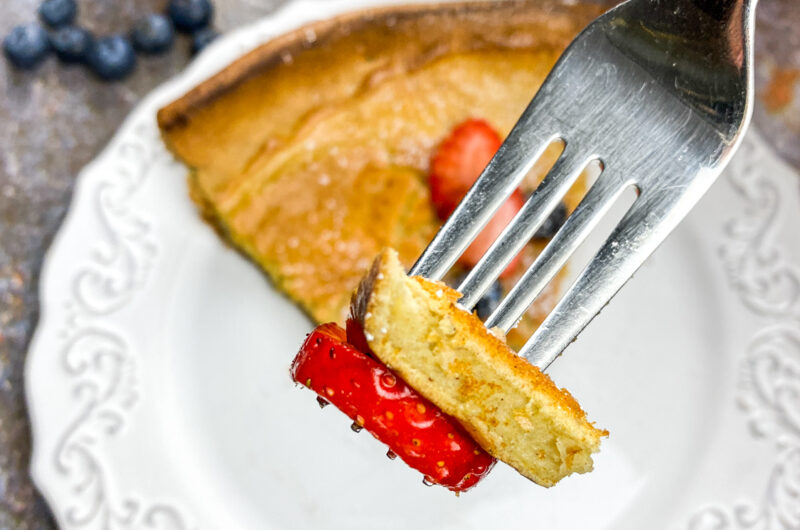
- Easy & Delicious Fluffy Dutch Baby Pancake Recipe
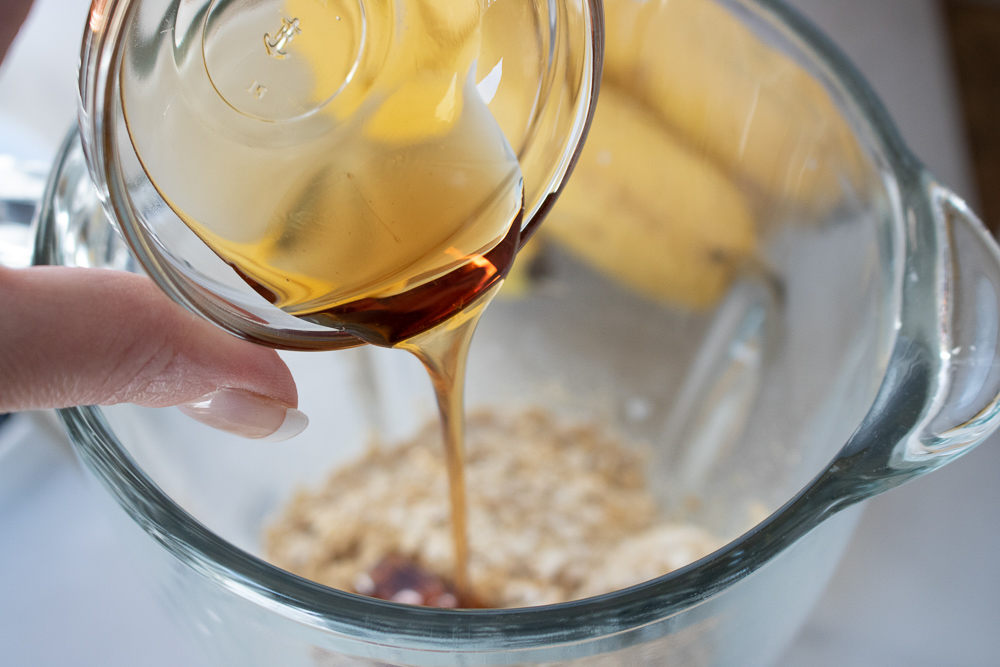
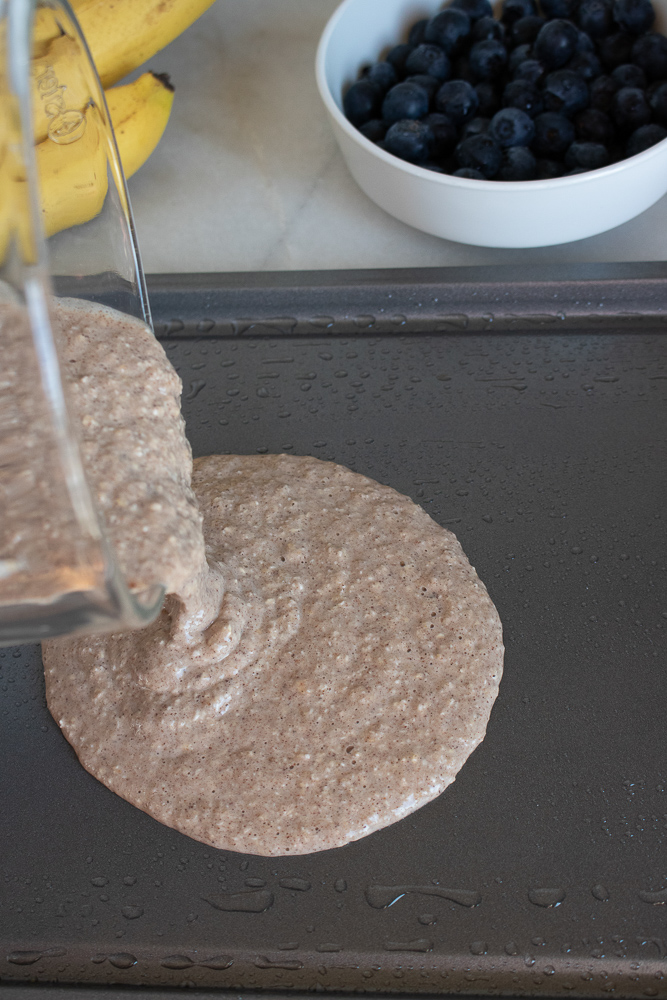
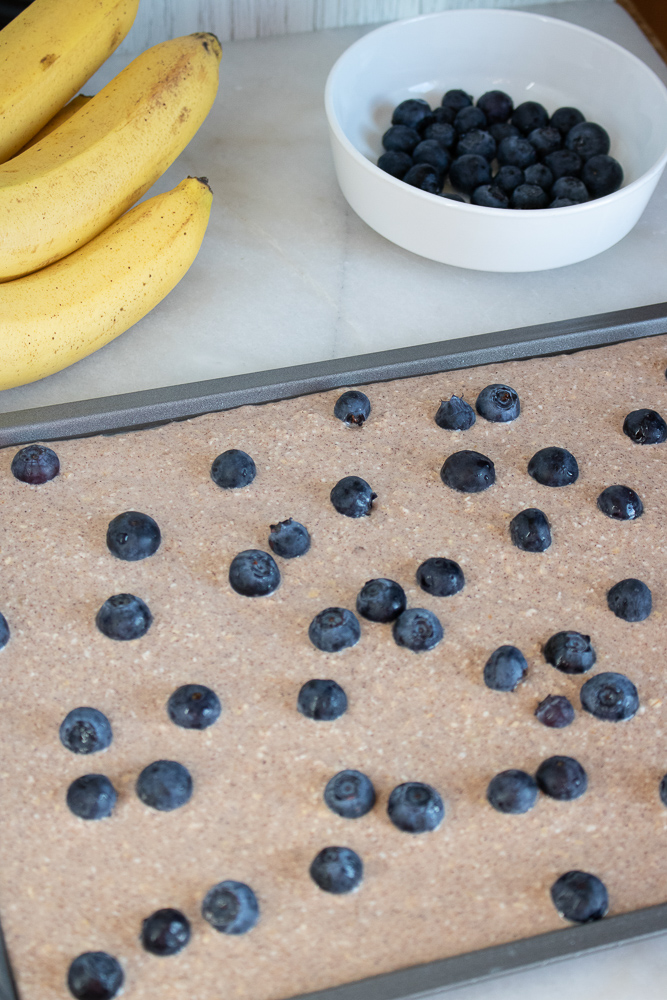
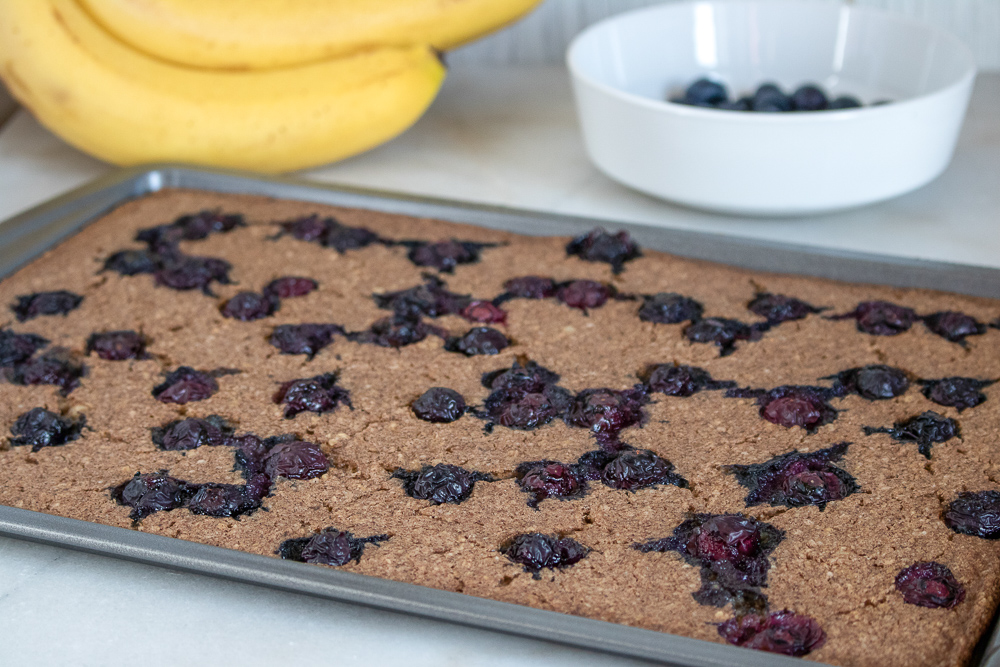
- Sheet Pan Blueberry Pancakes For A Family-Friendly Breakfast
So What Exactly Is Syrniki?
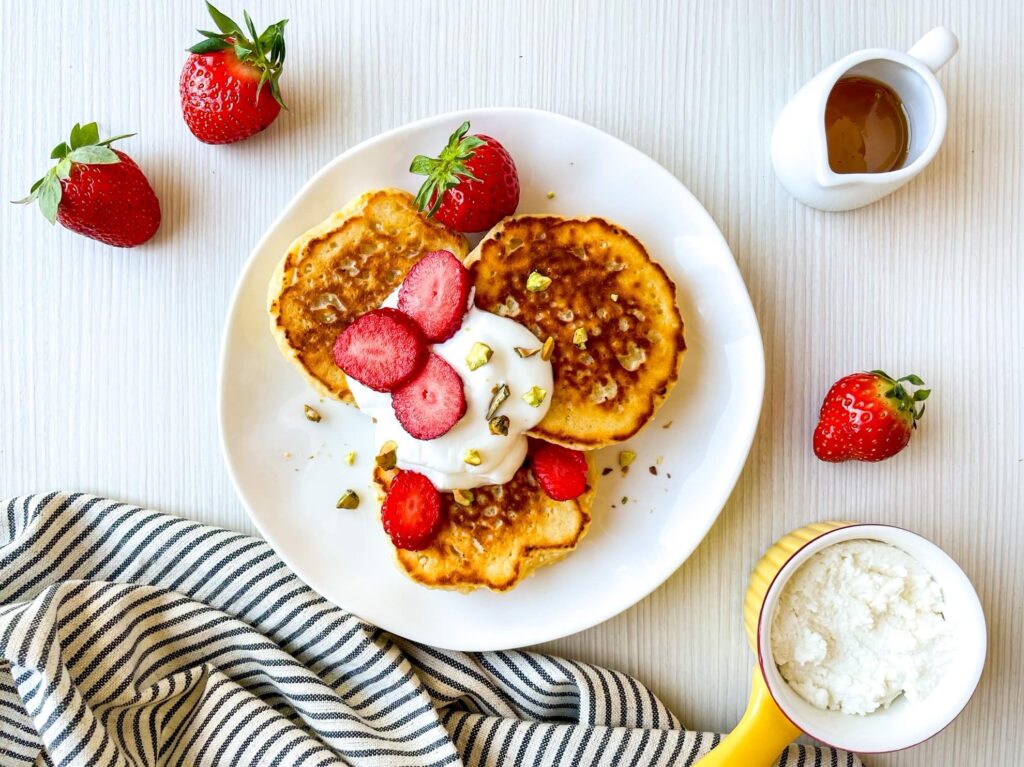
Syrniki are more than just pancakes; they are the epitome of comfort food with a lovely twist. Picture this: a crunchy golden-brown exterior that gives way to a cheesy, rich center. These pancakes embody a balance of sweetness with a hint of tang from the ricotta, making them delightful whether you serve them for breakfast, brunch, or even as dessert!
One of the best parts about syrniki is how wonderfully versatile they are! You can enjoy them with a range of toppings from sugary syrups and honey to fresh fruits, or even whipped cream on special occasions. Plus, they are quick to whip up, taking just around 25 minutes from start to finish. You can easily impress your friends and family with this charming dish that carries some cultural heritage!
How To Make Syrniki!
Now, let’s roll up our sleeves and dive into making these heavenly syrniki!
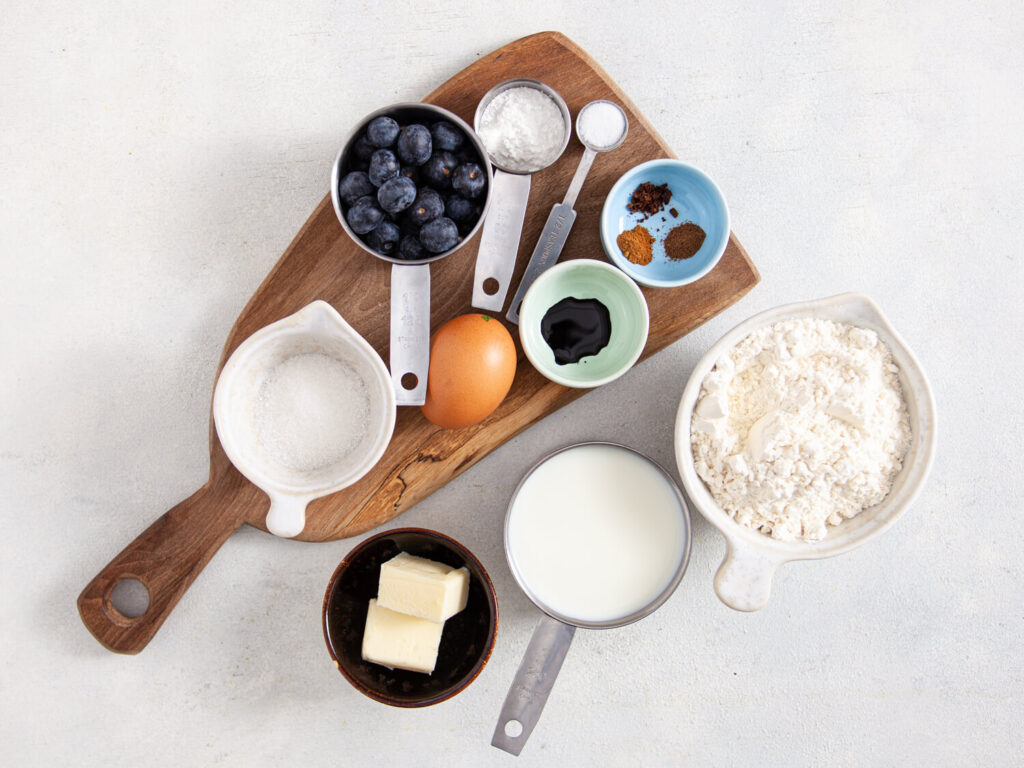
Ingredients To Make Ricotta Pancakes
1 large egg
1 cup ricotta cheese
1 tablespoon vegetable oil
1 teaspoon pure vanilla extract
1/4 cup all-purpose flour
2 tablespoons sugar
1/4 teaspoon salt
- To Serve:
2-3 tablespoons honey
Sour cream
Fresh berries or fruit of choice
Step-By-Step Guide:
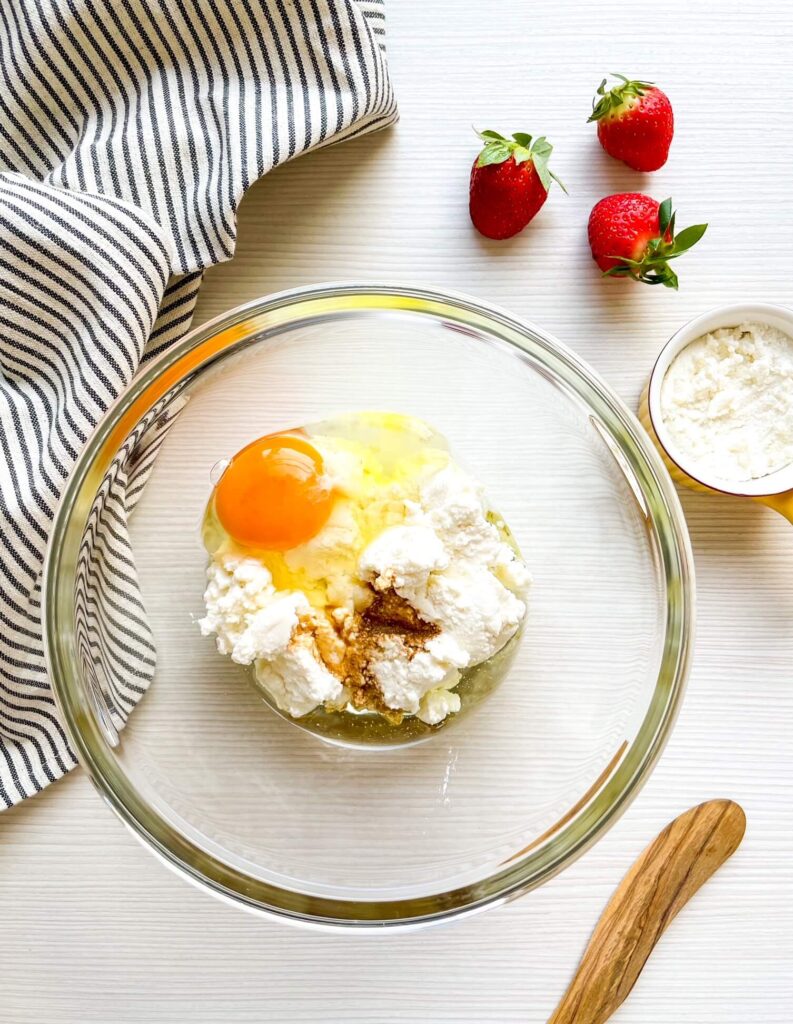
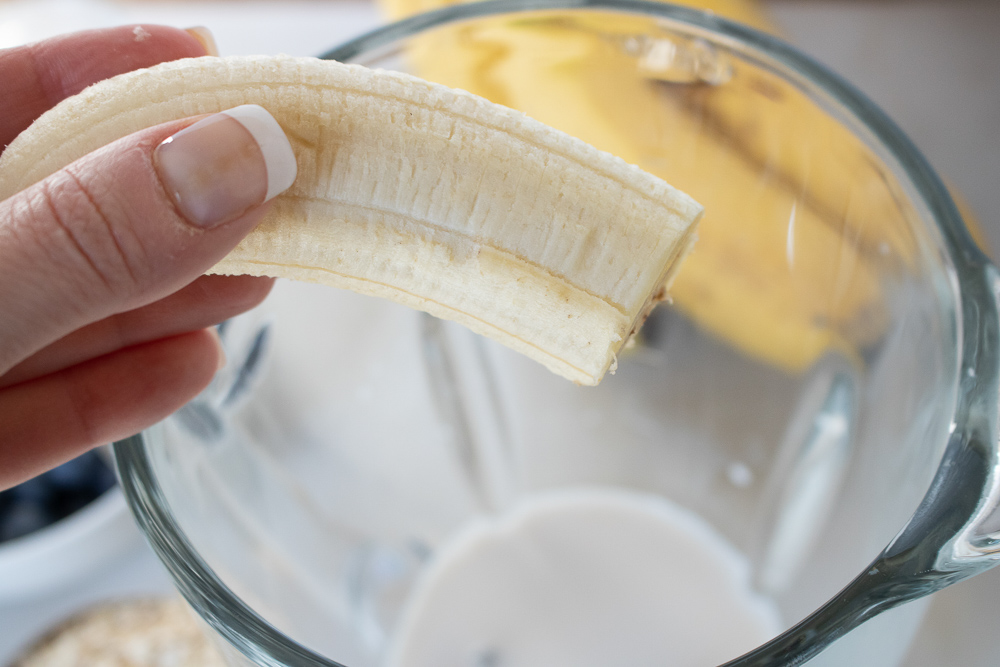
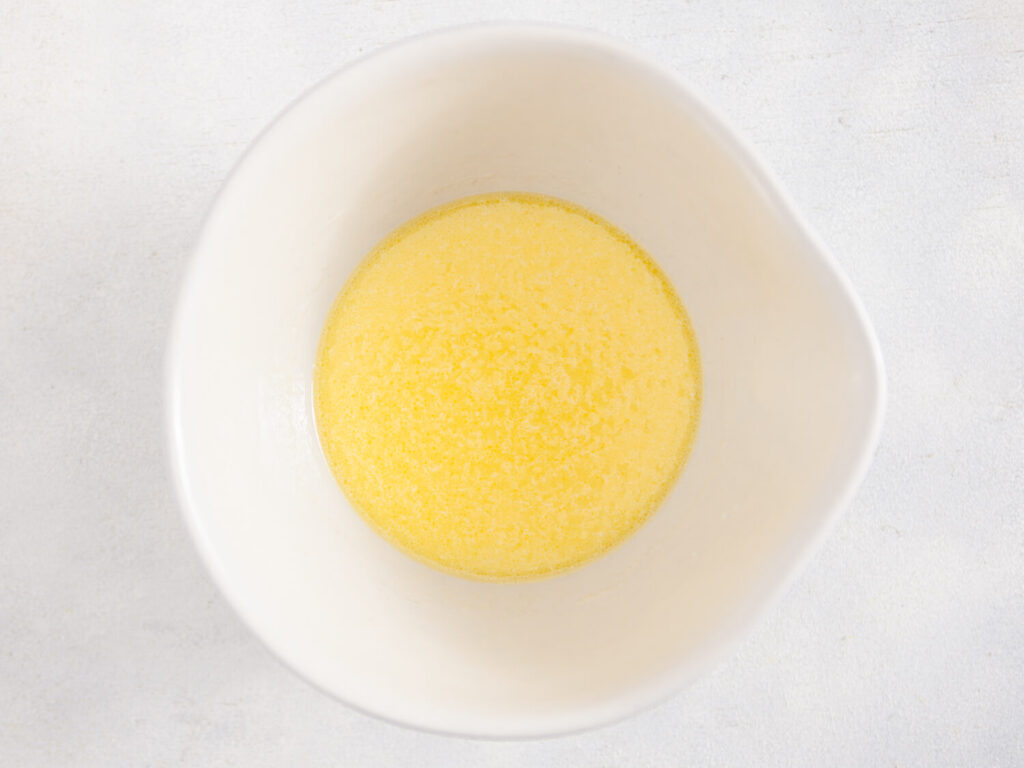
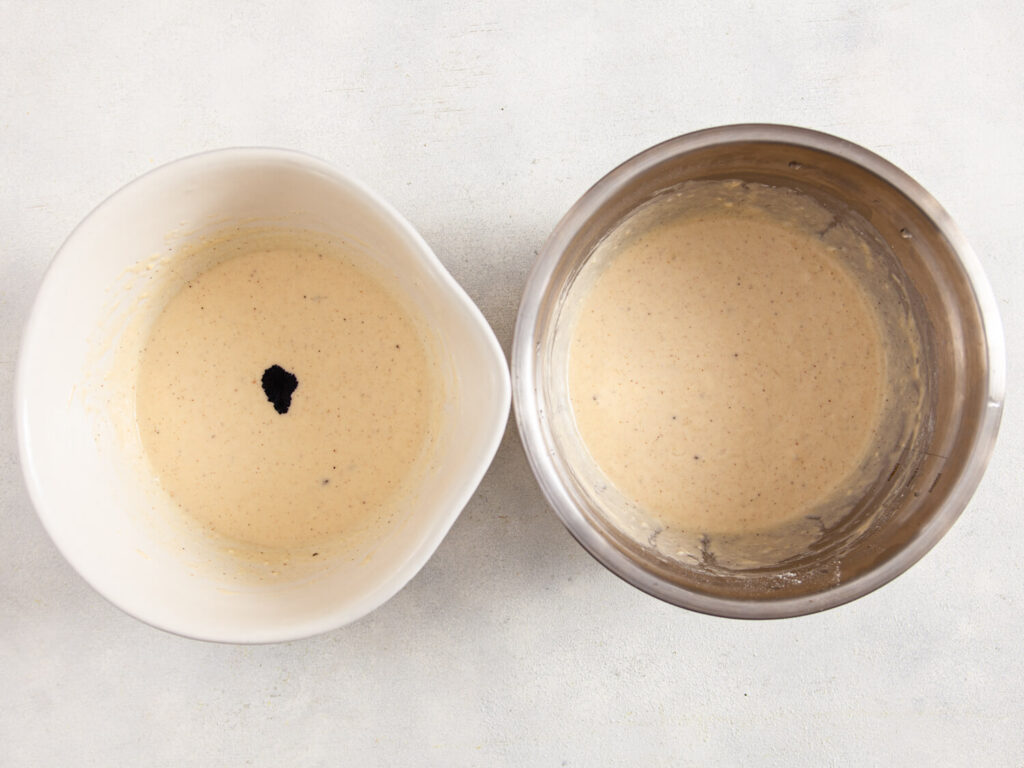
1. In a large mixing bowl, whisk together the egg, ricotta cheese, vegetable oil, and vanilla until blended. Don’t fret if the mixture looks a bit curdled – that’s perfectly normal!
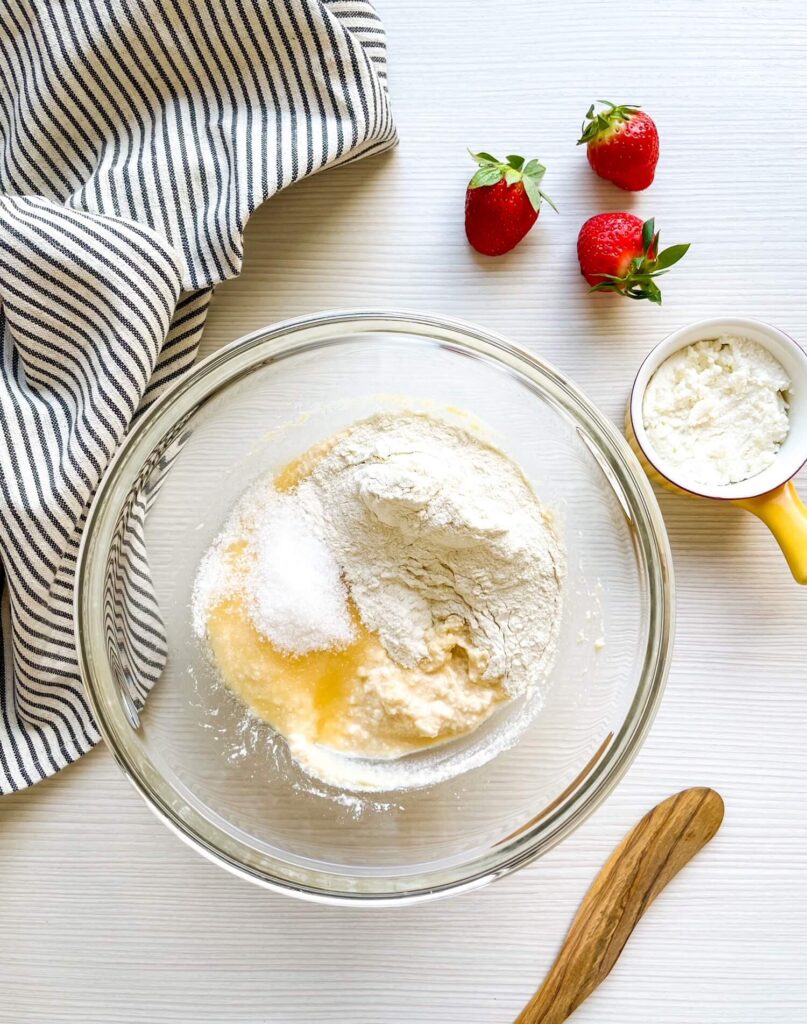

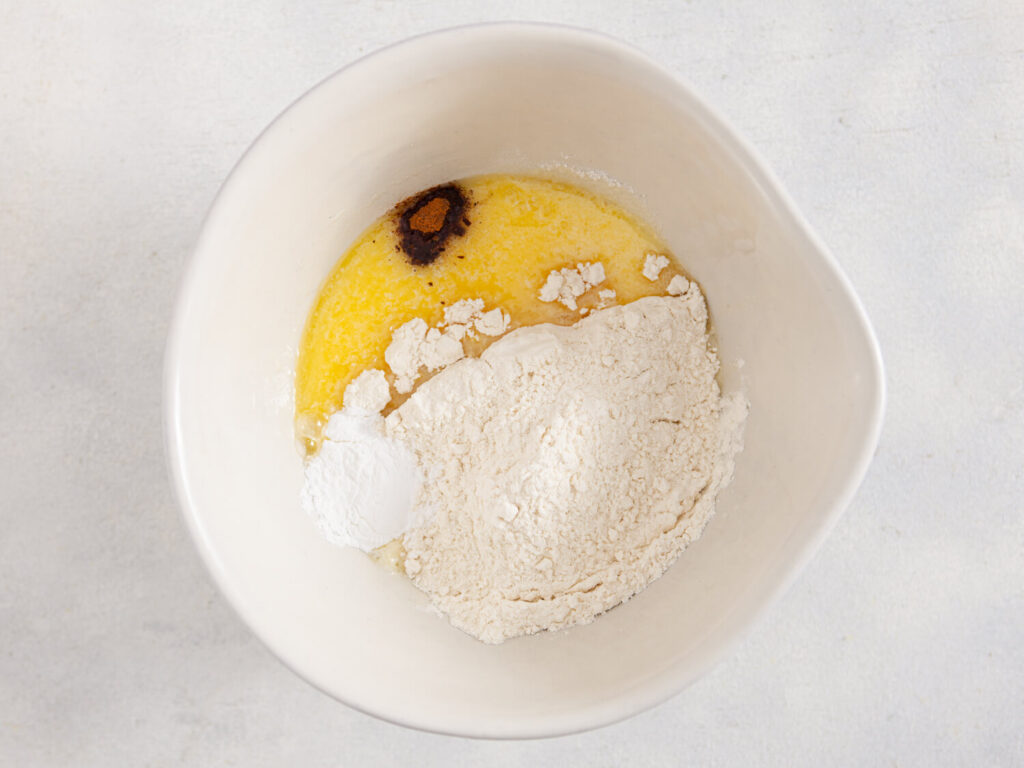
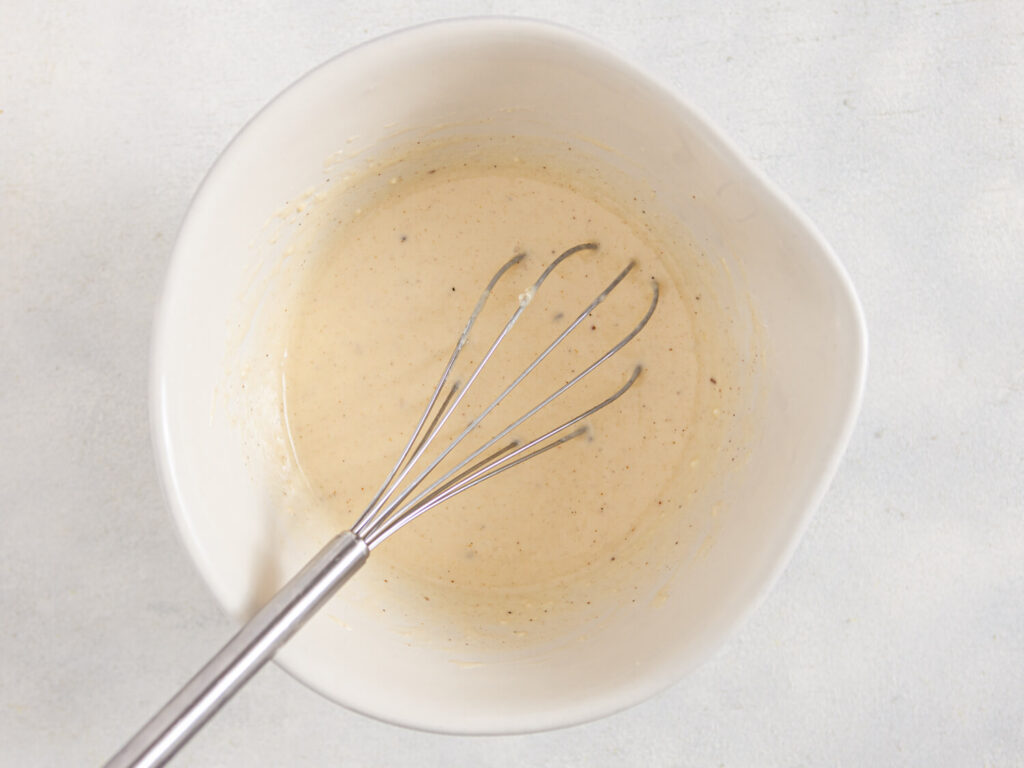
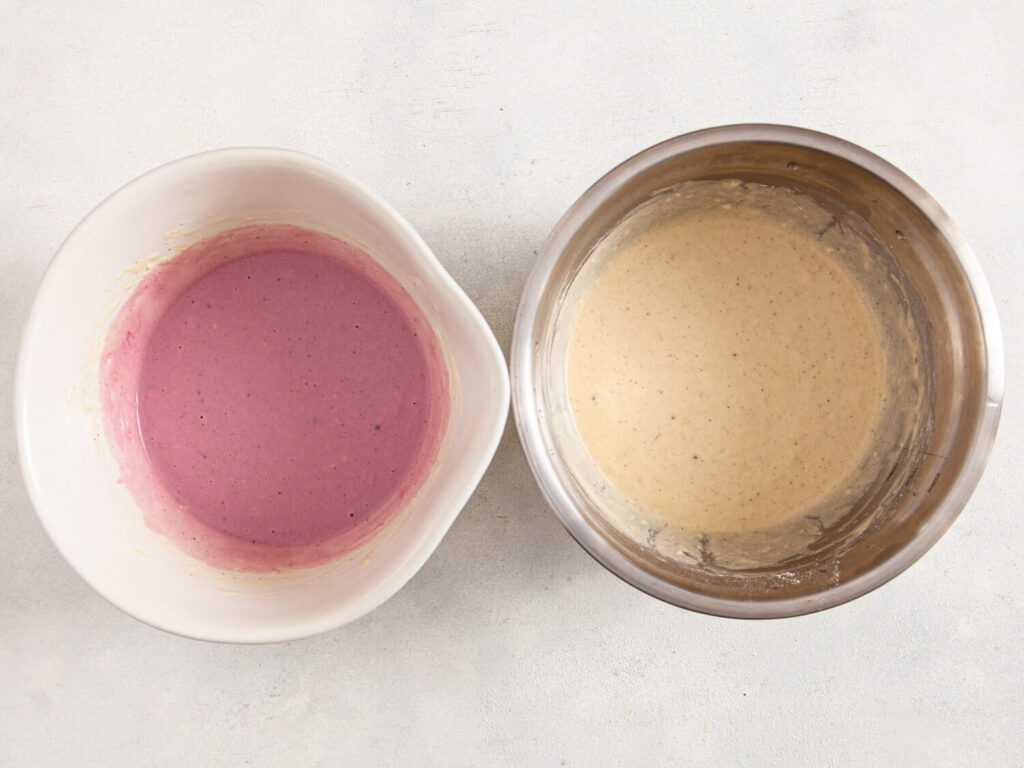
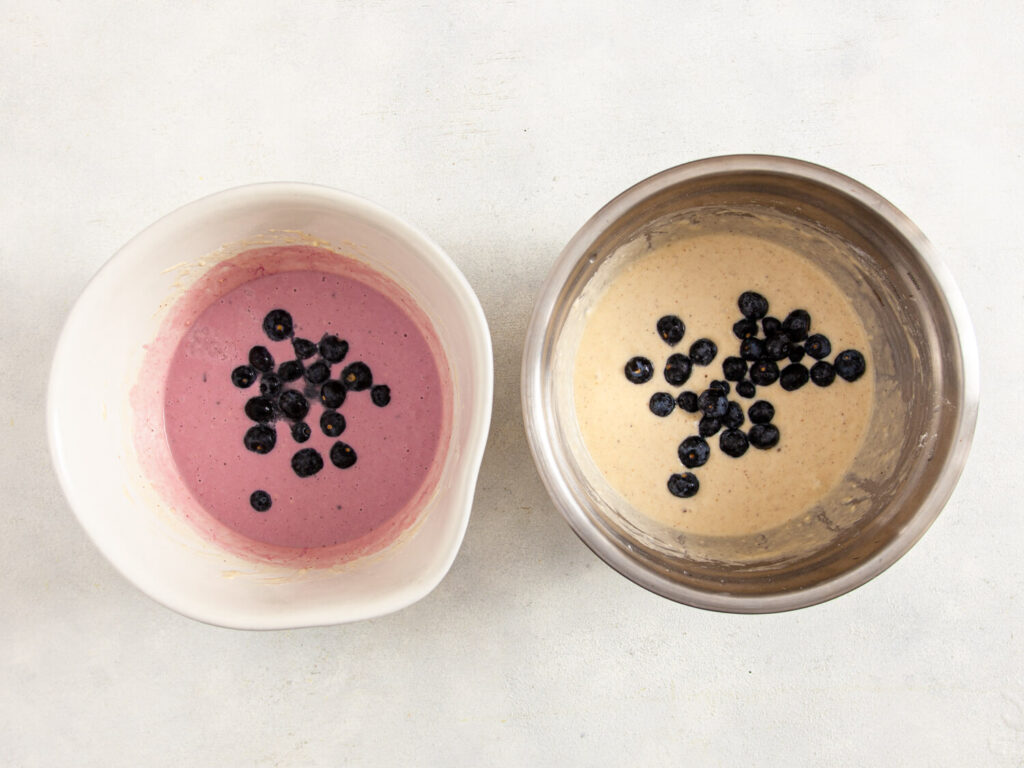
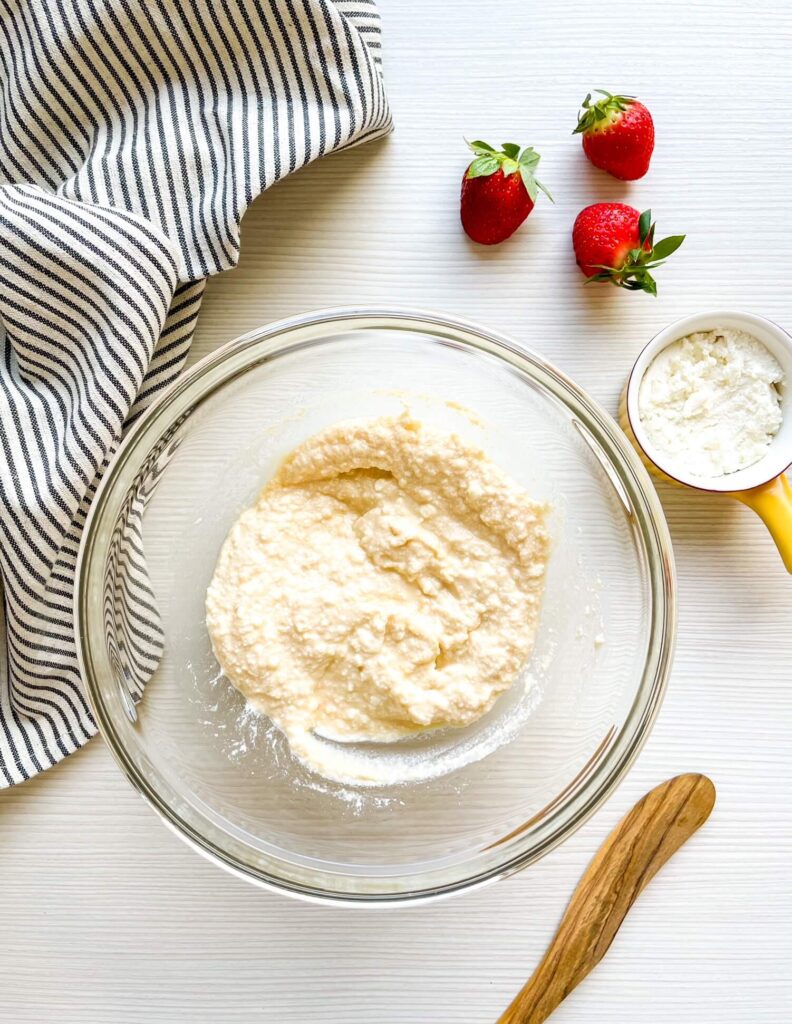
2. Gently fold in the flour, sugar, and salt until the mixture forms a thick batter. Allow it to sit for around 5 minutes; this helps with binding.
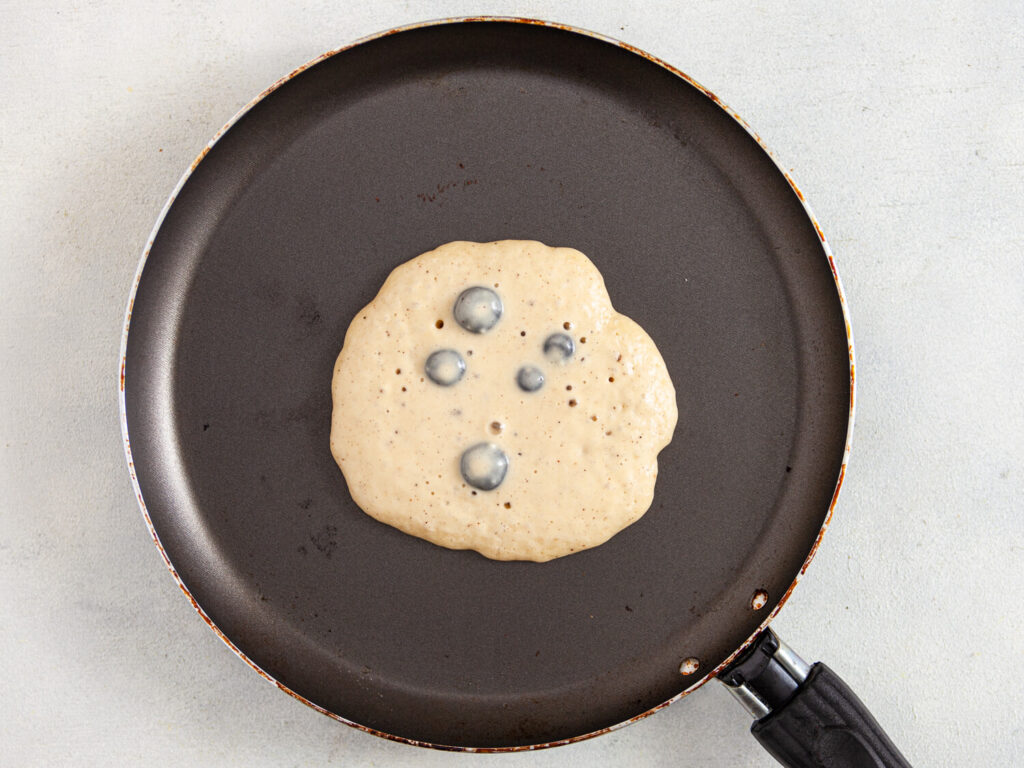
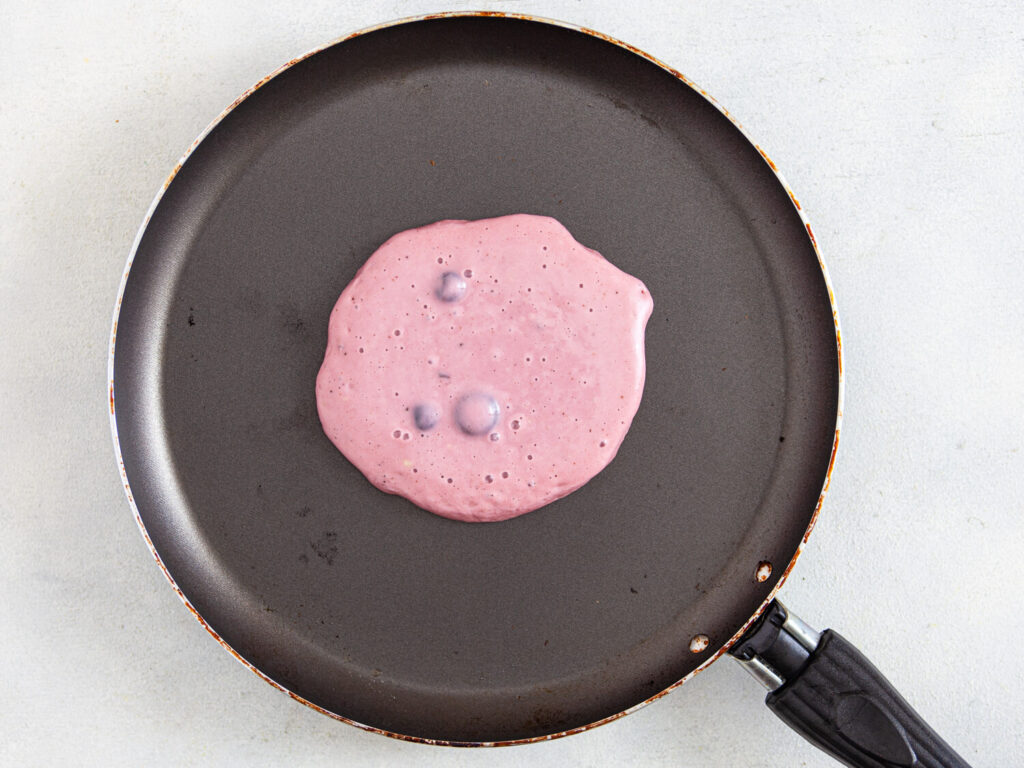
3. While the batter rests, preheat a non-stick skillet over medium-high heat and lightly brush with vegetable oil.
4. Divide the pancake mixture into 6 equal pieces and, using your hands, form them into round-shaped pancakes.

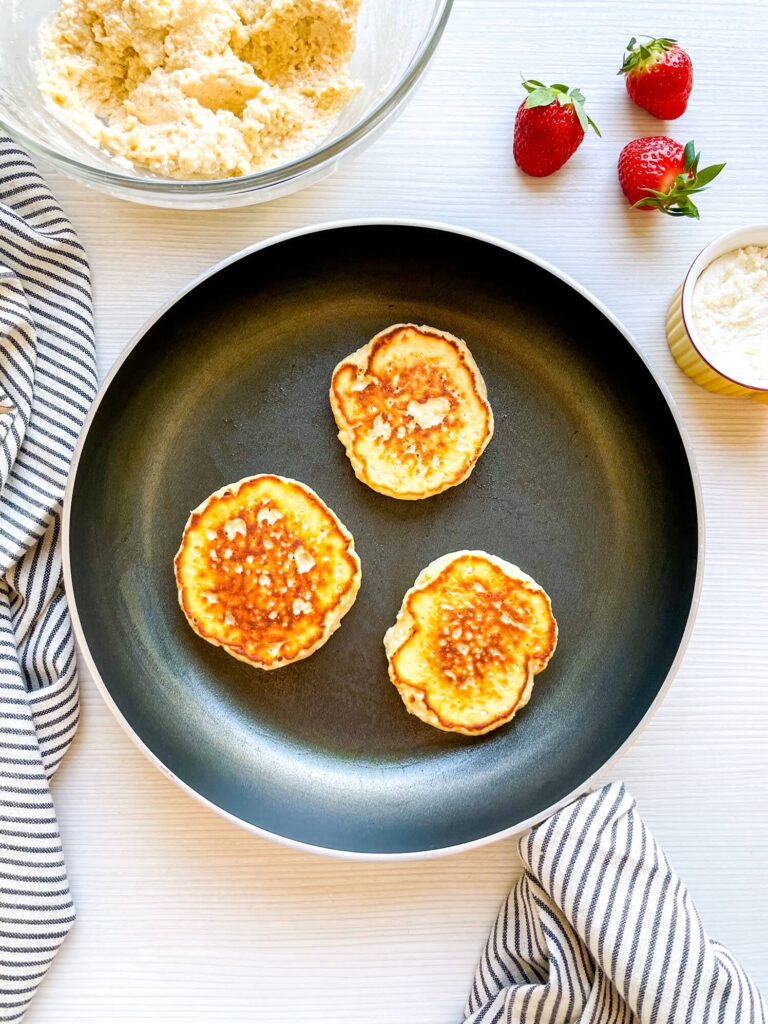
5. Cook the pancakes in batches of three, making sure they turn a nice, golden-brown color on both sides. This should take approximately 3-4 minutes per side.
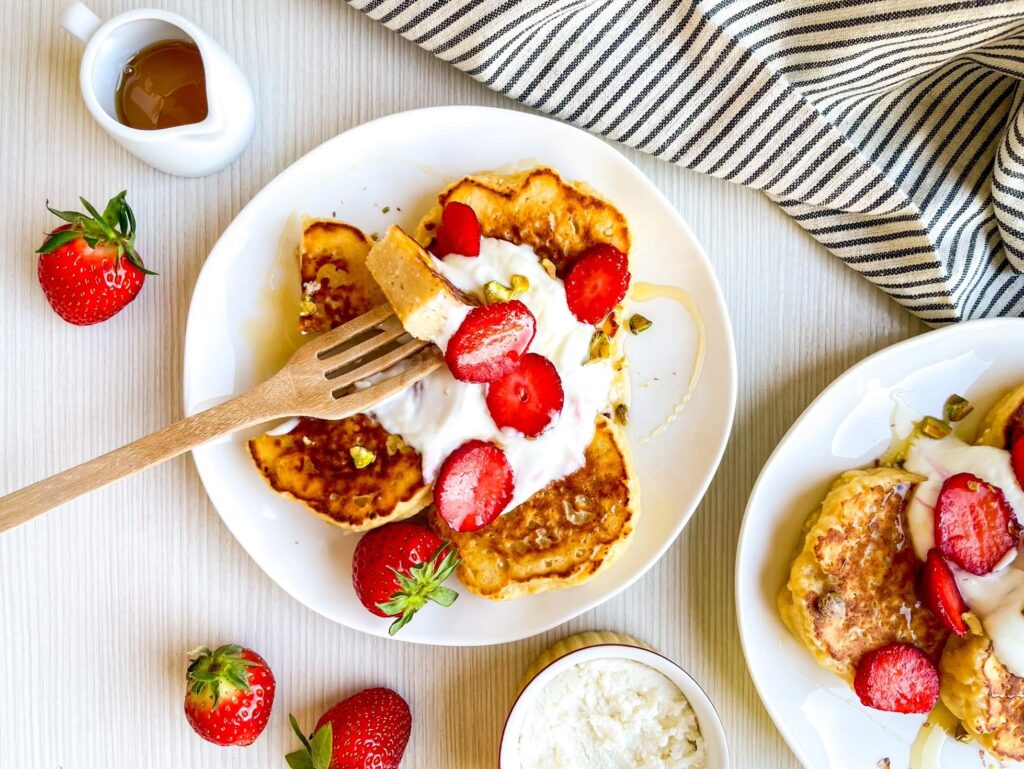
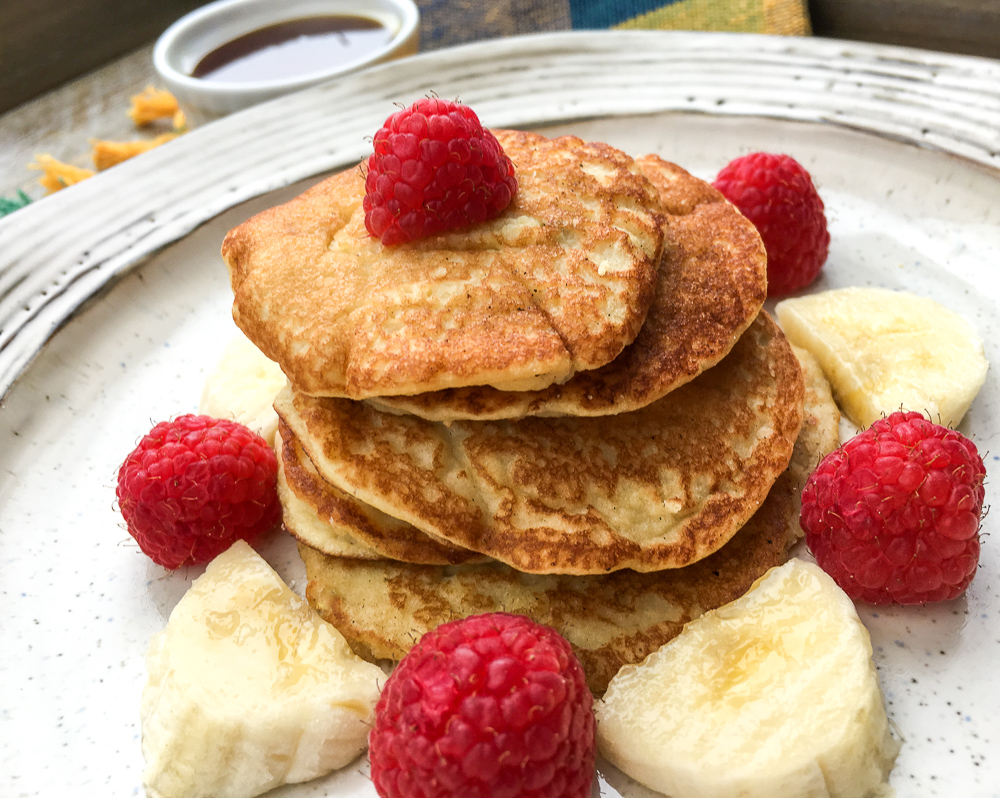
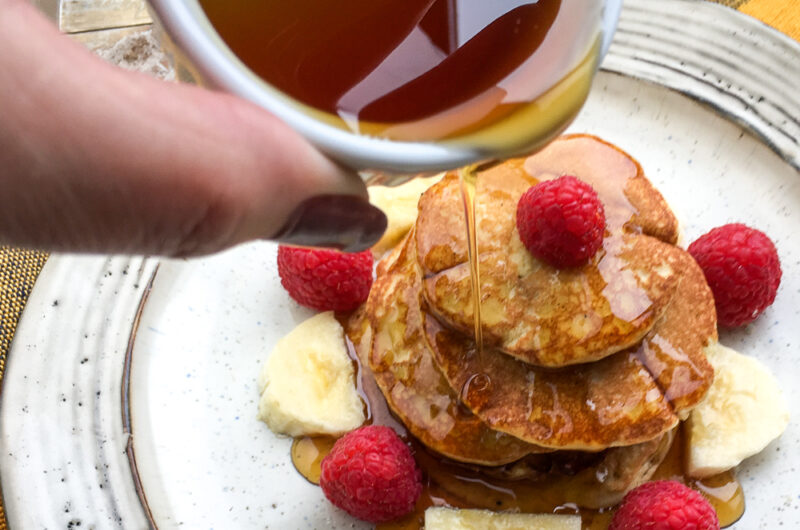
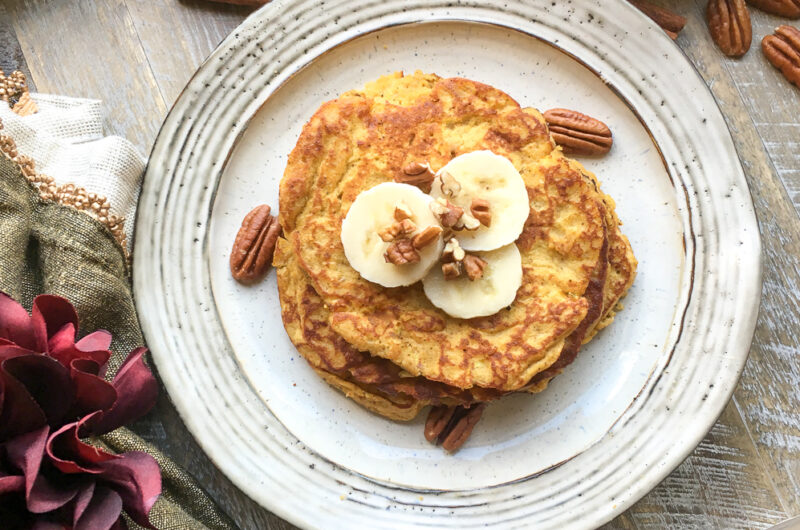
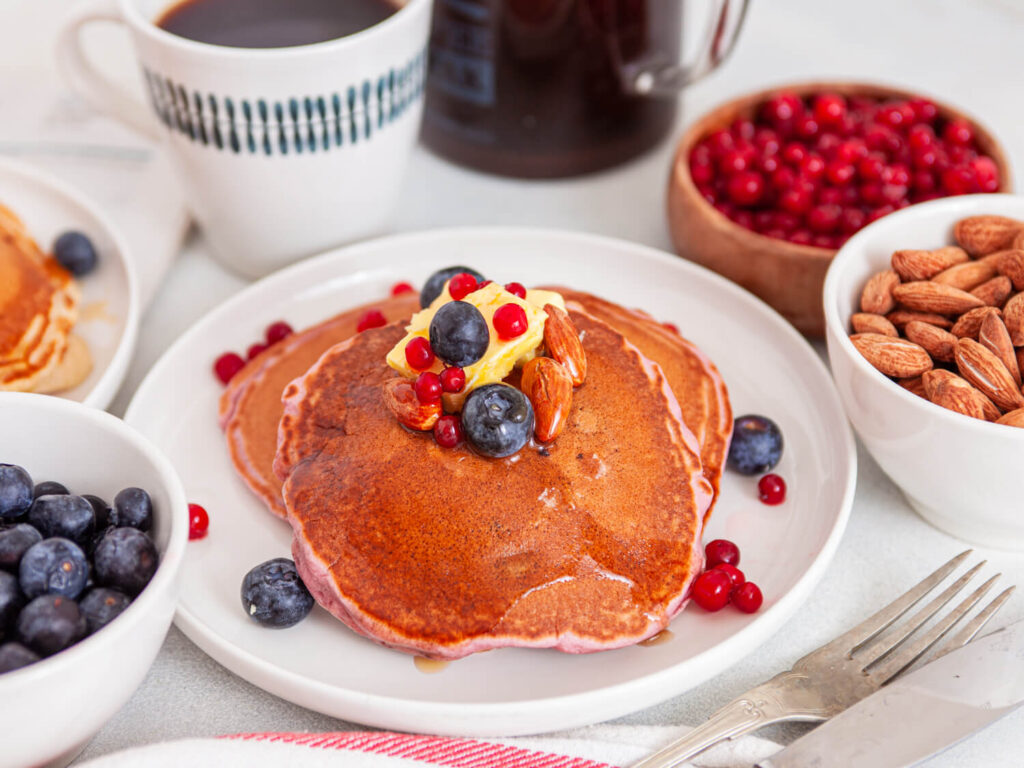
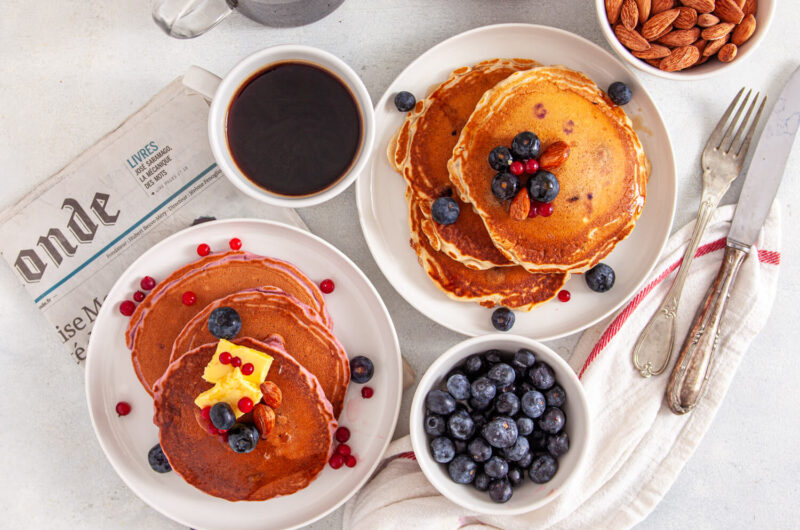
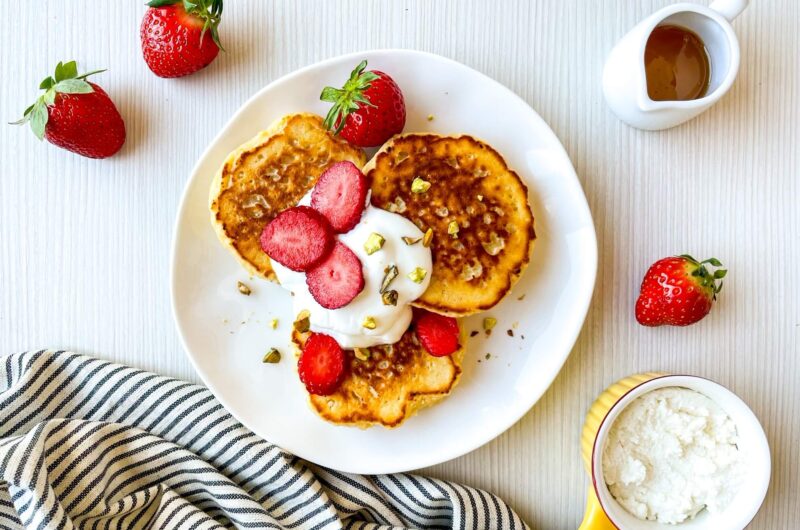
6. Serve warm, topped with a dollop of sour cream, a drizzle of honey, and a generous sprinkle of fresh berries or fruit of your choice. Enjoy!
These pancakes can be served solo with a drizzle of honey, or you can take it up a notch with a variety of fruits! Consider pairing them with strawberries, blueberries, or even a citrus fruit salad for a refreshing twist. Some people enjoy a classic dollop of sour cream, while others might prefer maple syrup for an extra kick of sweetness.
Tips for Perfect Syrniki:
For the fluffiest and creamiest syrniki, make sure your ricotta is well-drained but still moist. If the mixture seems too wet, just sprinkle in a touch more flour until it reaches the right consistency. Also, don’t rush the cooking. Allow the pancakes to develop that beautiful golden-brown crust for maximum flavor!
Have you tried making syrniki yet? Their unique taste and texture are sure to win over anyone who takes a bite! I’d love to hear your experiences or any tweaks you’ve made to the recipe. Share your thoughts and let’s talk about this delicious journey through Ukrainian cuisine!
Fluffy Syrniki Ukrainian Sweet Ricotta Pancakes for a Cozy Breakfast
Course: BreakfastCuisine: UkranianDifficulty: Easy2
servings10
minutes15
minutes420
kcalIngredients
1 large egg
1 cup ricotta cheese
1 tablespoon vegetable oil
1 teaspoon pure vanilla extract
1/4 cup all-purpose flour
2 tablespoons sugar
1/4 teaspoon salt
- To Serve:
2-3 tablespoons honey
Sour cream
Fresh berries or fruit of choice
Directions
- In a large mixing bowl, whisk together the egg, ricotta cheese, vegetable oil, and vanilla until blended. Don’t fret if the mixture looks a bit curdled – that’s perfectly normal!
- Gently fold in the flour, sugar, and salt until the mixture forms a thick batter. Allow it to sit for around 5 minutes; this helps with binding.
- While the batter rests, preheat a non-stick skillet over medium-high heat and lightly brush with vegetable oil.
- Divide the pancake mixture into 6 equal pieces and, using your hands, form them into round-shaped pancakes.
- Cook the pancakes in batches of three, making sure they turn a nice, golden-brown color on both sides. This should take approximately 3-4 minutes per side.
- Serve warm, topped with a dollop of sour cream, a drizzle of honey, and a generous sprinkle of fresh berries or fruit of your choice. Enjoy!