Who knew weeknight dinners could feel this fancy and be ridiculously easy? With just a few simple ingredients and your trusty air fryer, you can whip up teriyaki salmon that tastes like it came straight from your favorite sushi spot.
So, pour yourself a cup of tea (or a glass of wine—we don’t judge), and let’s get cooking. By the end of this post, you’ll have the ultimate go-to recipe for impressing everyone from your picky eaters to that friend who always insists they don’t like fish. Spoiler: They’ll love this.
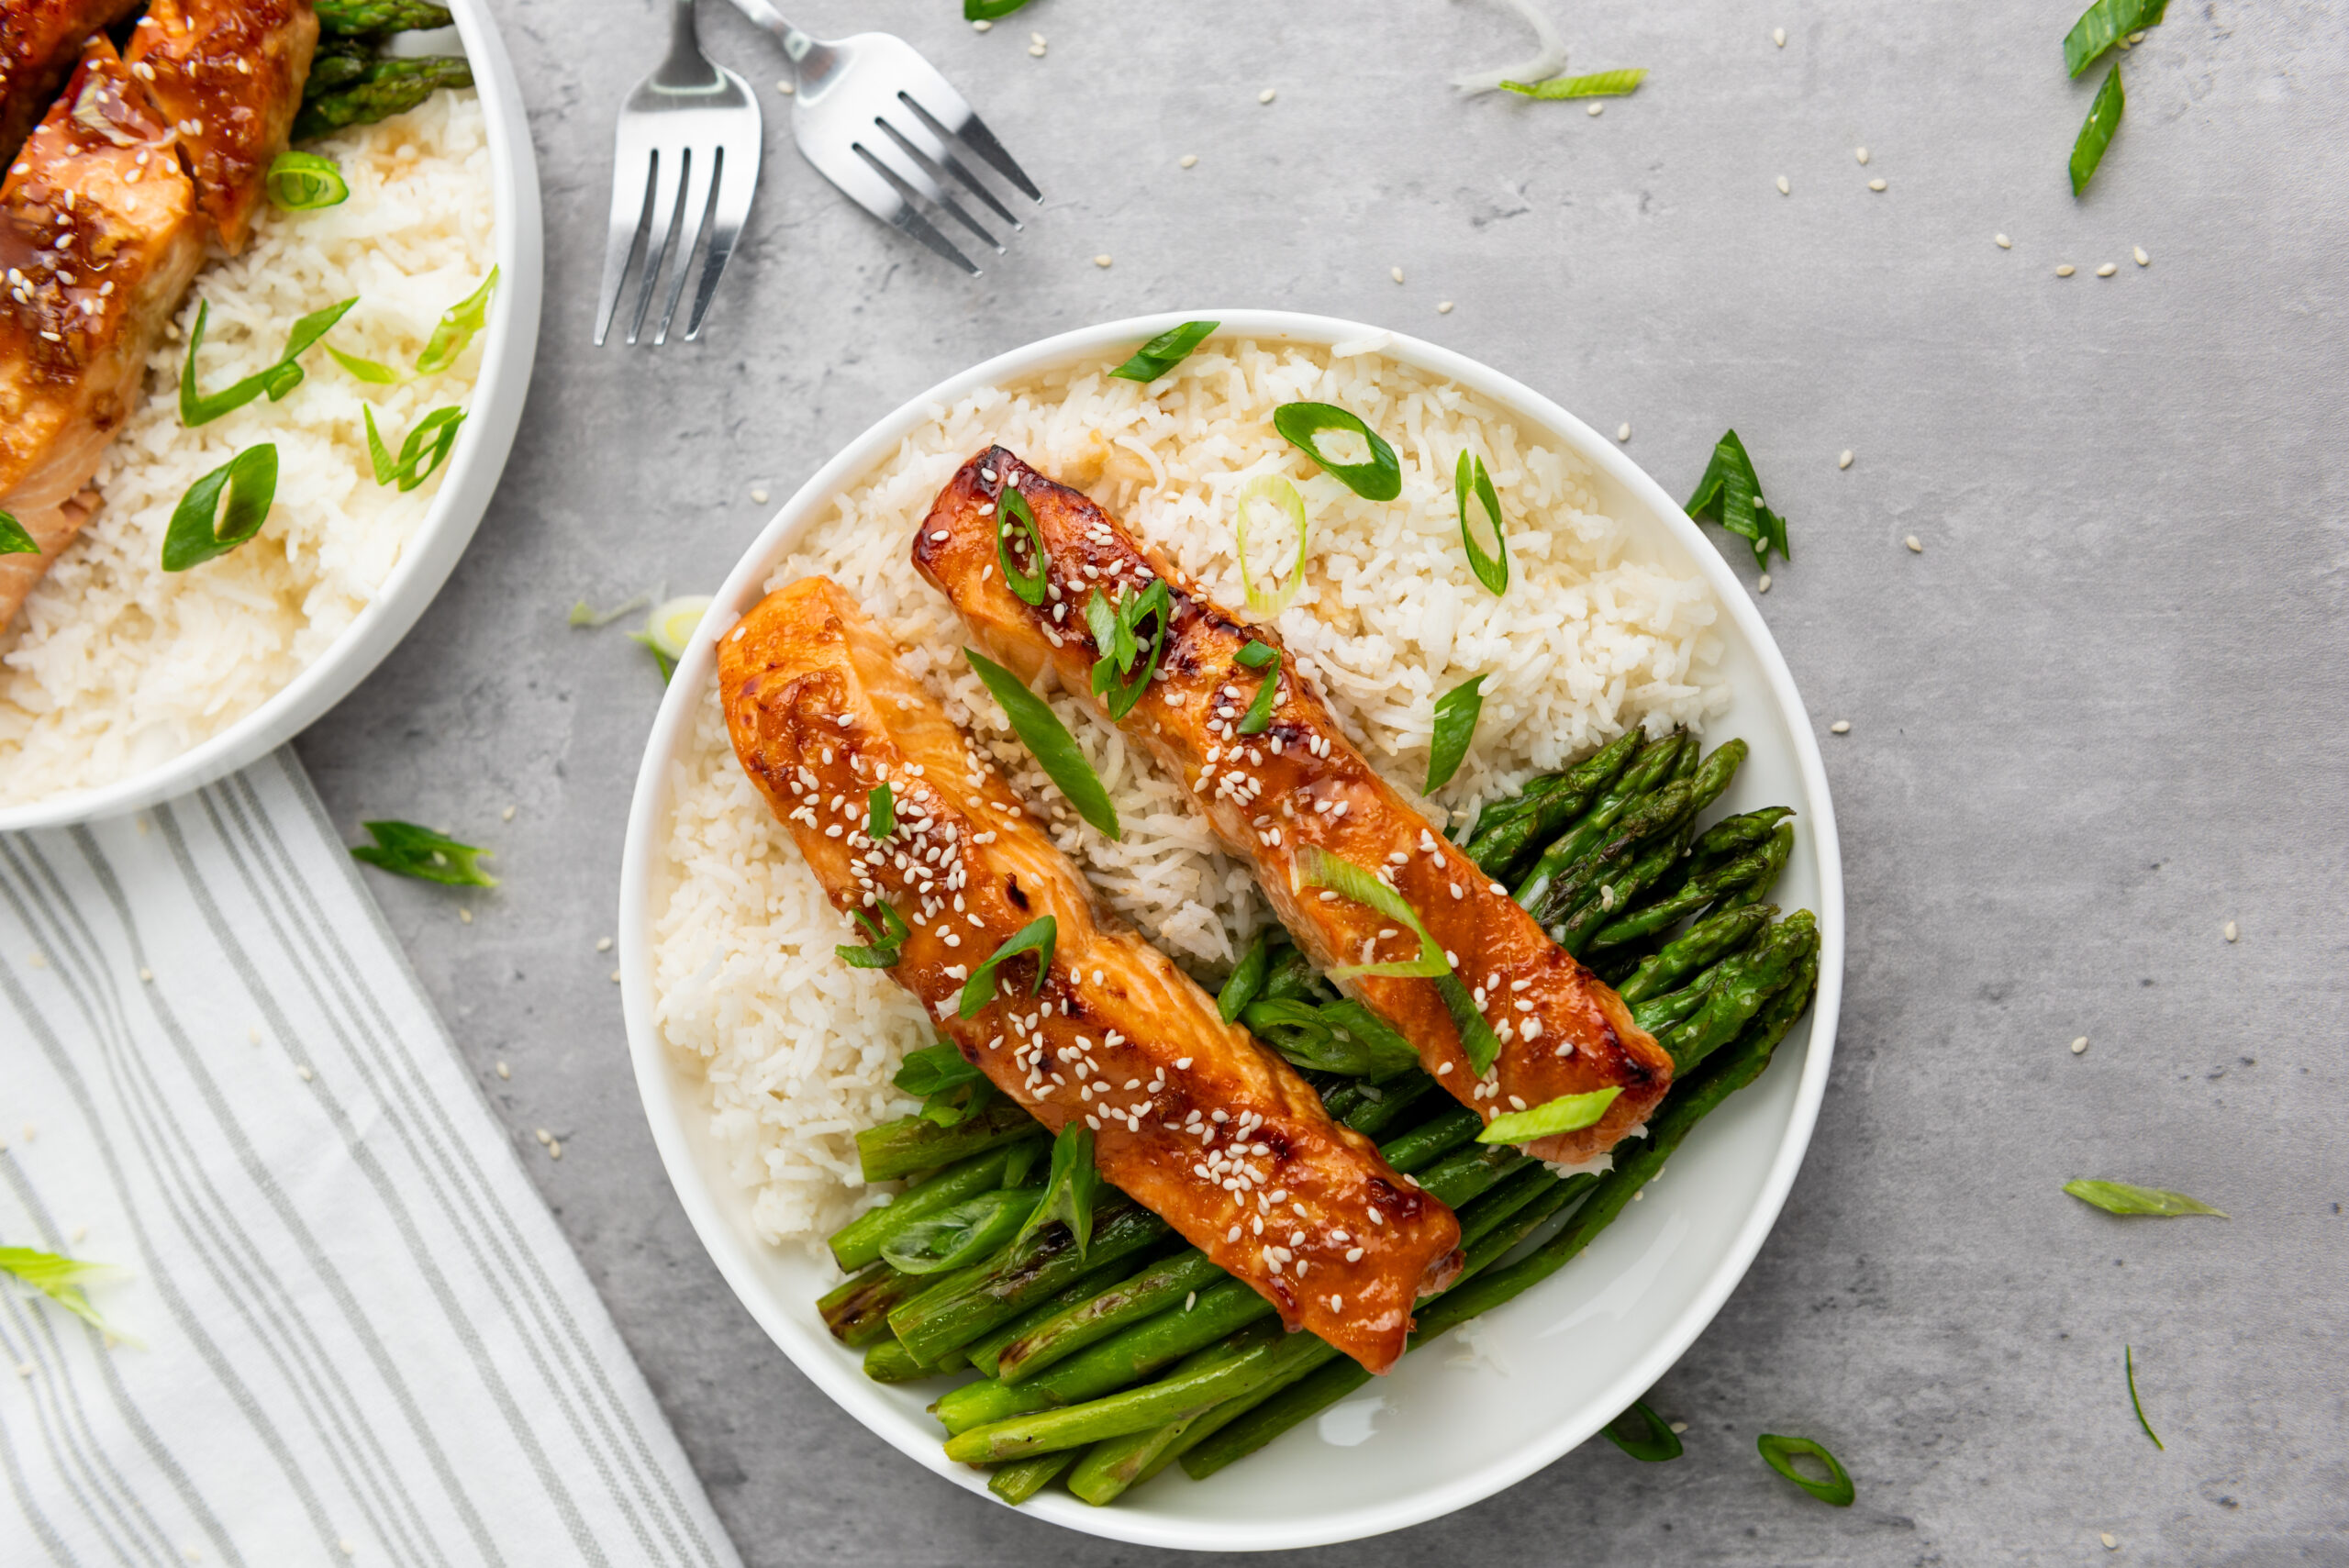
We’re talking flaky salmon, caramelized teriyaki goodness, and a perfectly glazed finish—all made in under 20 minutes. Oh, and don’t forget the sprinkle of sesame seeds and scallions for that “did I just become a professional chef?” vibe. Let’s dive in!
Also Read: 29+ Low-Carb Dinner Ideas That You Can Make In Your Air Fryer
How To Make Air Fryer Teriyaki Salmon
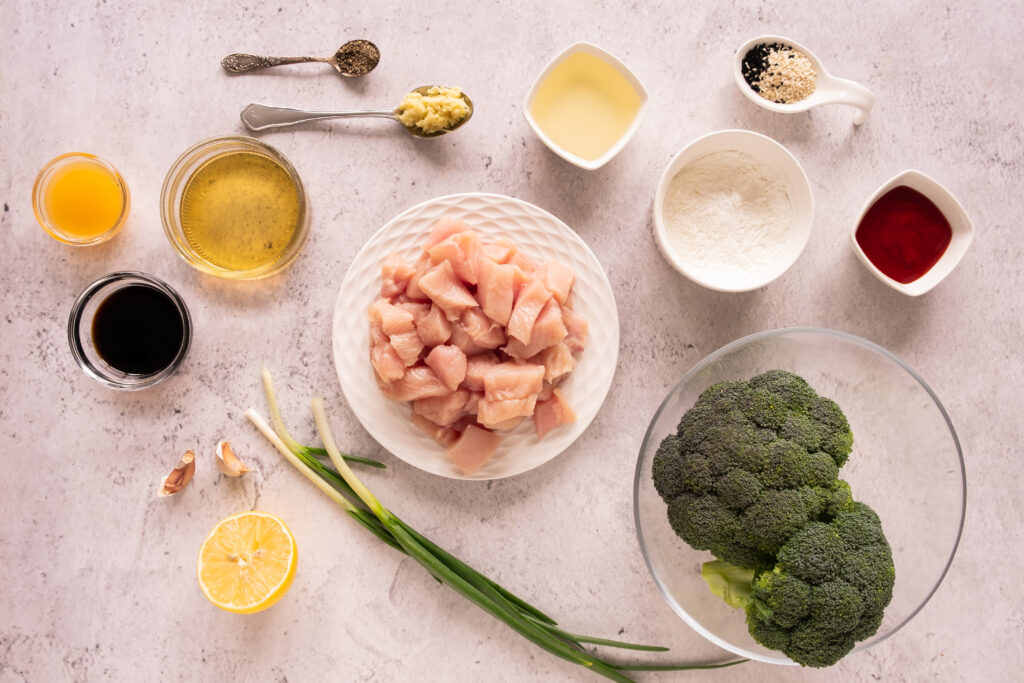
Ingredients You'll Need For This Recipe
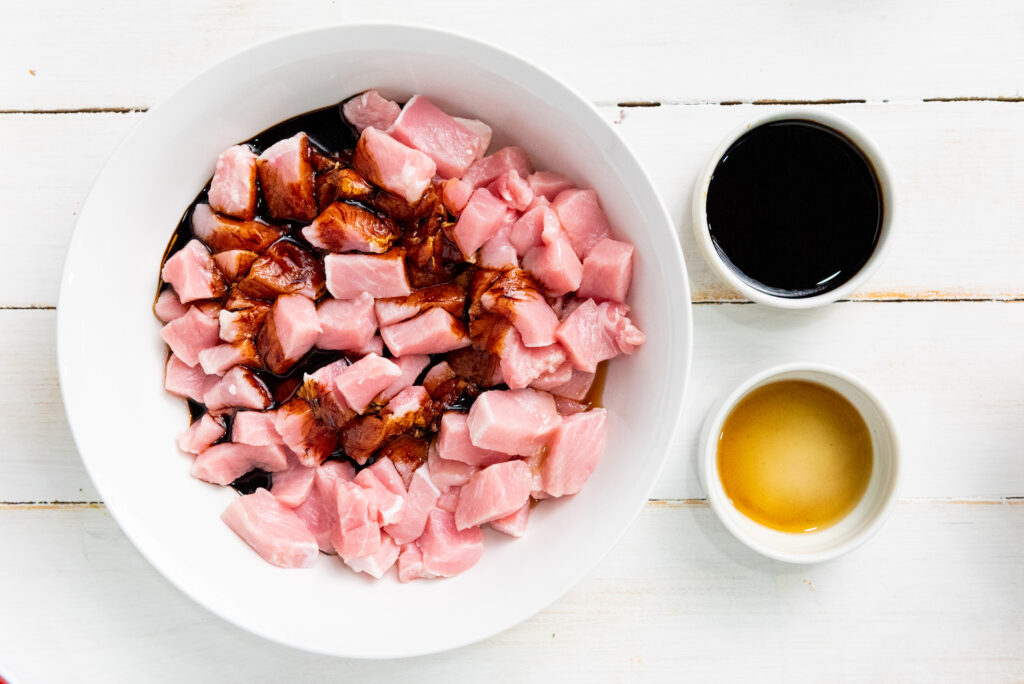
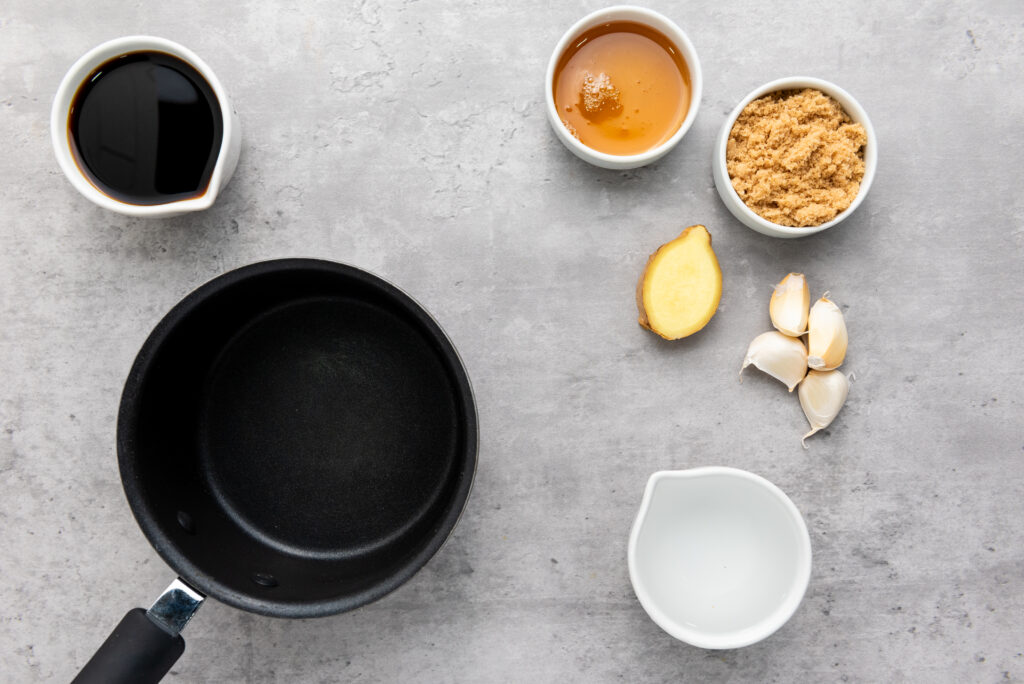
1 lb (4 pieces) salmon fillets
1/2 cup soy sauce
1/2 cup water
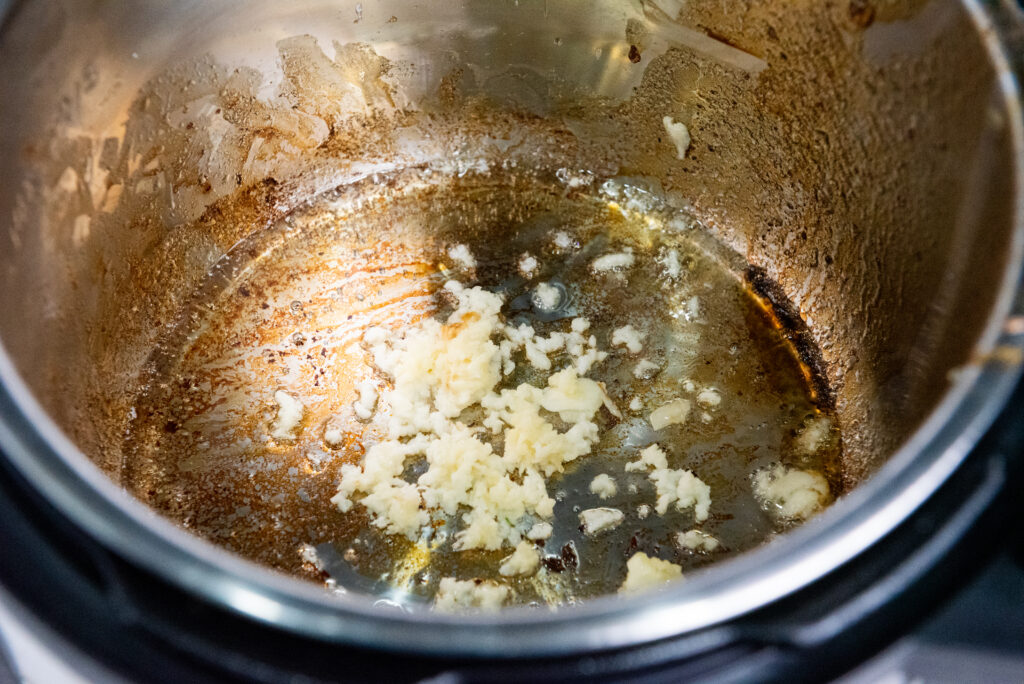
4 cloves garlic, minced
1-inch piece of ginger, grated
2 tbsp honey
2 tbsp brown sugar
1 tbsp cornstarch
1 tsp sesame seeds (for garnish)
1 scallion, thinly sliced (for garnish)
Also Read: 32+ Delicious One-Pot Dinner Ideas
Step-by-Step Guide
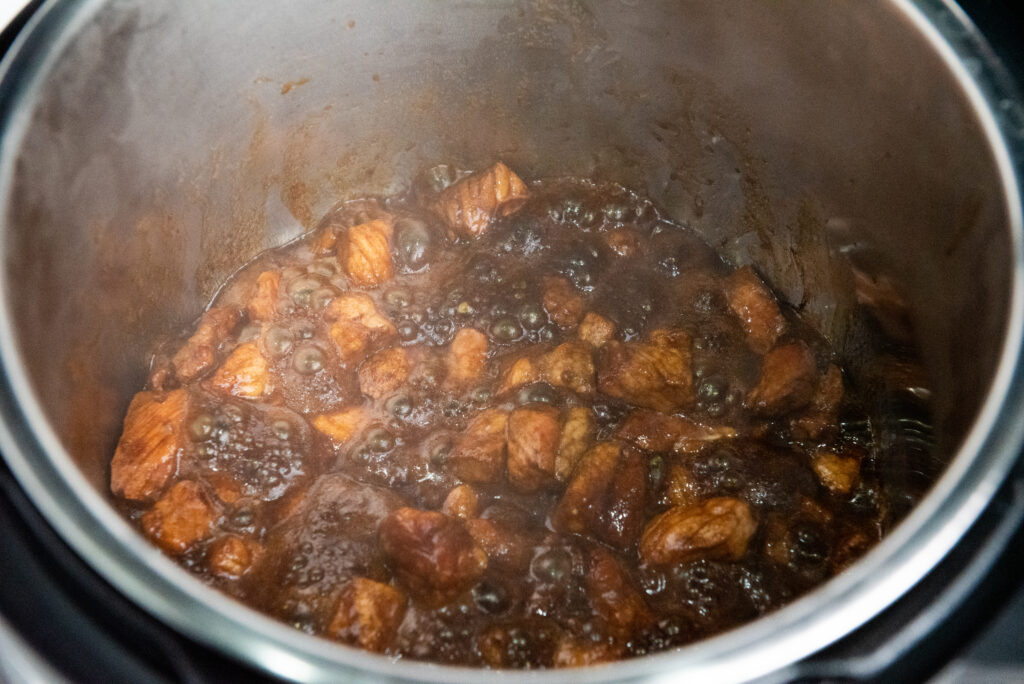
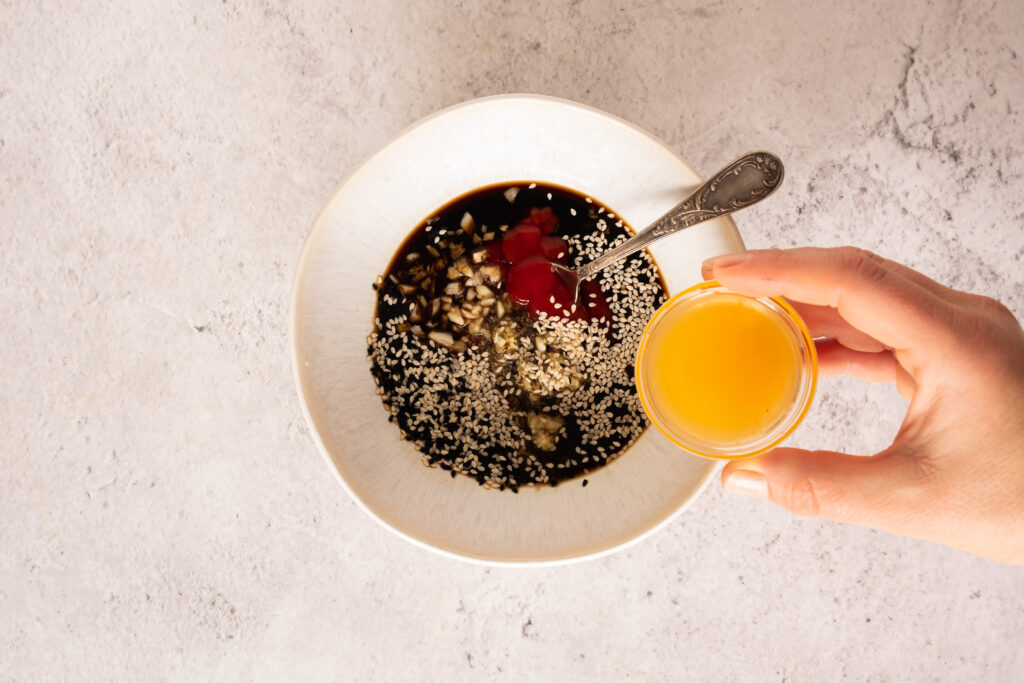
1. Prepare the sauce. In a small saucepan, combine the soy sauce, ¾ of the water, minced garlic, grated ginger, honey, and brown sugar.
2. Place the saucepan over medium heat and whisk the mixture until the sugar has dissolved and starts to thicken.
3. In a separate bowl, mix the cornstarch with the remaining cold water to create a slurry.
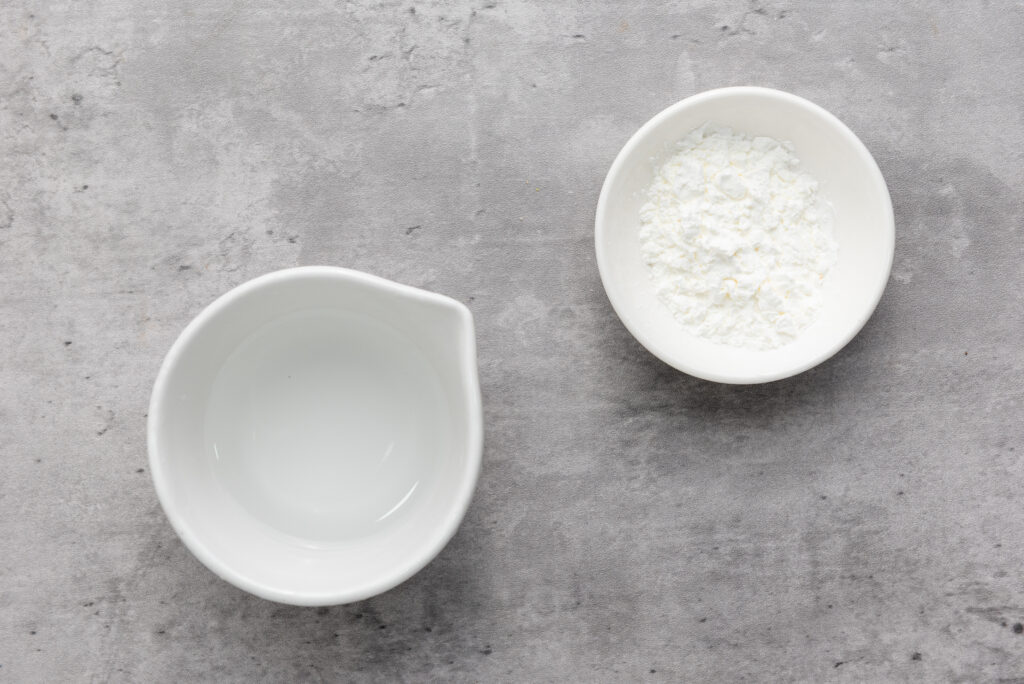
4. Add the cornstarch slurry to the saucepan and continue to whisk the mixture until it thickens to a glossy consistency. This should take about 2-3 minutes.
5. Remove the teriyaki sauce from the heat and set it aside to cool.
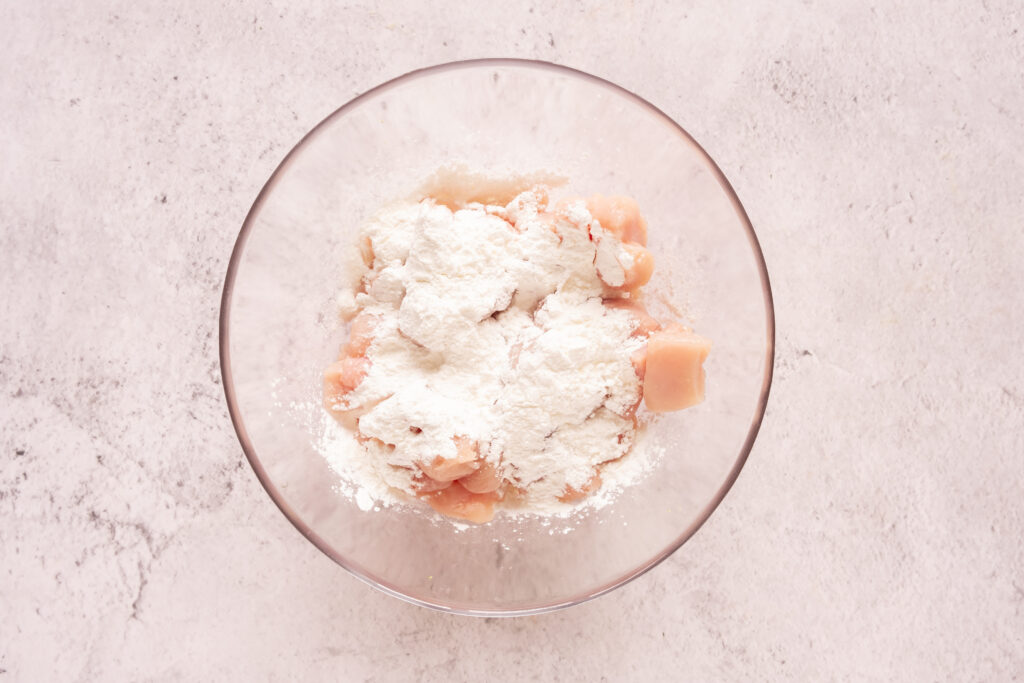
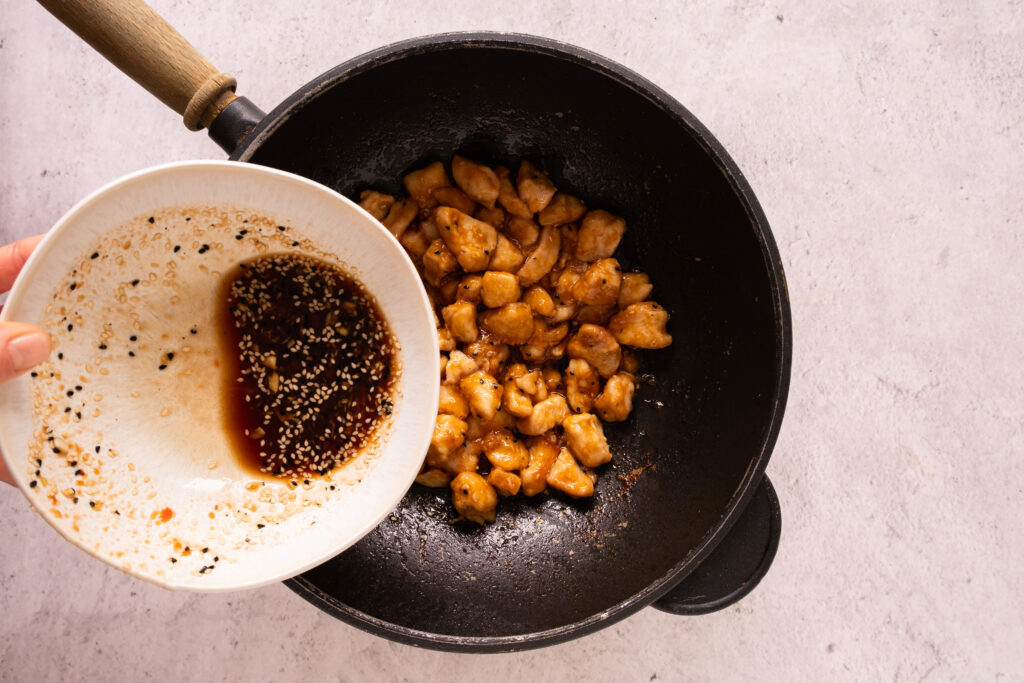
6. Place the salmon fillets in a shallow dish or a resealable plastic bag. Pour the teriyaki sauce over the salmon.
7. Make sure the salmon is well coated. Seal the bag or cover the dish and refrigerate for at least 15 minutes (or up to 1 hour) to allow the salmon to marinate.
8. Remove the marinated salmon from the refrigerator and place it in an air fryer-safe dish.
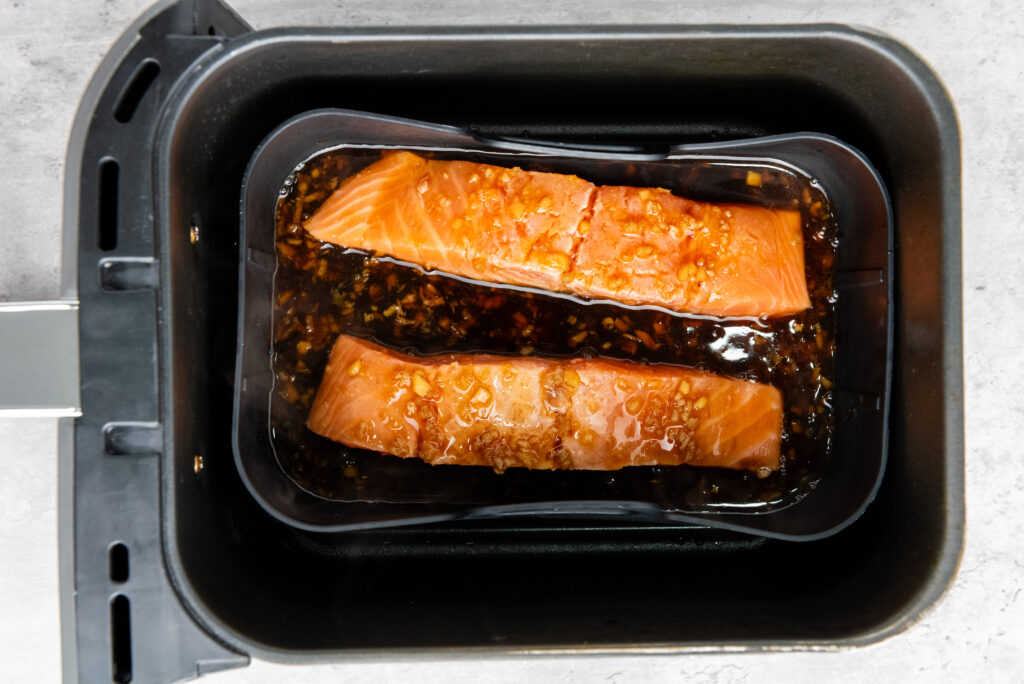
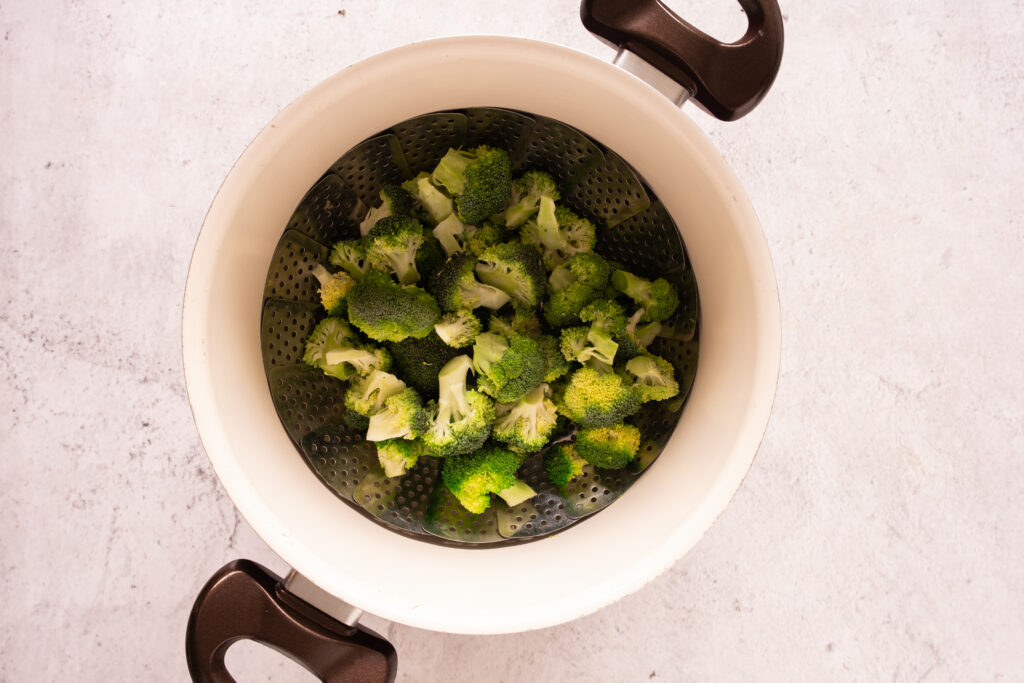
9. Air fry the salmon for about 12 minutes, or until it reaches your desired level of doneness. The salmon should be flaky and cooked through.
10. If you like your salmon with a caramelized glaze, brush the reserved teriyaki sauce over the salmon fillets during the last 2-3 minutes of cooking.
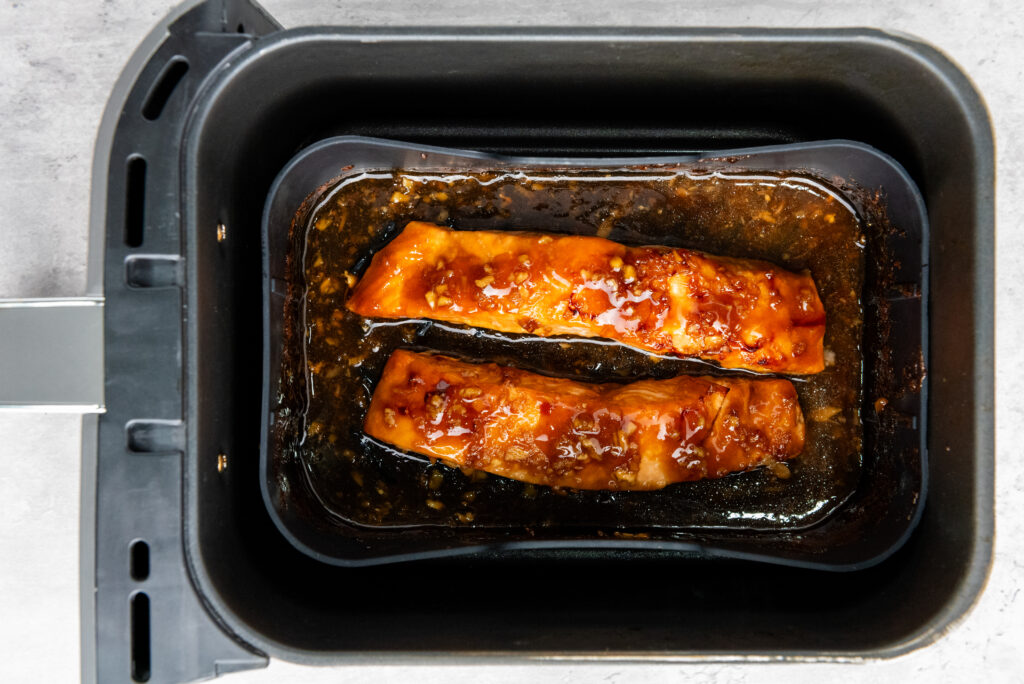
11. Once the salmon is done, carefully remove it from the air fryer. Sprinkle sesame seeds and thinly sliced scallions on top of the salmon for added flavor and presentation. Serve your air fryer teriyaki salmon hot over a bed of steamed rice or with your favorite side dishes.

And just like that, you’ve got a restaurant-worthy teriyaki salmon right from your air fryer—no takeout menu required! Whether you’re serving it up with some steamed rice, a side of veggies, or even tossing it on a salad, this dish is bound to become a weeknight staple.
The best part? You didn’t even have to break a sweat in the kitchen. So, the next time you’re craving something delicious, quick, and just a little fancy, you know what to do. Trust us, your air fryer (and your taste buds) will thank you!
Air Fryer Teriyaki Salmon
Course: Dinner, LunchCuisine: JapaneseDifficulty: Easy4
servings15
minutes20
minutes305
kcalIngredients
1 lb (4 pieces) salmon fillets
1/2 cup soy sauce
1/2 cup water
4 cloves garlic, minced
1-inch piece of ginger, grated
2 tbsp honey
2 tbsp brown sugar
1 tbsp cornstarch
1 tsp sesame seeds (for garnish)
1 scallion, thinly sliced (for garnish)
Directions
- Prepare The Teriyaki Sauce
- Prepare the sauce. In a small saucepan, combine the soy sauce, ¾ of the water, minced garlic, grated ginger, honey, and brown sugar.
- Place the saucepan over medium heat and whisk the mixture until the sugar has dissolved and starts to thicken.
- In a separate bowl, mix the cornstarch with the remaining cold water to create a slurry.
- Add the cornstarch slurry to the saucepan and continue to whisk the mixture until it thickens to a glossy consistency. This should take about 2-3 minutes.
- Remove the teriyaki sauce from the heat and set it aside to cool.
- Marinate The Salmon
- Place the salmon fillets in a shallow dish or a resealable plastic bag. Pour the teriyaki sauce over the salmon.
- Make sure the salmon is well coated. Seal the bag or cover the dish and refrigerate for at least 15 minutes (or up to 1 hour) to allow the salmon to marinate.
- Air Fry The Salmon
- Remove the marinated salmon from the refrigerator and place it in an air fryer-safe dish.
- Air fry the salmon for about 12 minutes, or until it reaches your desired level of doneness. The salmon should be flaky and cooked through.
- If you like your salmon with a caramelized glaze, brush the reserved teriyaki sauce over the salmon fillets during the last 2-3 minutes of cooking.
- Once the salmon is done, carefully remove it from the air fryer. Sprinkle sesame seeds and thinly sliced scallions on top of the salmon for added flavor and presentation.
- Serve your air fryer teriyaki salmon hot over a bed of steamed rice or with your favorite side dishes.