We all know the importance of a good night’s sleep, but in today’s fast-paced world, achieving that much-needed sleep can be challenging.
Stress, technology, and other factors can disrupt our sleep patterns and leave us feeling groggy and unrefreshed in the morning.
But fear not! Today, we’ll provide you with a comprehensive guide on how to have the most peaceful sleep of your life, so you can wake up feeling rejuvenated and ready to conquer the day.
How To Fix Your Sleep Schedule
Do An Evening Self-Care Routine
Incorporating an evening self-care routine is a great foundation when trying to enhance your sleep quality.
Discover the best practices for relaxation and self-care in the evening by checking out our thorough blog post on how to have a relaxing bedtime self-care routine.
You’ll learn how to unwind and prepare both your body and mind for a restful night’s sleep.
Set aside at least 30 minutes to wind down before hitting the hay.
This could include activities such as reading a book, practicing deep breathing exercises, or taking a warm bath.
Avoid stimulating activities like watching TV or using electronic devices, as they can interfere with your body’s sleep-wake cycle.
Related Post: 12 Amazing Selfcare Night Ideas To Help You Unwind And Relax
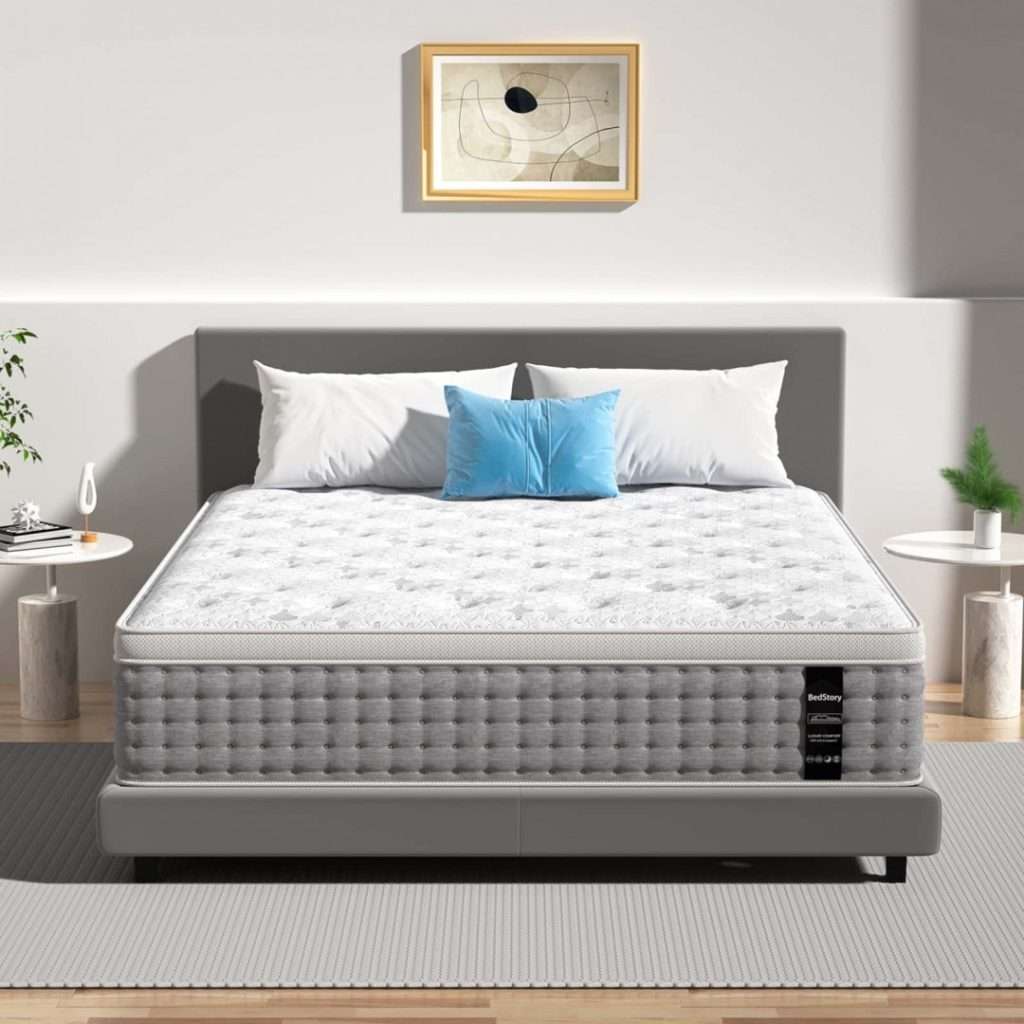
Invest In A Comfortable Mattress And Bedding
Your mattress and bedding play a significant role in the quality of your sleep.
Invest in a comfortable mattress that suits your sleep preferences, whether you prefer a firm or plush surface.
High-quality pillows and soft, breathable sheets can also make a world of difference in enhancing your sleep comfort.
I love my mattress from Bed Story and I definitely think you should get one for yourself, it has changed the way I sleep and overall makes for a good night’s rest.


Related Post: How Sleeping On A Silk Pillowcase Gives You Silky Smooth Hair
Create The Perfect Sleep Environment
A peaceful sleep environment is essential for a restful night.
Keep your bedroom dark, quiet, and cool. Consider using blackout curtains to block out any unwanted light, earplugs or a white noise machine to drown out noise, and maintain a comfortable room temperature to prevent night sweats or shivering.
If you like to fall asleep to noise, like I do, then think about investing in a white noise machine to help you fall asleep much faster, or listen to an audiobook as you fall asleep.
Develop A Consistent Sleep Schedule
Our bodies love routine.
Try to go to bed and wake up at the same time each day, even on weekends.
Consistency helps regulate your body’s internal clock and improves the overall quality of your sleep. Aim for 7-9 hours of sleep per night, as individual needs may vary.
Mind Your Diet And Hydration
Avoid heavy or spicy meals, caffeine, and alcohol close to bedtime, these substances make it harder for you to fall asleep as they can disrupt your sleep patterns.
Opt for a light, healthy snack if you’re hungry before bed. Staying hydrated is important, but be mindful of drinking too much water right before sleep to avoid nighttime awakenings for trips to the bathroom.
Stay Active, But Not Right Before Bed
Regular physical activity promotes better sleep, but avoid vigorous exercise close to bedtime.
Finish your workout at least a few hours before you plan to sleep. Gentle activities like yoga or stretching can be excellent options for relaxation before bed.
Manage Stress And Anxiety
Stress and anxiety are common sleep disruptors.
Practice relaxation techniques such as meditation, deep breathing, or progressive muscle relaxation to calm your mind before sleep.
Keeping a journal to jot down your worries and tasks for the next day can also help clear your mind.
Related Post: 12 Simple Ways To Reduce Your Stress Levels
Limit Screen Time
The blue light emitted by smartphones, tablets, and computers can interfere with your sleep-wake cycle.
Avoid screens for at least an hour before bed, and consider using blue light filters on your devices if you must use them in the evening.
Achieving the most peaceful sleep of your life is within your reach.
By following these tips and making sleep a priority in your life, you can transform your nights from restless to rejuvenating.
Remember that it may take time to establish new sleep habits, so be patient with yourself. With dedication and a commitment to better sleep, you’ll wake up each morning feeling refreshed and ready to tackle whatever life throws your way.
Sweet dreams!
SAVE FOR LATER!