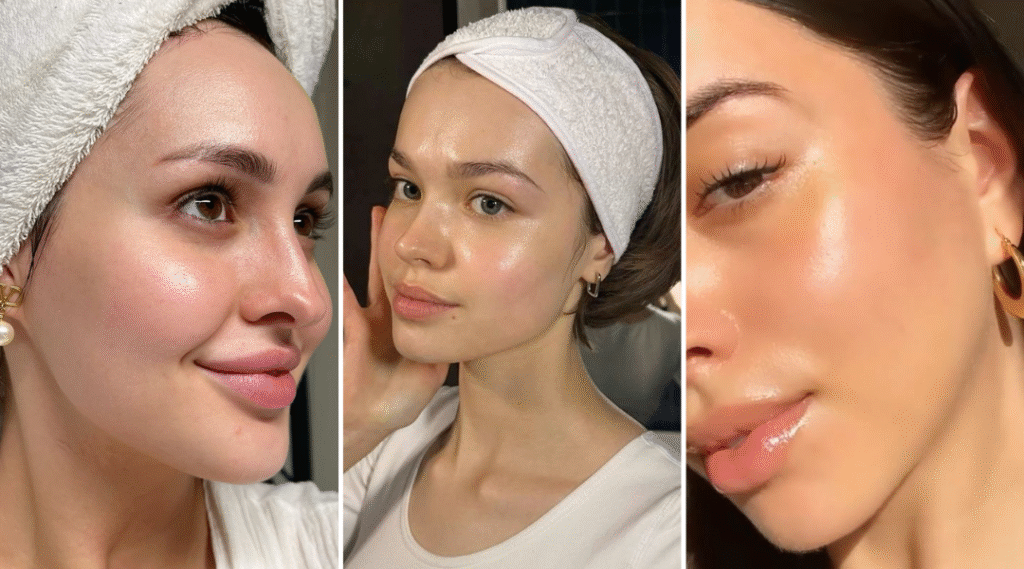
We all want that glowing, clear skin that makes people stop, stare, and ask, “What’s your skincare secret?” But here’s the real tea: it’s not about 13 different serums, 5-step routines, or making your bathroom look like a pharmacy. It’s about simple habits, consistent changes, and a few trusted tricks that actually work.
If you’re ready to see better skin in the next 30 days (or sooner), here are my favourite tips — no stress, no overload, just glow.
Here’s How To Get Your Skin Clear In A Few Weeks
1. Wake Up Your System with a Gentle Morning Ritual
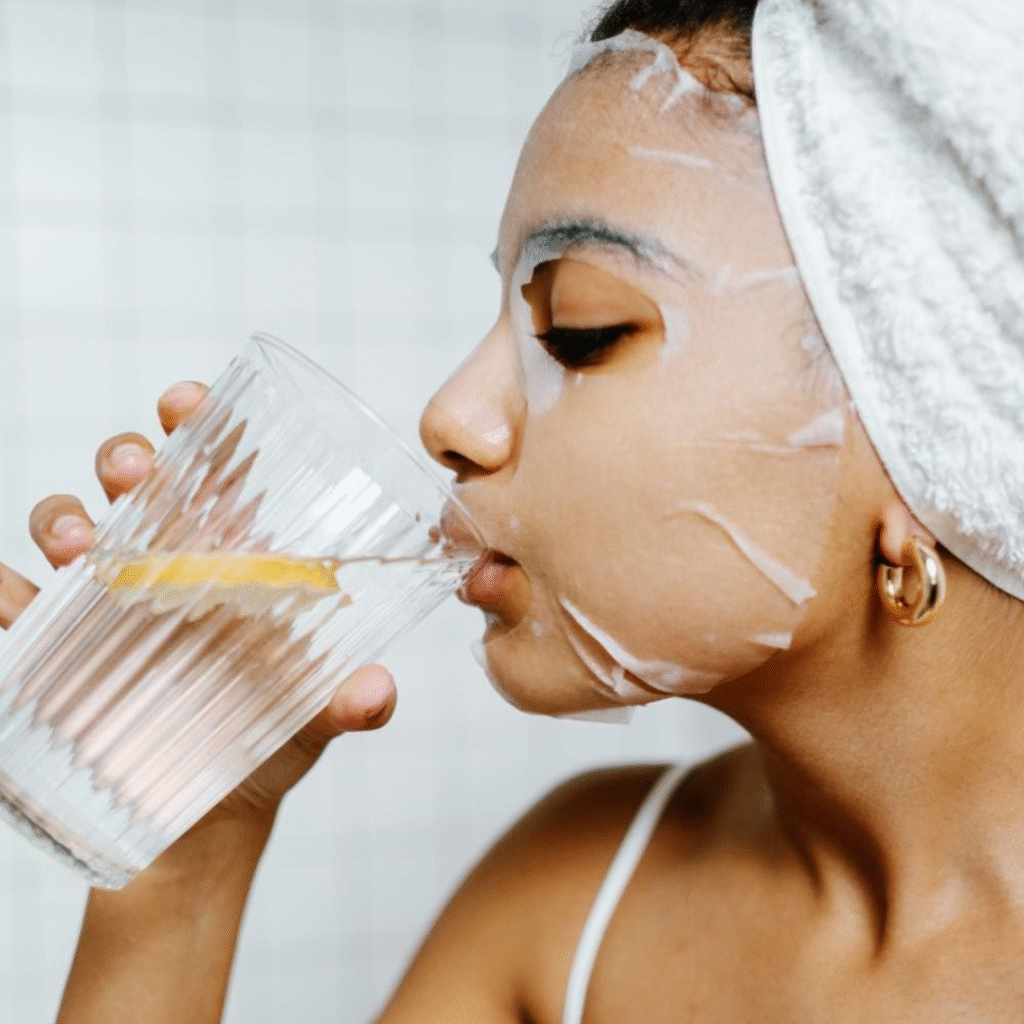
Start with warm water + lemon (or even just warm water) to help kick off your digestion. The happier your gut, the happier your skin. If lemon’s not your vibe, try water with cucumber slices or mint. Something refreshing that makes you pause and breathe.
Related Post: The Simplest Morning Skin Care Routine For Glowing Skin
2. Hydrate Like You Mean It
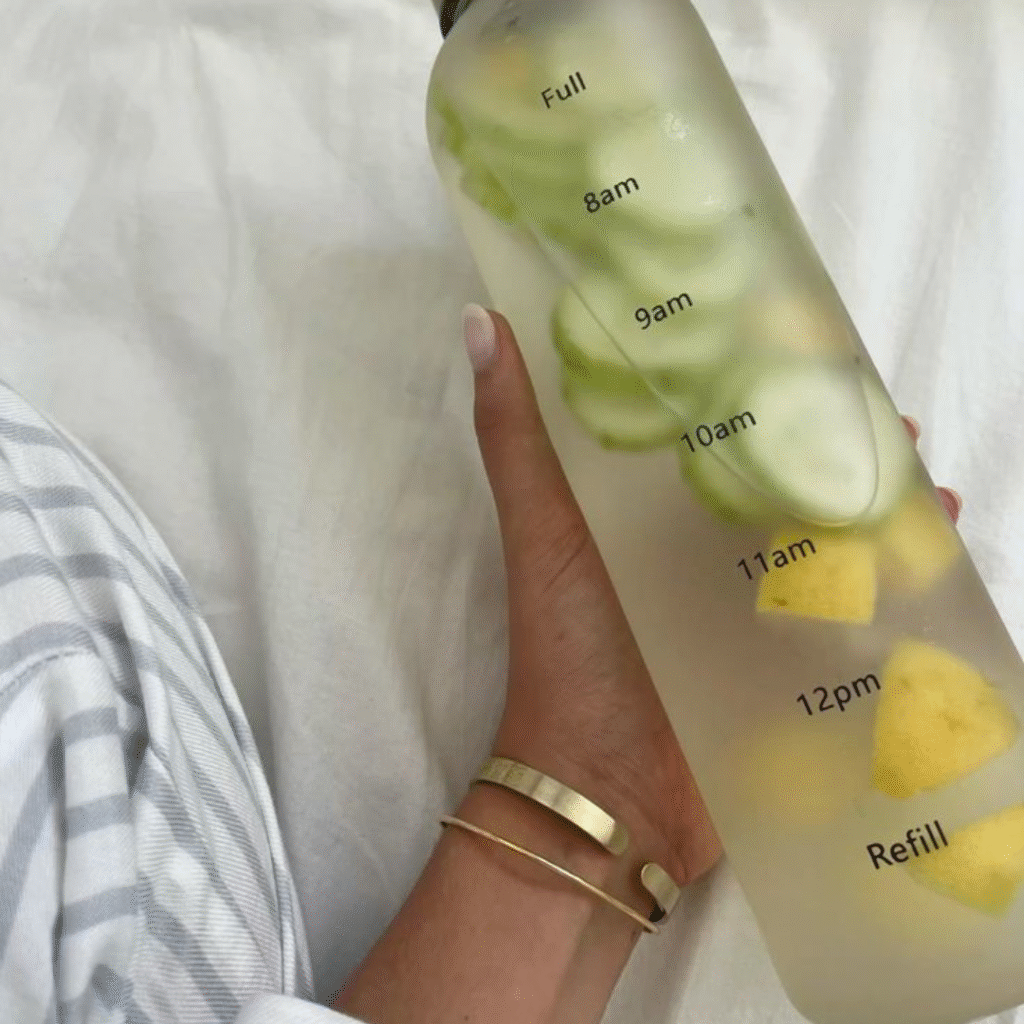
Aim for 2–3 liters of water a day (adjust for your climate and activity level). Make it fun: get a cute water bottle, infuse with fruit, set reminders on your phone. You deserve that sip.
3. Green + Anti-Inflammatory Boosts

Add ginger shots or herbal tea to your routine. Ginger, turmeric, or green tea can help reduce inflammation. These don’t have to be hardcore — even a small drink a few times a week helps (just listen to your body).
4. Use Acne-Targeted Actives — Wisely
- Salicylic acid = good for deep breakouts under the skin.
- Benzoyl peroxide = kills acne-causing bacteria (great for red, angry pimples).
- Niacinamide = calms redness, strengthens your skin barrier.
Pro tip: Use these where you need them, not everywhere. Spot treat, don’t overload.
Also Read: Retinol 101: How to Use This Holy Grail in Your Daily Skincare Routine
5. Exfoliate — But Not to the Point of “Ow”
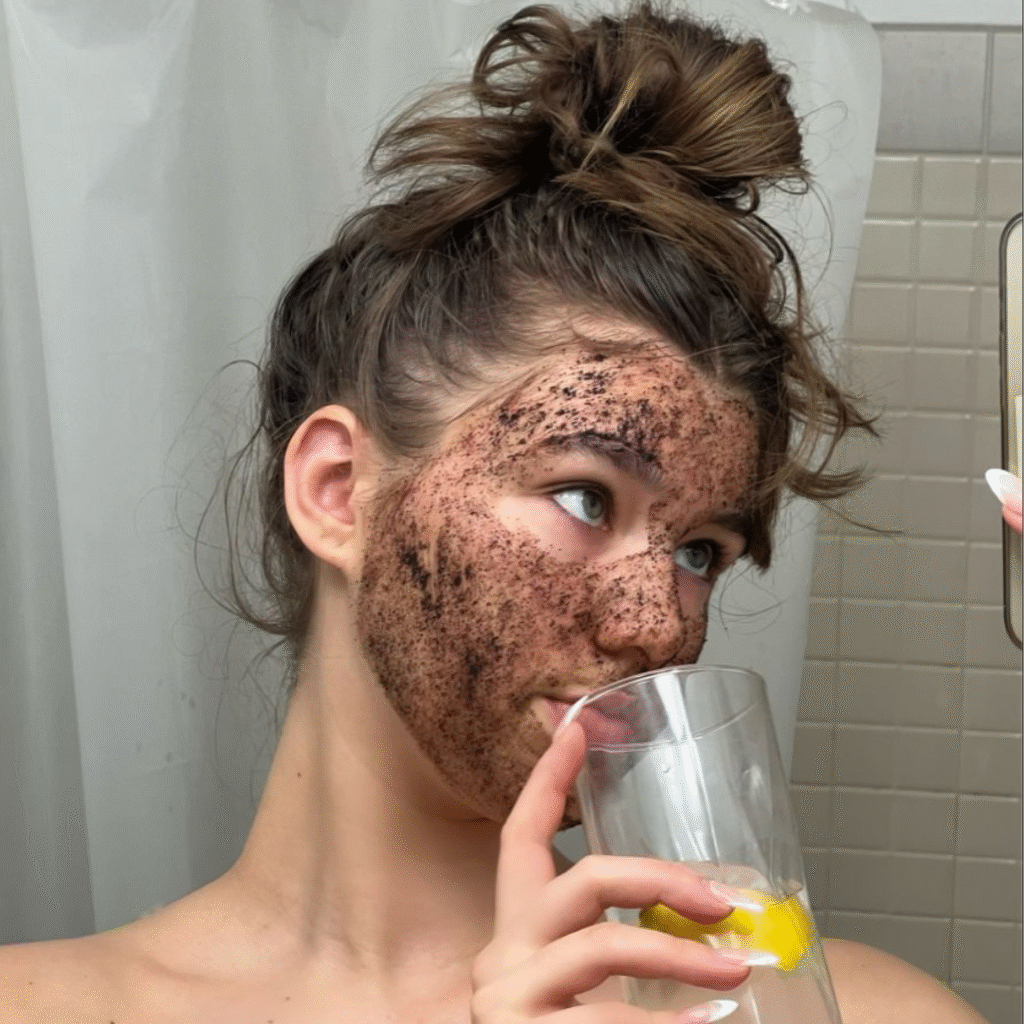
- “Trash day” for your skin is picking away dead cells, smoothing texture.
- Chemical exfoliants (AHAs, BHAs) 1–2× per week are often gentler than physical scrubs.
6. Double Cleanse at Night Even If You Stayed in Your PJ’s
- First pass: oil-based or balm cleanser to remove makeup, sunscreen, pollutants.
- Second pass: gentle gel or foam cleanser to clean pores.
Even if you didn’t wear makeup, dust, sweat, and pollution build up — yes, even at home.
Also Read: Double Cleansing Is The Secret Weapon You Need To Finally Clear Your Skin
7. Ice, Cold Spoon, or Face Roll Mornings
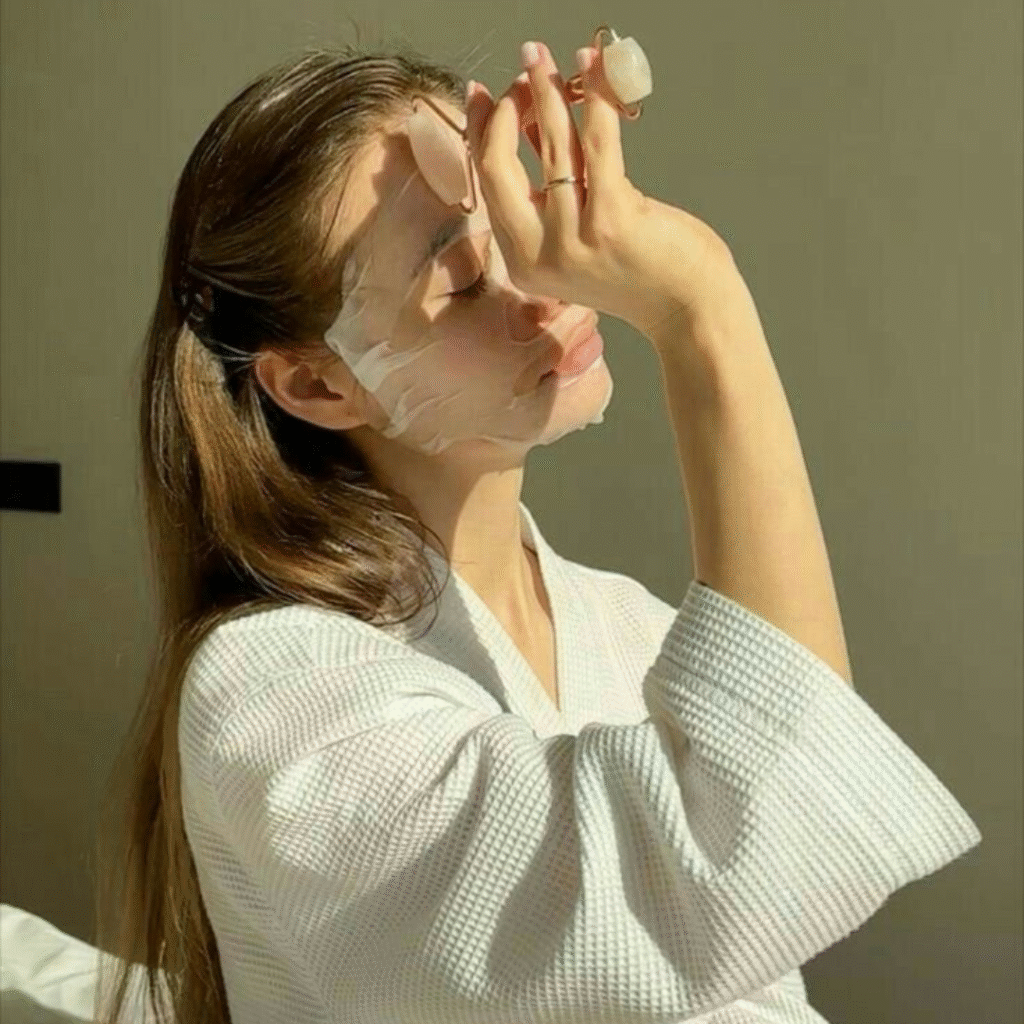
Helps reduce puffiness and awaken dull skin. Five minutes in the morning (focus under eyes, jaw) + gentle massage = refreshed look.
8. Move That Body (Yes, Even a Little)
Exercise boosts circulation, helps flush toxins, it doesn’t need to be intense: walking, dancing, yoga, whatever feels good.
Remember to wash your face after sweating so your pores don’t get clogged.
9. Rethink Sugar, Dairy & Processed Foods
- Sugar spikes can trigger inflammation.
- Dairy might aggravate breakouts for some people (everyone’s difference is natural).
Try swapping sugary drinks for water + slices of fruit, or replace processed snacks with whole foods. Small changes add up.
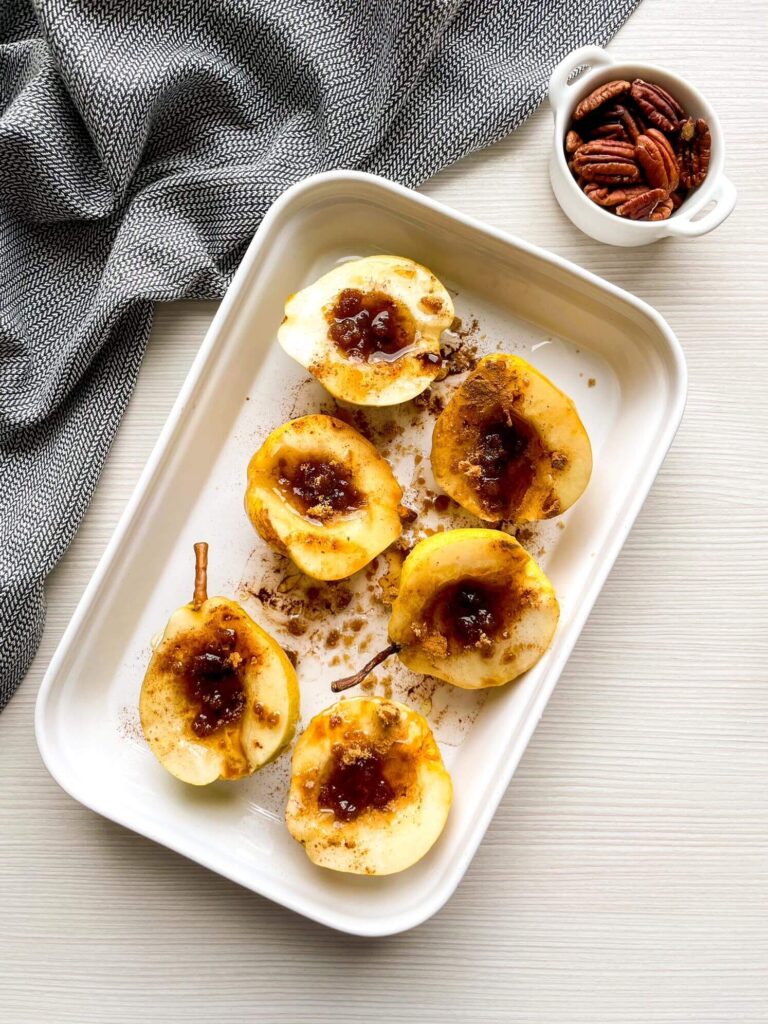
10. Load Up on Skin-Friendly Nutrients
- Zinc (nuts, seeds, legumes) helps with healing and reducing oil.
- Vitamin A (carrots, sweet potatoes, leafy greens) helps skin turnover.
- Antioxidant rich foods (berries, greens) to fight free-radical damage.
11. Clean What Touches Your Face
- Pillowcases: change them every 2–3 days. Oils, sweat, dead skin cells = a breeding ground.
- Your phone: wipe it down often. Bacteria + screen + cheek = trouble.
- Makeup brushes/sponges: wash weekly if you use them.
12. Be Gentle with Yourself + Patience Is Key
Skin doesn’t transform overnight. Real change takes weeks. If something causes irritation, back off. Listen to what your skin is telling you.
The Glow-Up Timeline (What to Expect in 30 Days)
| Timeframe | What You’ll Likely See |
|---|---|
| Week 1 | Less puffiness, feeling more hydrated, maybe fewer breakouts from new habits. |
| Week 2–3 | Texture smoothing out, skin tone looking more even, breakouts calming down. |
| Week 4 | More consistent glow, fewer flare-ups, skin feels healthier and stronger. |
My Favourite Little Extras
- Sleep masks (not beauty ones — actual sleep). Skin repairs while you rest.
- Sunglasses & SPF always. UV rays = skin stress + aging + breakouts.
- Journaling stress or mood — because stress can show up on your face!