I’ve always had a soft spot for St. Patrick’s Day. Maybe it’s the cheerful energy, maybe it’s the excuse to turn literally everything green, or maybe it’s because this holiday is all about playful food and drink that doesn’t take itself too seriously.
There’s just something fun about gathering friends, putting on a little green, and serving up whimsical bites that feel just as festive as they look.
If you love getting creative in the kitchen as I do, these St. Patricks day snacks are the perfect way to celebrate.
From sweet treats to colorful party bites, these ideas are easy to make, fun to serve, and guaranteed to bring a little luck to your table.
You Might Also Like:
- Secrets of People Who Throw the Best Parties
- The Worst Mistakes You Could Possibly Make When Hosting A Party
Yummy St. Patrick’s Day Snacks
1. Green Puppy Chow
Give this classic snack a festive twist.
How to make: Toss cereal in melted white chocolate tinted with green food coloring, then coat with powdered sugar. Add green candies for extra fun. This sweet-and-crunchy green puppy chow disappears fast.
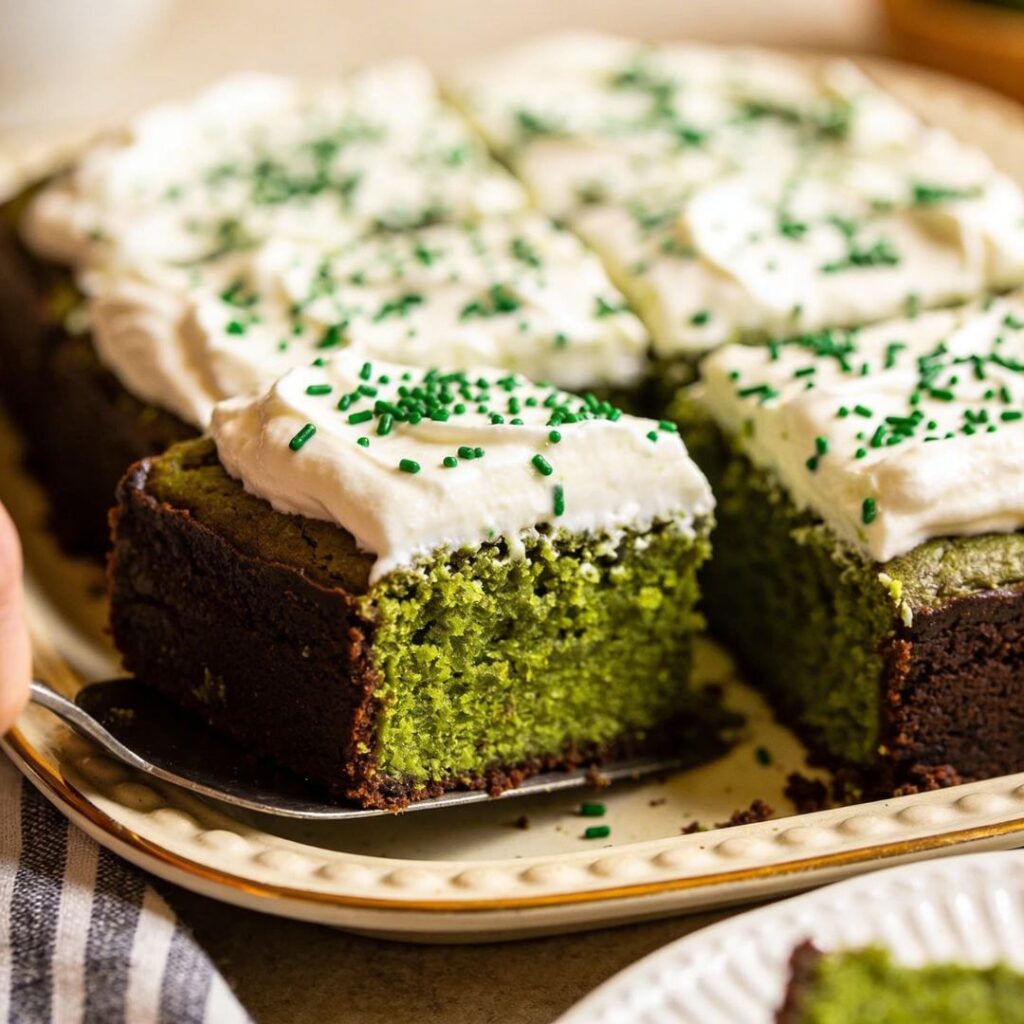
2. Green Velvet Brownies
A rich, colorful spin on a classic dessert.
How to make: Prepare your favorite brownie batter, mix in green coloring, and bake until fudgy. These green velvet brownies are vibrant, chocolaty, and perfect party squares.
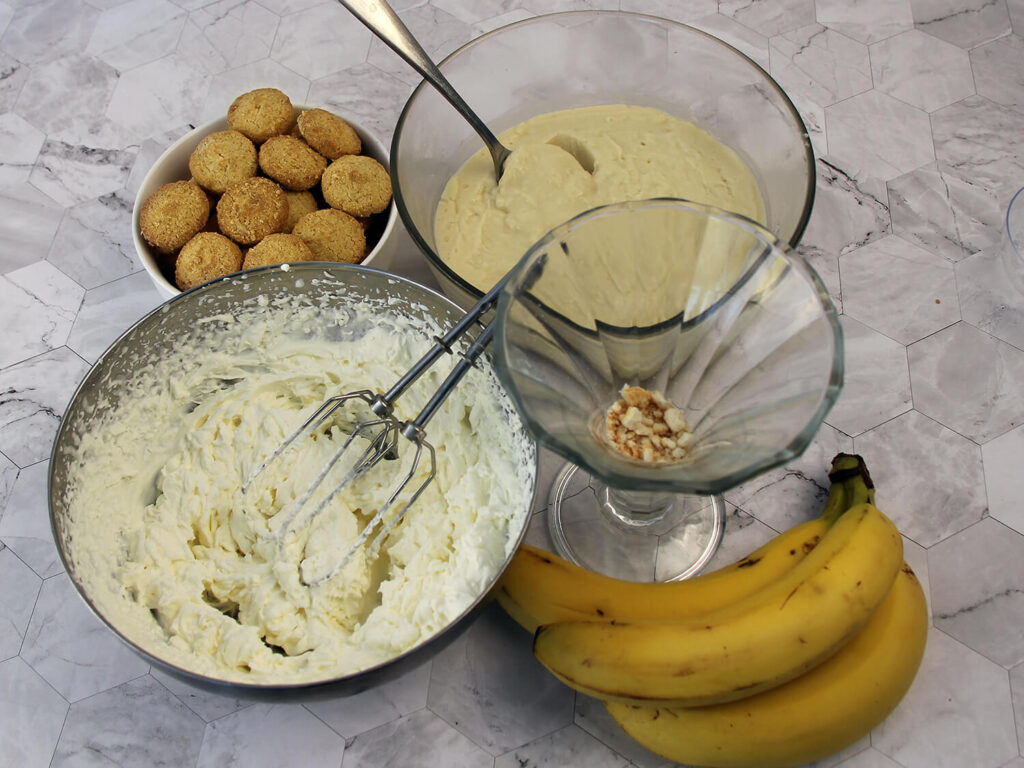
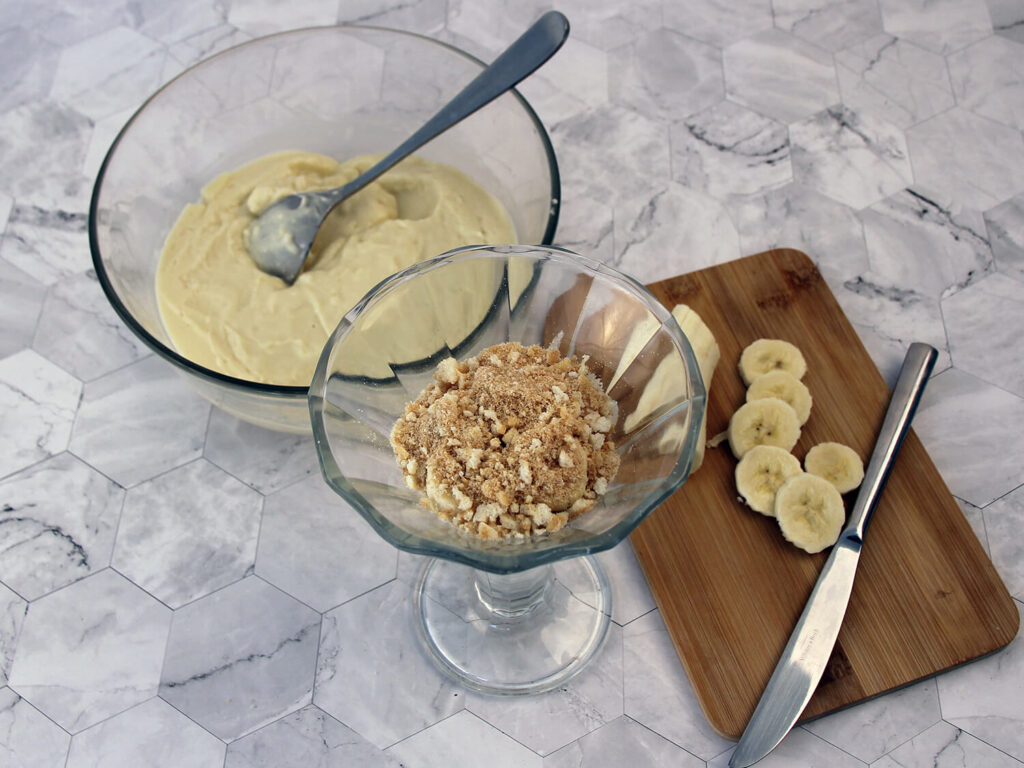
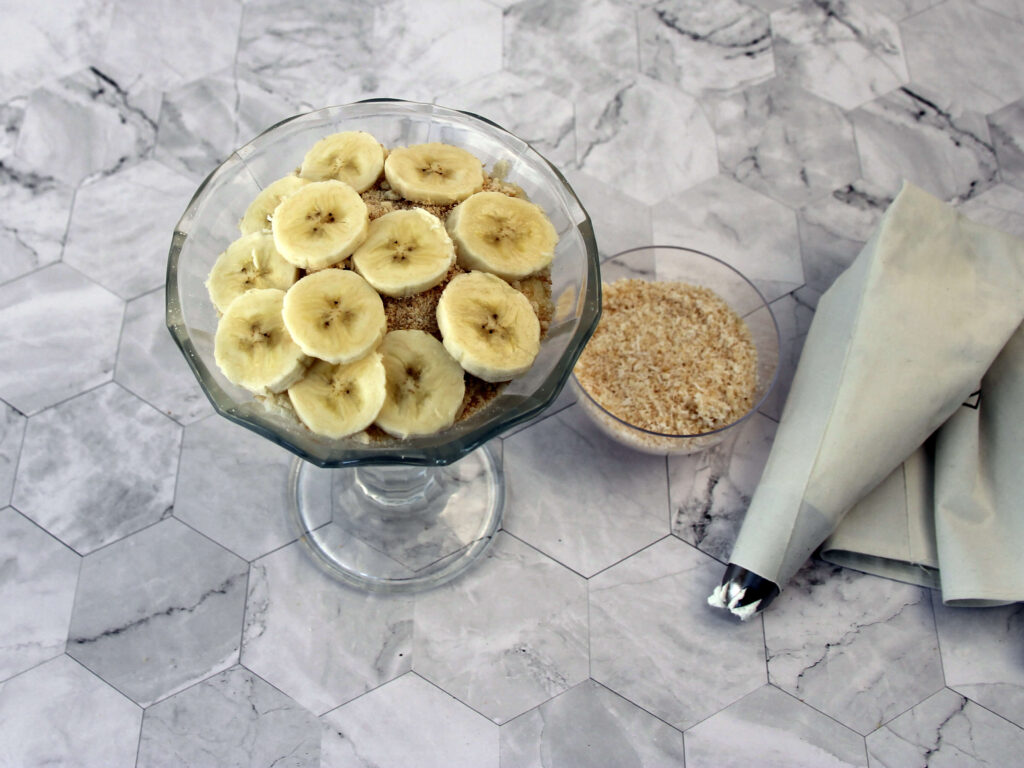
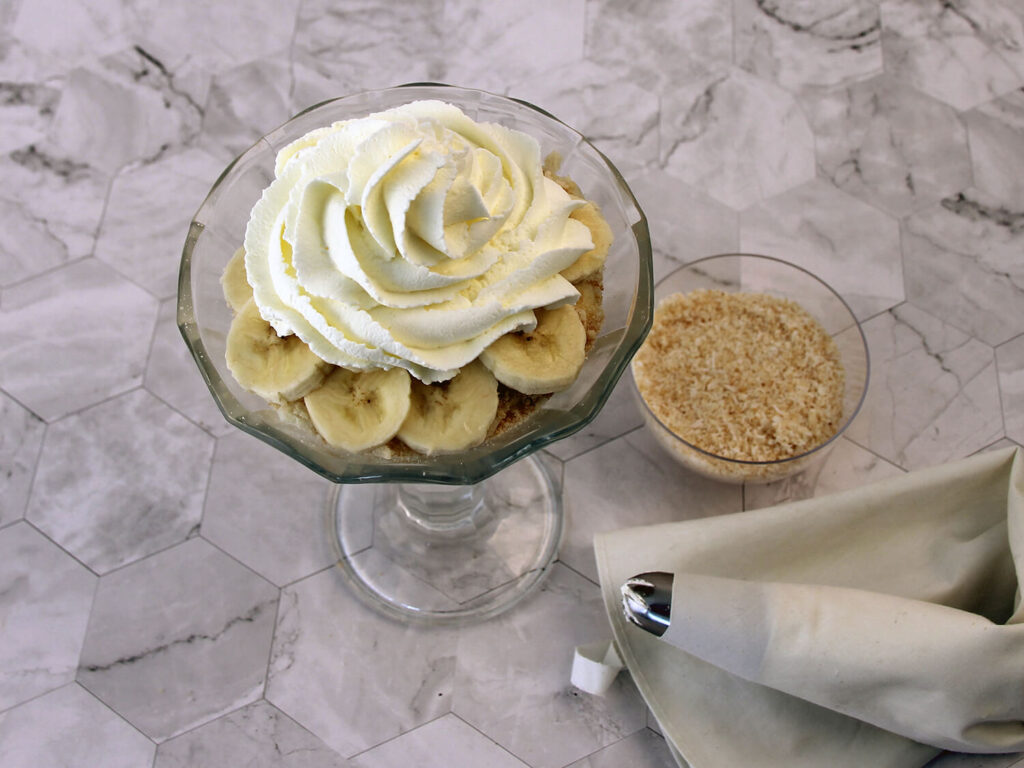
3. Shamrock Shake Pudding Cups
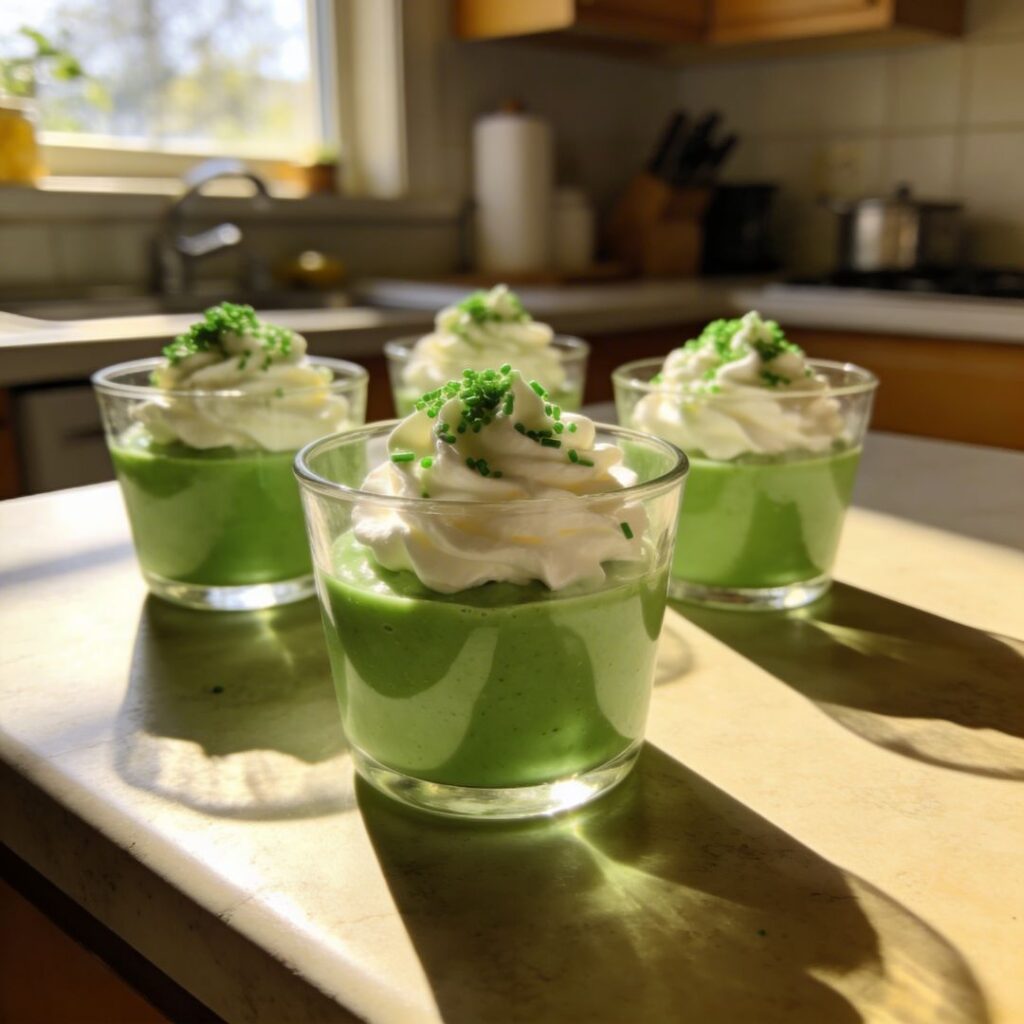
Creamy, minty, and layered for a cute presentation.
How to make: Mix vanilla pudding with mint extract and a few drops of coloring. Layer with whipped cream and crushed cookies for adorable St. Patrick’s Day treats.
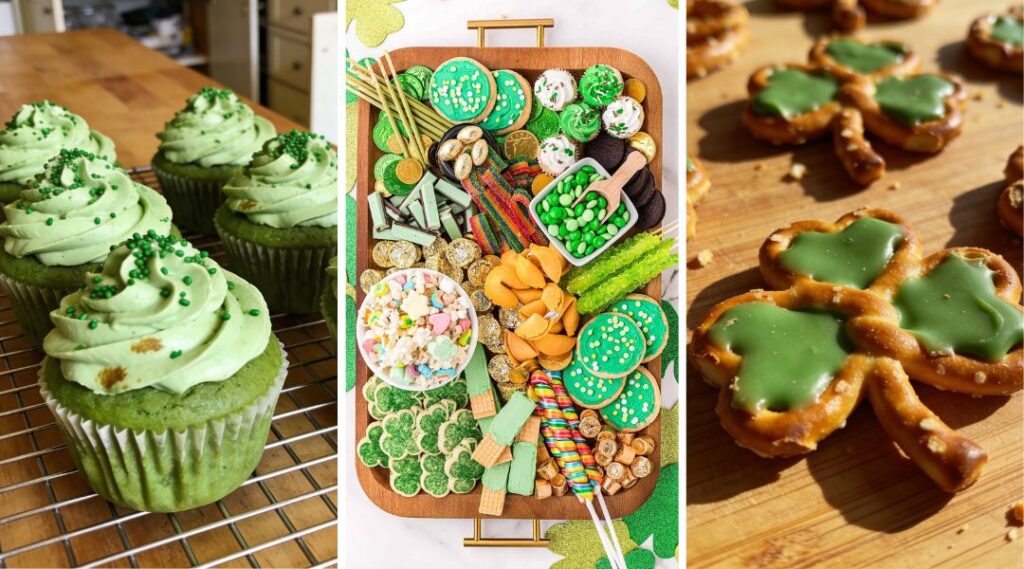
4. Green Velvet Cupcakes
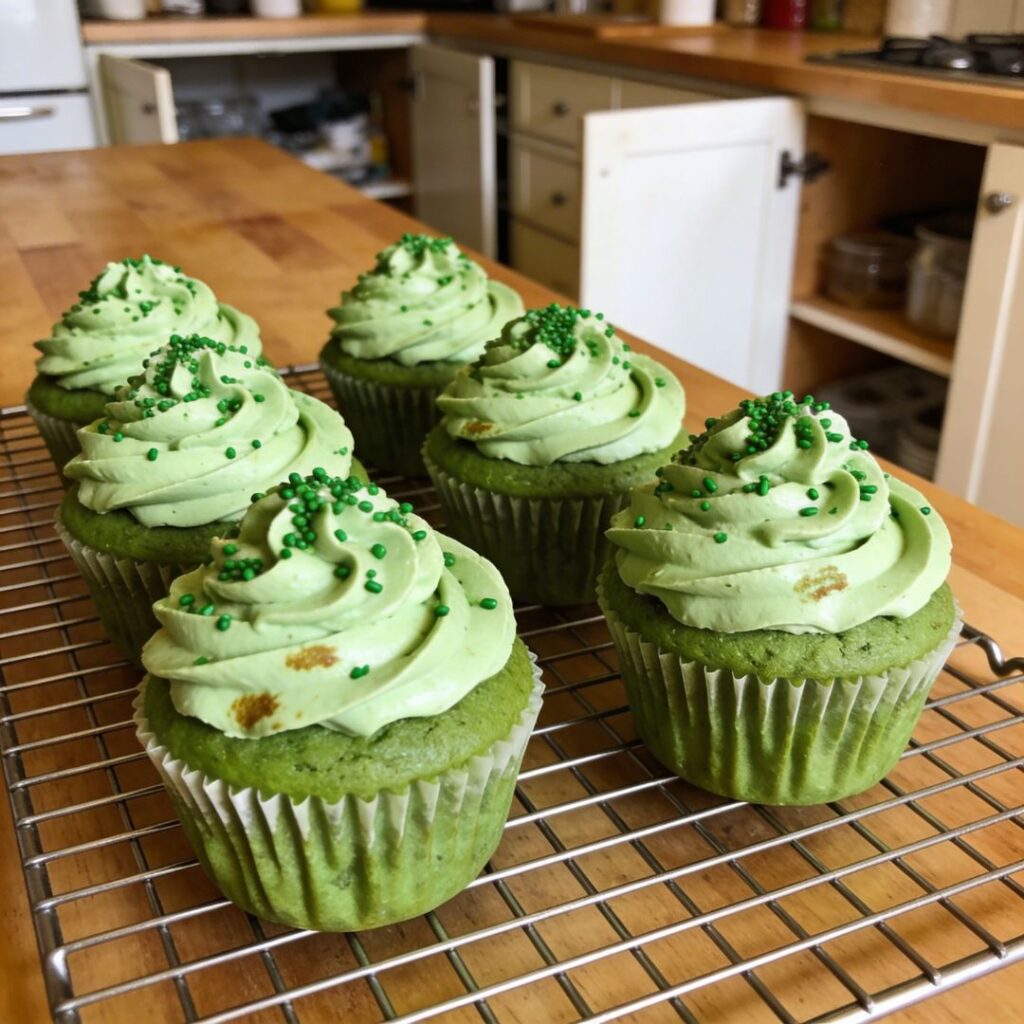
Because cupcakes instantly make everything feel like a celebration.
How to make: Tint vanilla cupcake batter green, bake, then top with cream cheese frosting and festive sprinkles.
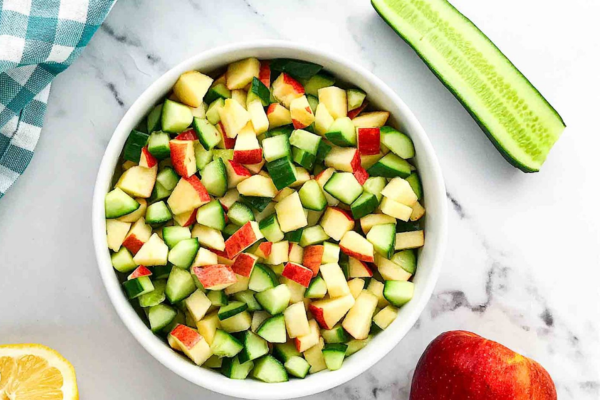
5. St Patricks Day Fruit Tray
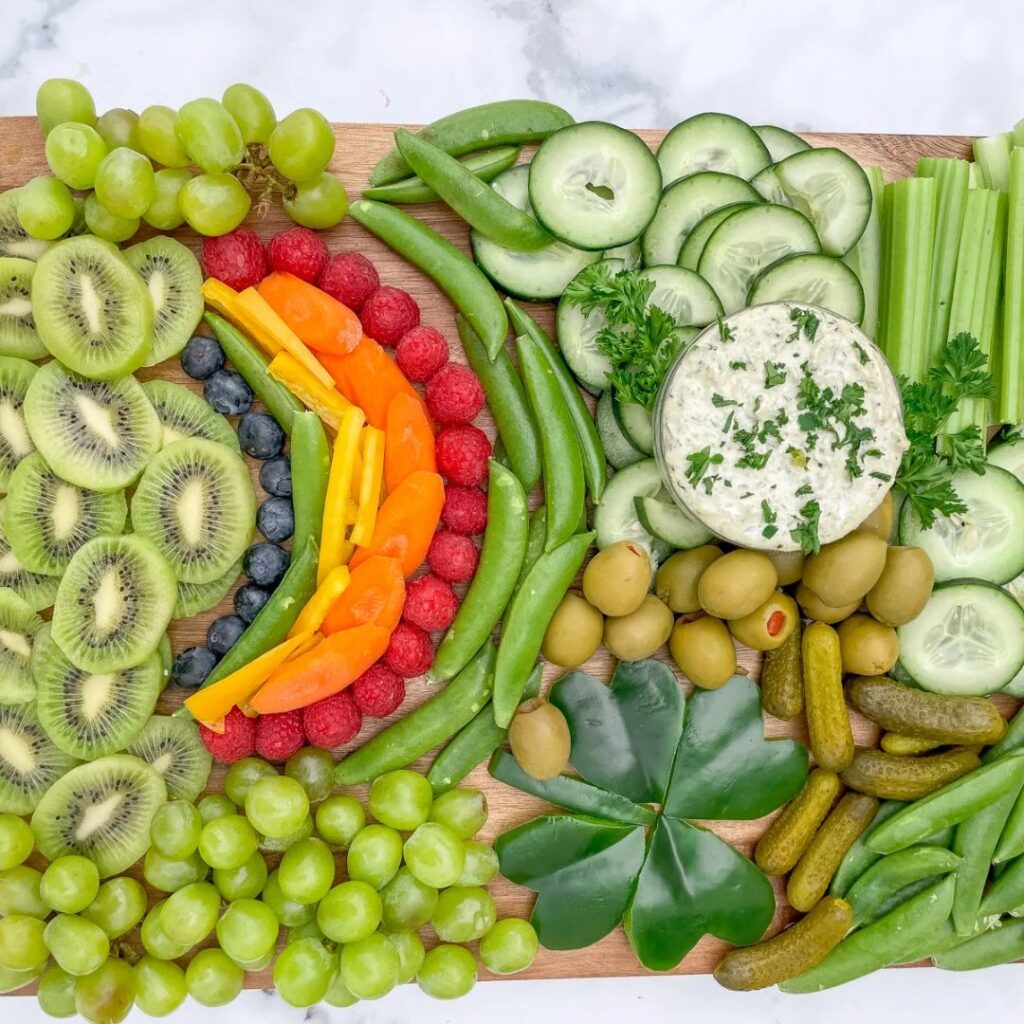
Bright, fresh, and perfect if you want balance among the sweets.
How to make: Arrange green grapes, kiwi, apples, and melon into a rainbow shape for a colorful st patricks day fruit tray.
6. St Patricks Day Fruit Kabobs
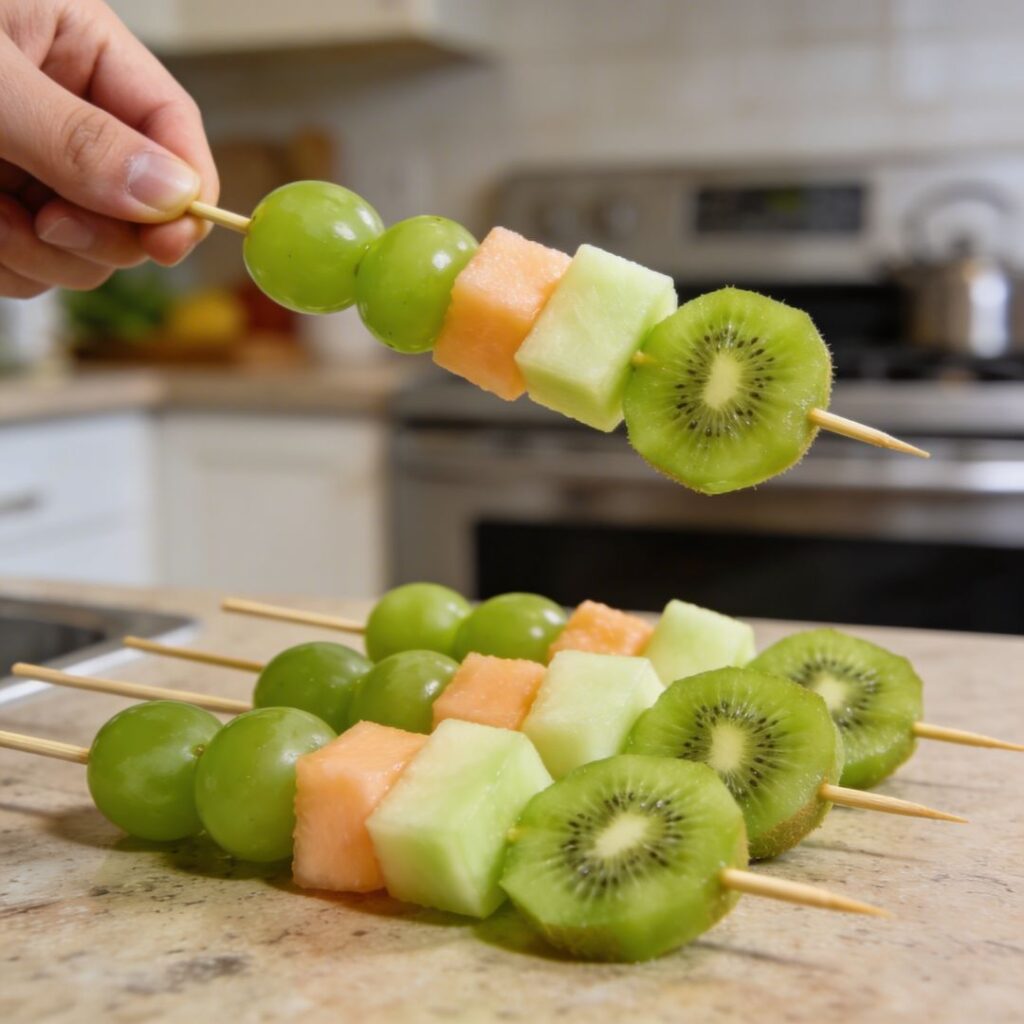
Easy to grab and fun to eat.
How to make: Thread grapes, kiwi, and pineapple onto skewers to create festive st patricks day fruit kabobs.
7. St Patricks Day Strawberries
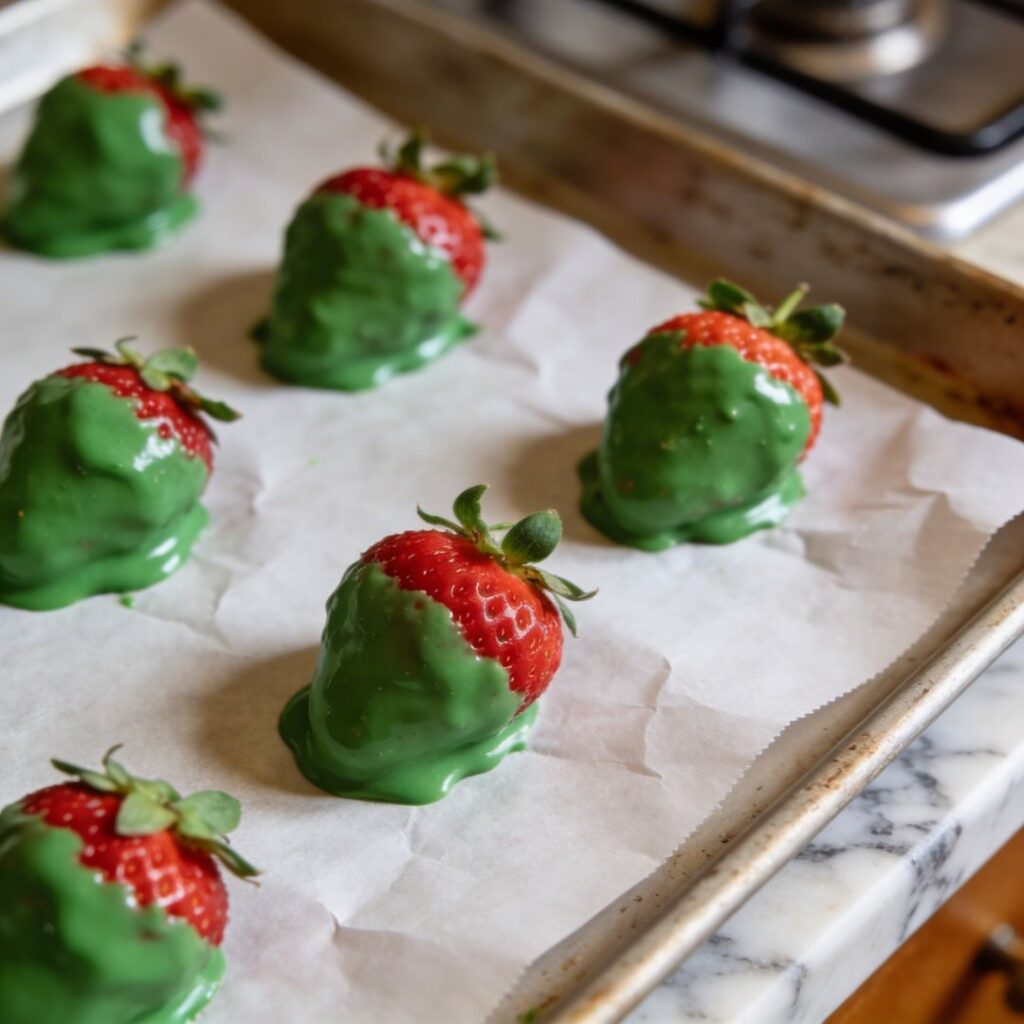
A simple treat that looks fancy.
How to make: Dip strawberries in white chocolate tinted green and let set. These st patricks day strawberries are sweet, fresh, and festive.
8. Pretzel Four-Leaf Clover Bites
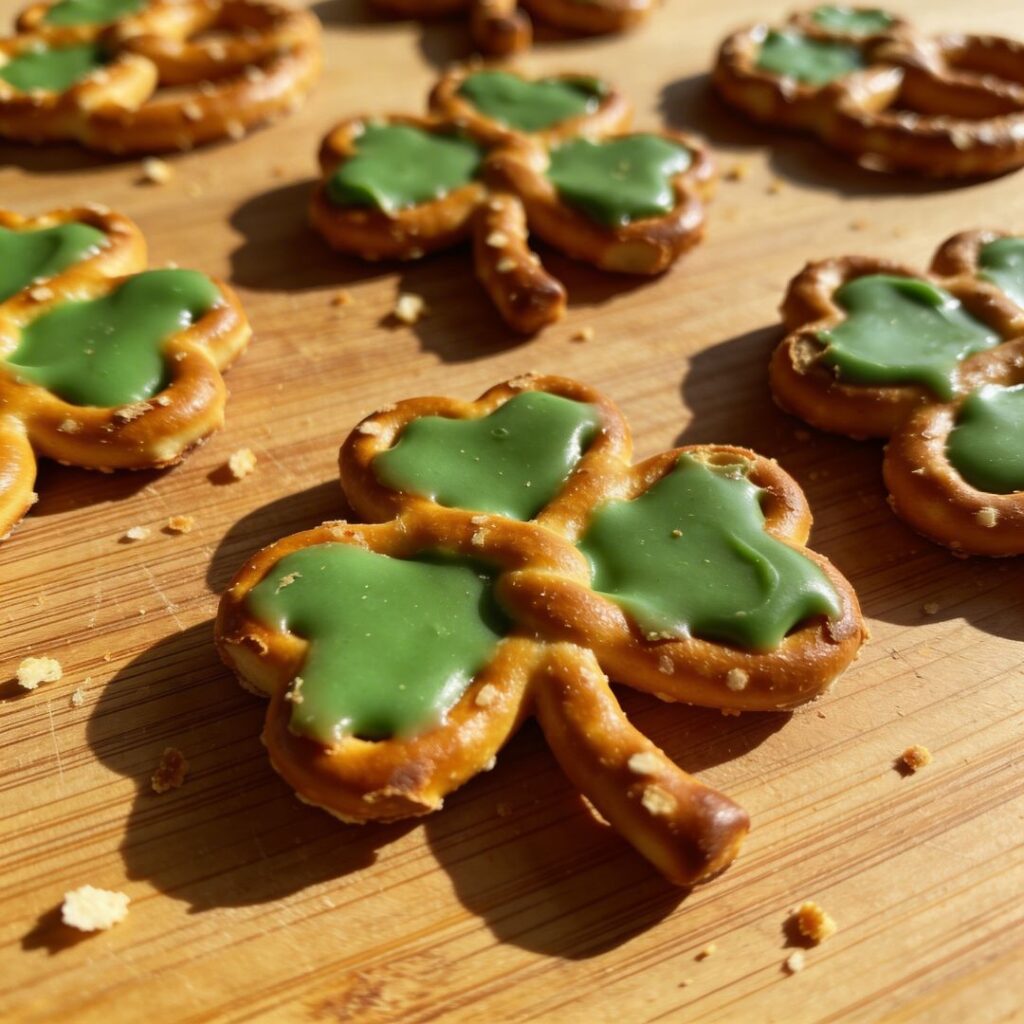
Salty meets sweet in the cutest way.
How to make: Arrange mini pretzels into a clover shape, place a candy melt in the center, and bake just until melted to stick.
9. Loaded Leprechaun Popcorn
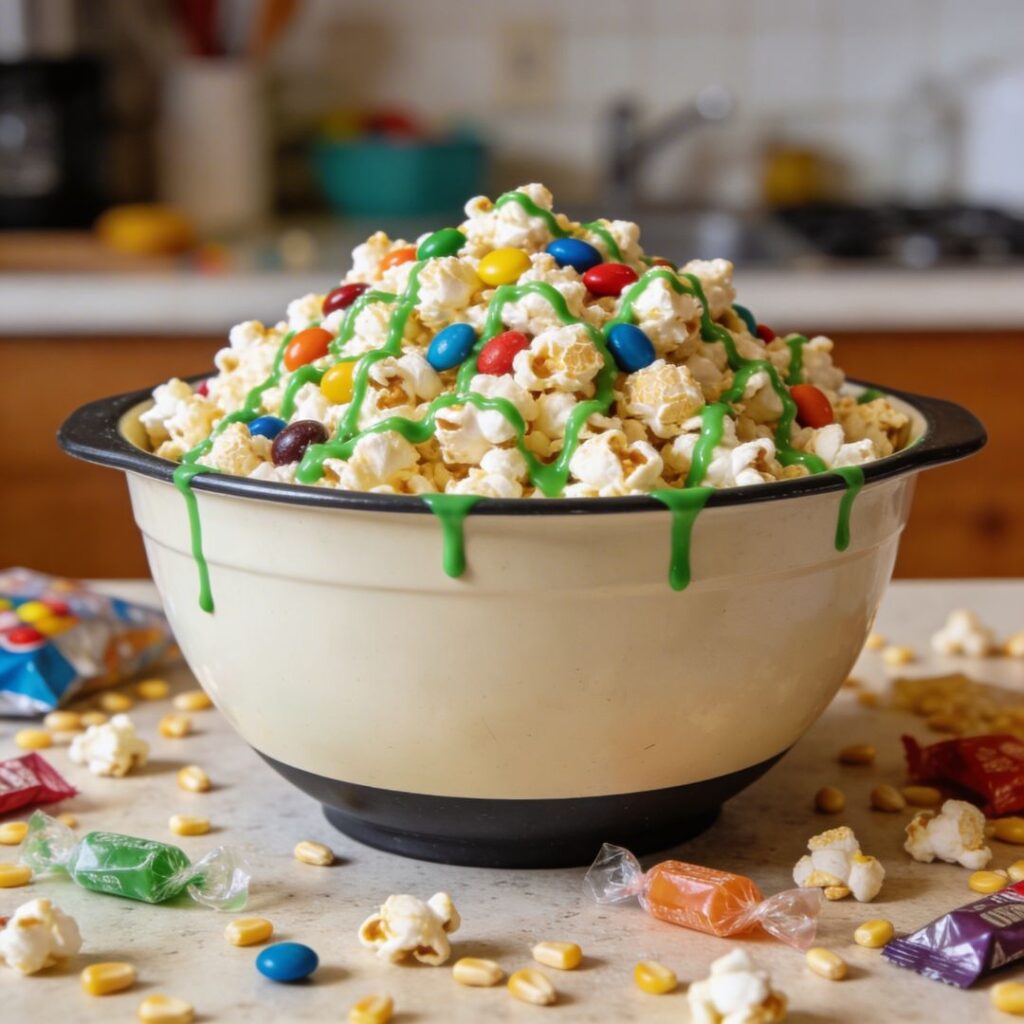
A crunchy mix that screams party snack.
How to make: Toss popcorn with green candies, pretzels, and white chocolate drizzle for colorful loaded leprechaun popcorn.
10. Irish Potato Bites

A savory option to balance all the sugar.
How to make: Roast seasoned baby potatoes until crispy and serve with a creamy dipping sauce. These are a nod to classic Saint Patrick’s Day Food flavors.
11. Green Cookies
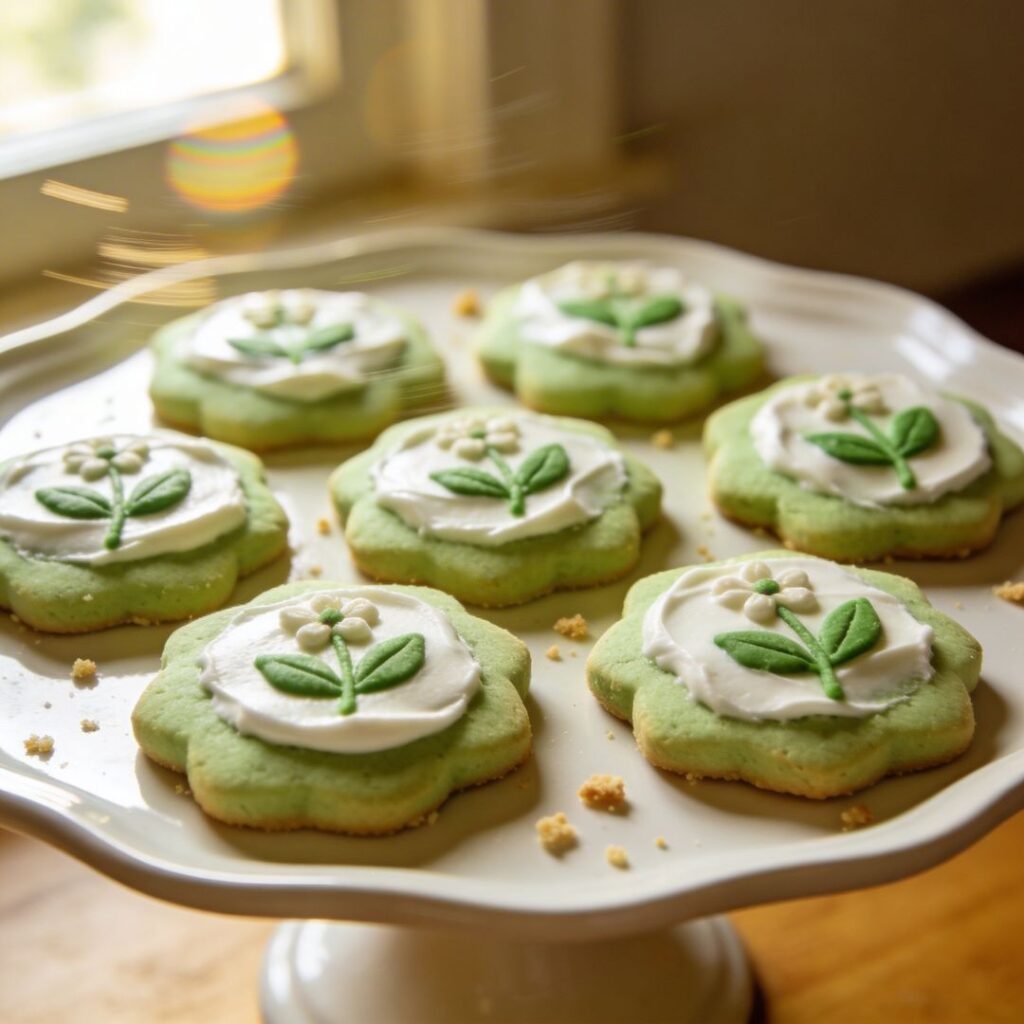
Soft sugar cookies are always welcome.
How to make: Tint dough green, bake, and decorate with simple icing for cheerful green cookies.
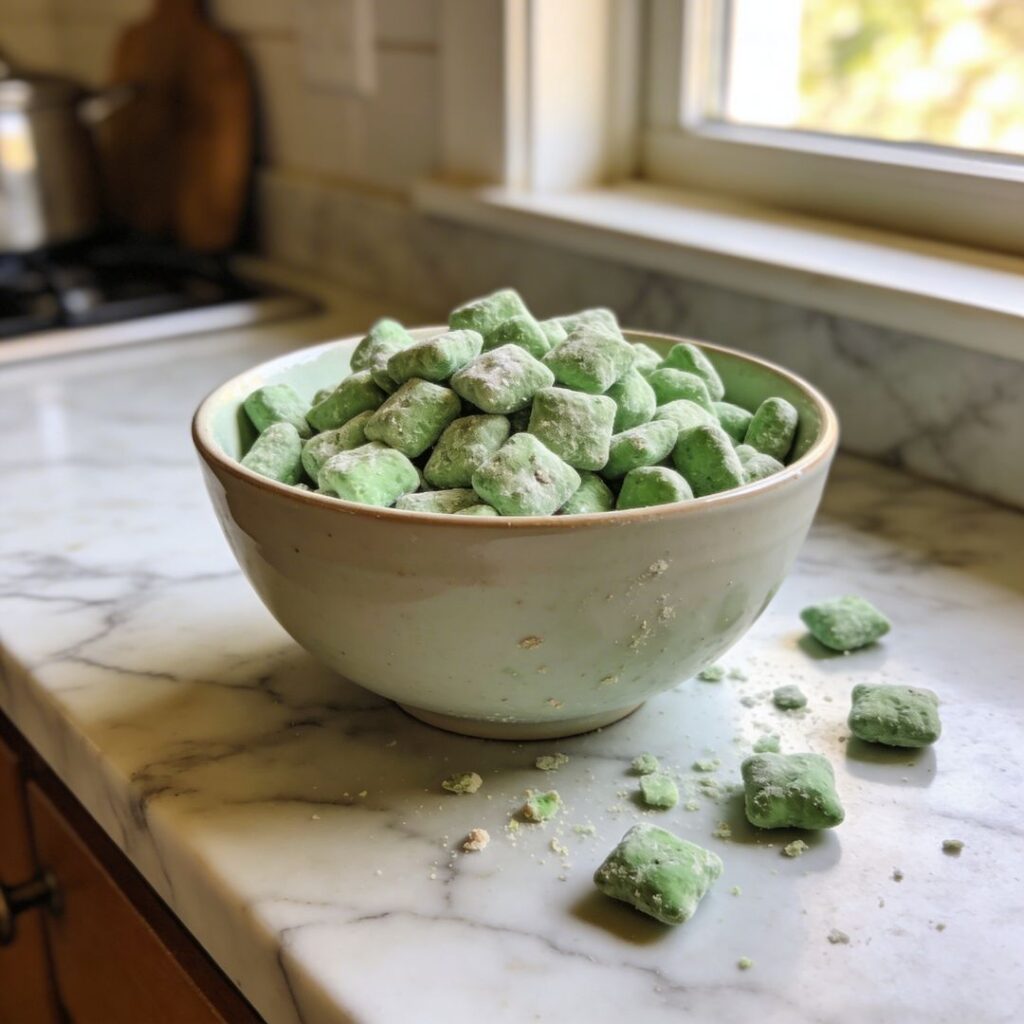
12. Marshmallow Crispy Rice Cereal Treats
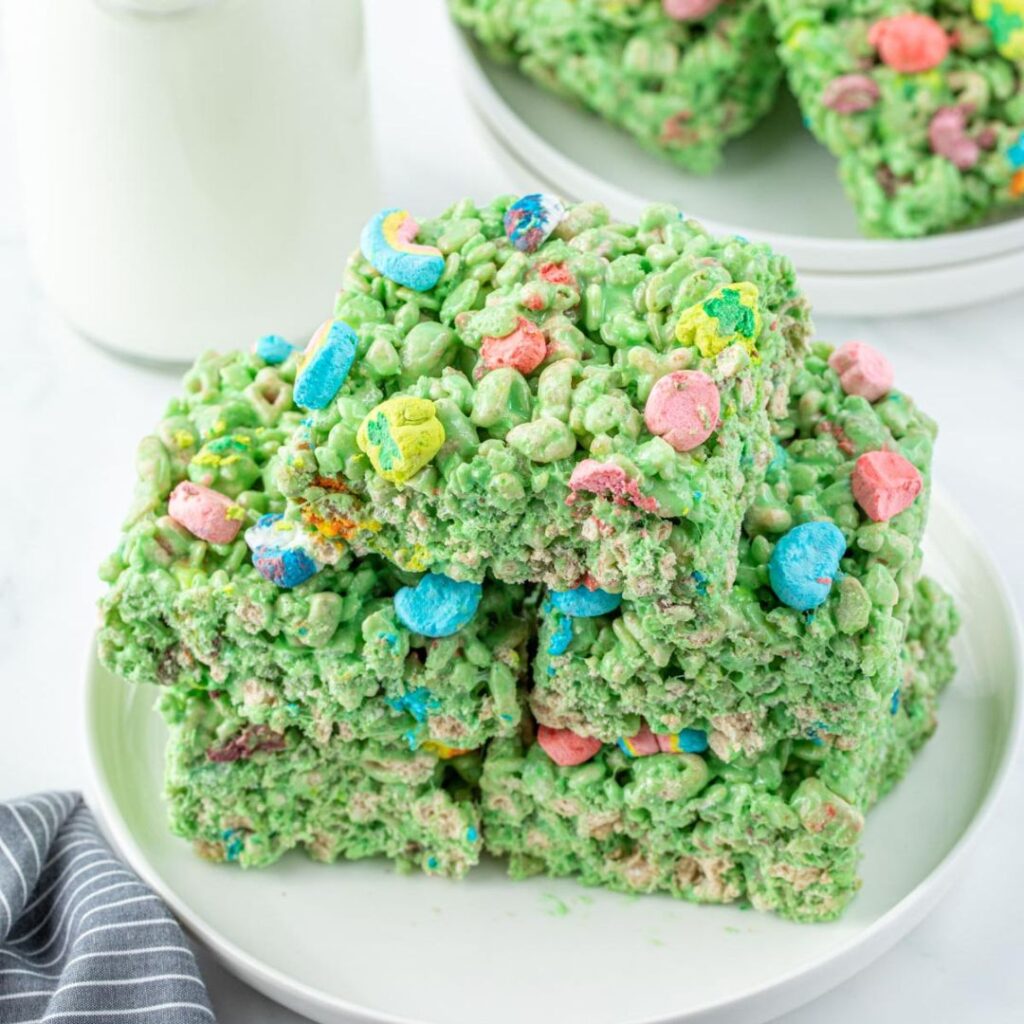
A festive version of a childhood favorite.
How to make: Prepare crispy rice cereal treats as usual, stir in green coloring, press into a pan, and cut into squares or shamrock shapes.
13. Easy Green Food Snack Mix
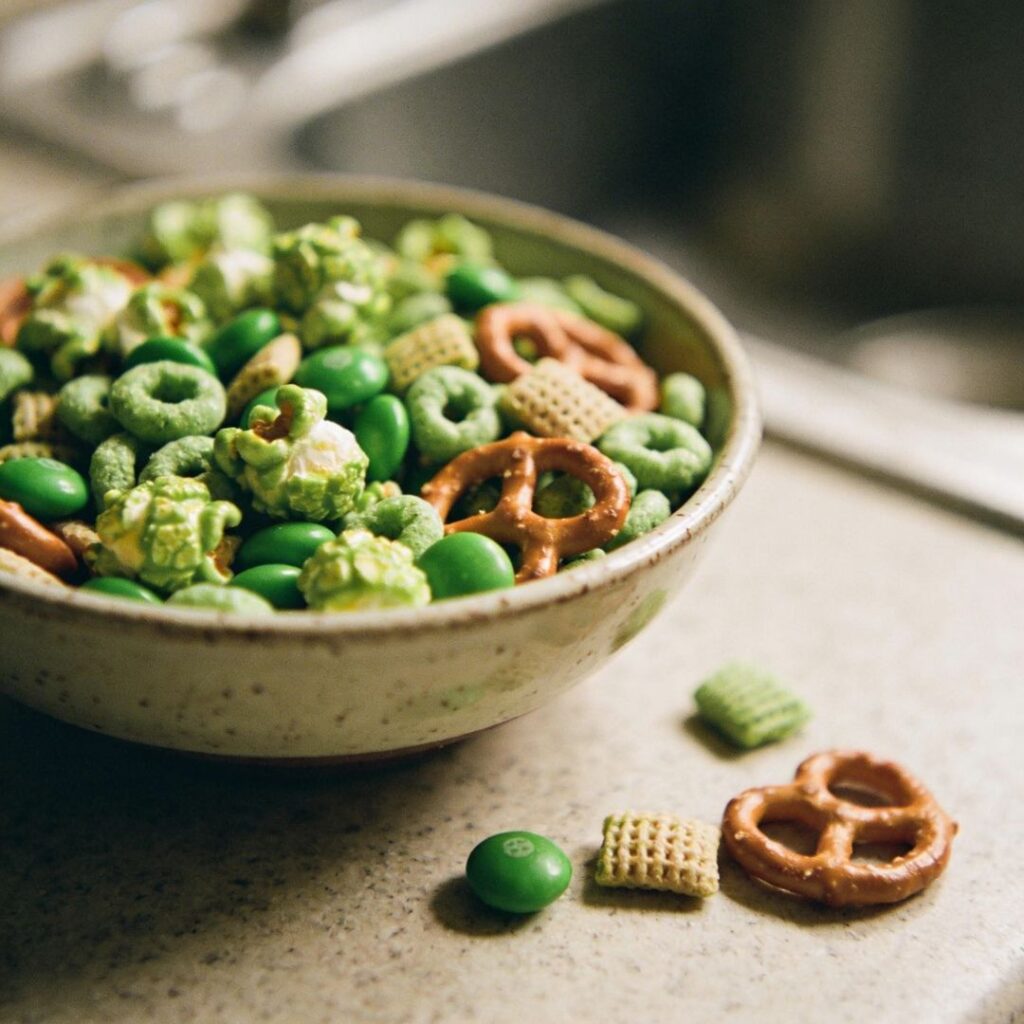
Perfect when you need something quick.
How to make: Combine green candies, popcorn, pretzels, and cereal for an easy green food mix guests can munch on all day.
14. Shamrock Milkshake Shooters
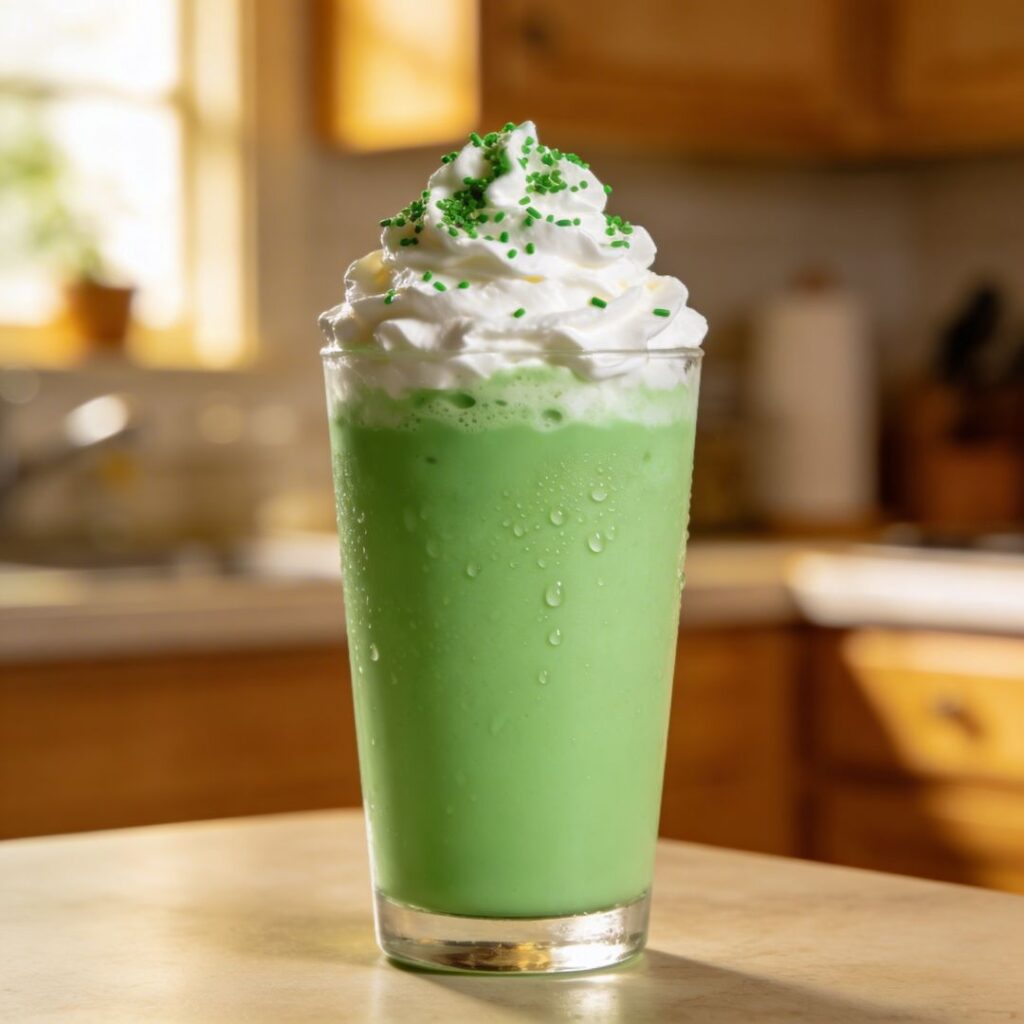
Tiny desserts that double as drinks.
How to make: Blend vanilla ice cream, milk, mint extract, and coloring to create a mini shamrock milkshake served in small cups.
15. St Patricks Day Charcuterie Board
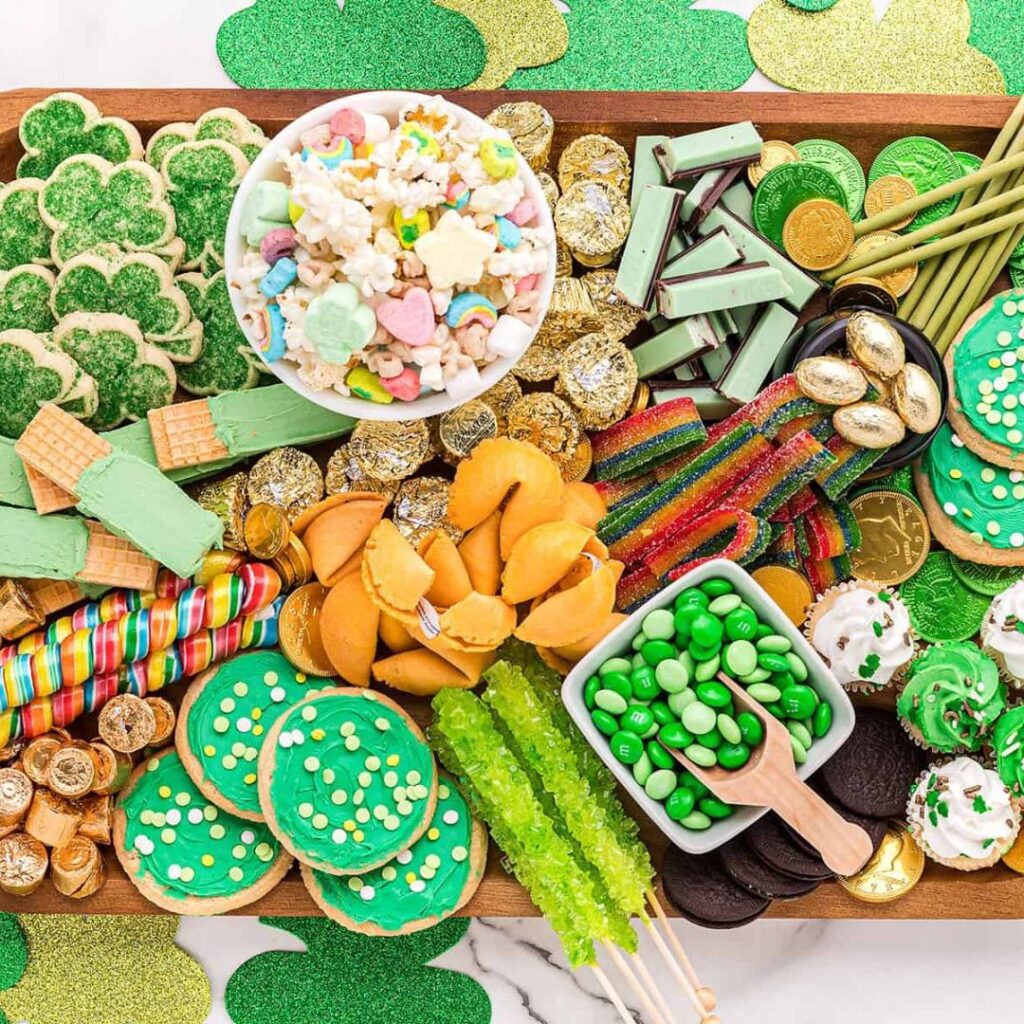
This is the centerpiece that ties all your st patricks themed food together.
How to make: Fill a board with green cheeses, grapes, crackers, cucumber slices, dips, and sweets. A festive St. Patrick’s Day charcuterie board makes hosting effortless while showcasing all your green foods for a party.
These st patrick’s day food ideas are meant to be playful, colorful, and easy enough to enjoy making.
Whether you’re hosting friends, planning classroom treats, or just want an excuse to experiment in the kitchen, these St Patricks Day Snacks deliver that perfect mix of fun and flavor.
St. Patrick’s Day doesn’t need to be complicated — just a little creative, a little green, and full of delicious bites that make everyone smile.