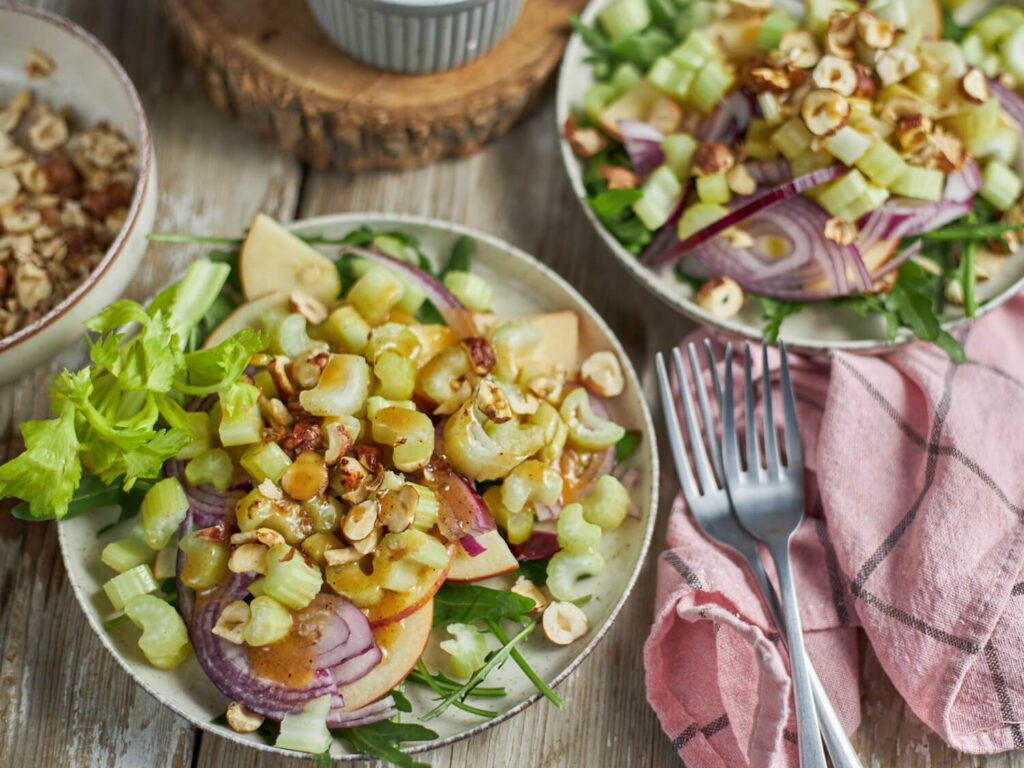
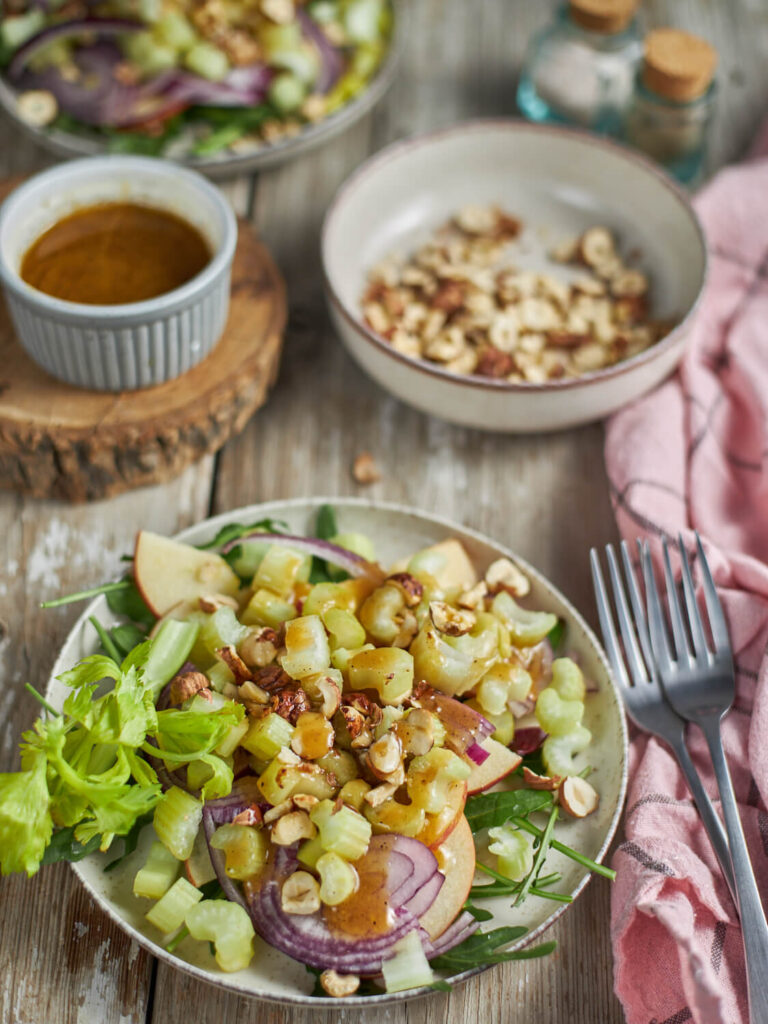
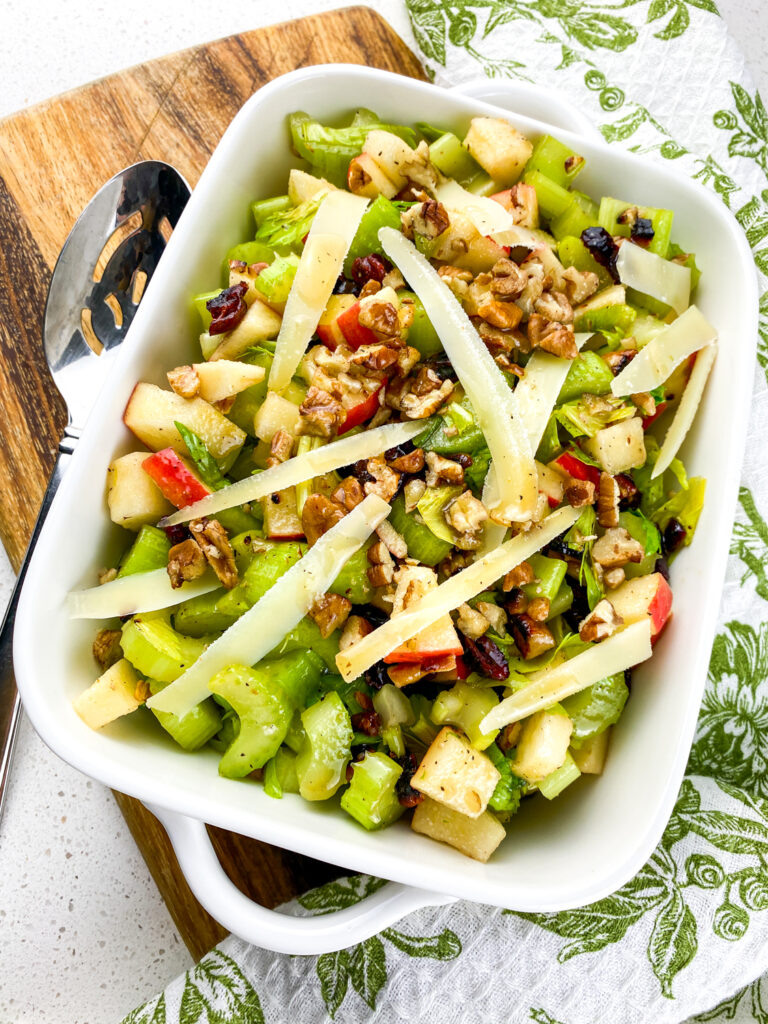
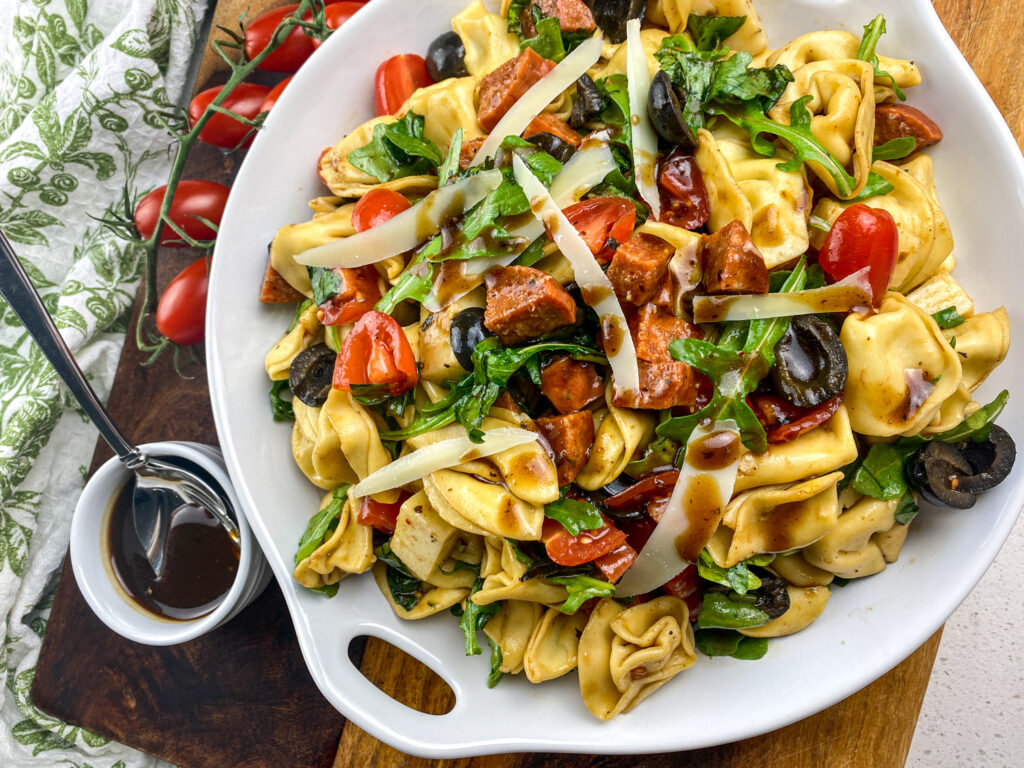
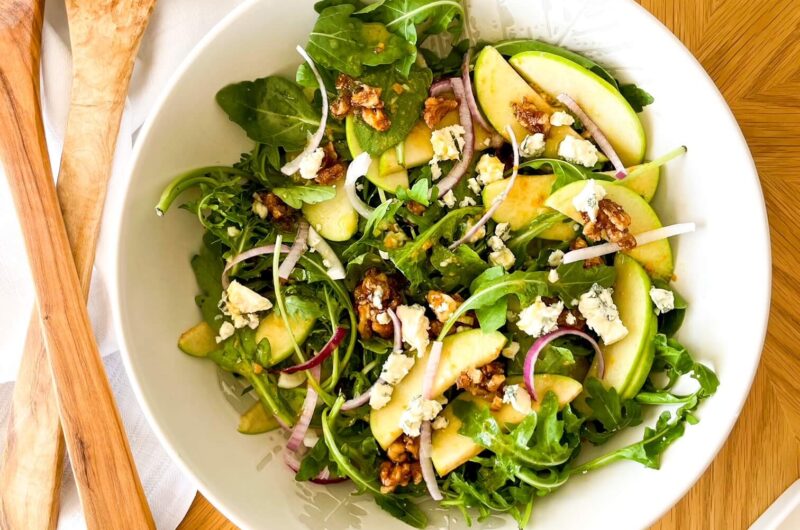
If there’s one salad I could happily eat on repeat—whether it’s the crisp days of fall, a sunny spring afternoon, or a laid-back summer lunch—it’s this Apple Walnut Salad with White Balsamic Vinaigrette.
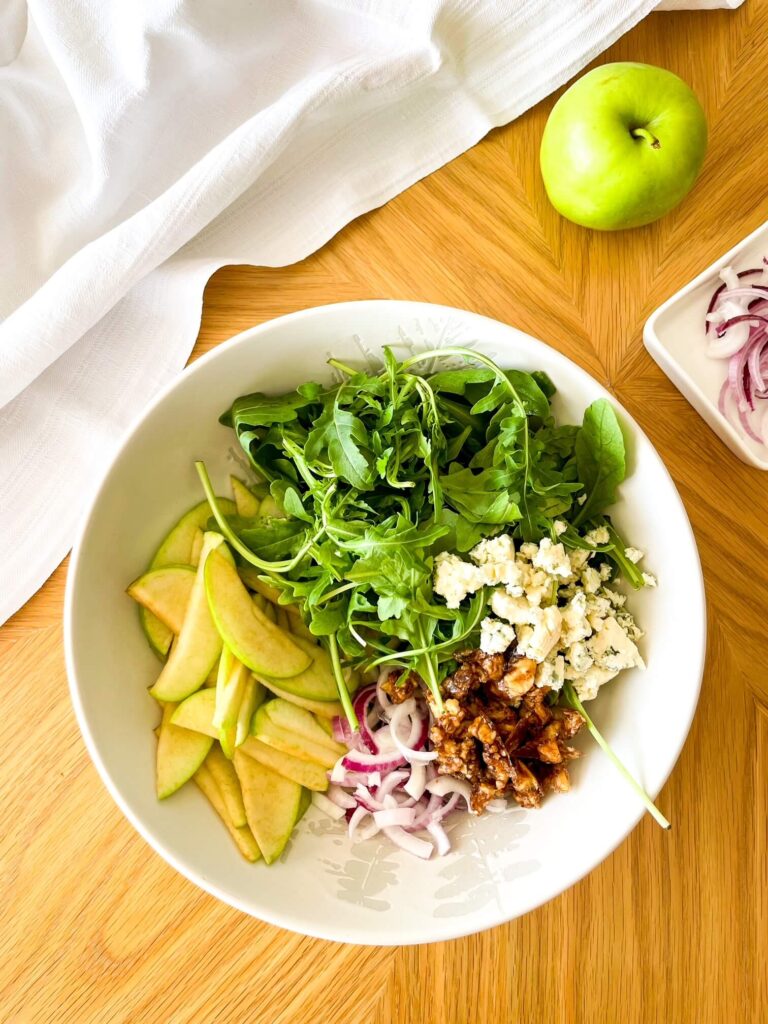
With peppery arugula, sweet and tart apple slices, warm honey-cinnamon toasted walnuts (yes, homemade candied walnuts—you’ll thank me later), tangy crumbles of blue cheese, and a simple but oh-so-satisfying white balsamic vinaigrette that ties it all together in the most delicious bow.
Whether you’re planning an easy weekday lunch, a fancy holiday starter, or looking for something to break the cycle of boring side salads, this recipe will deliver every single time.
Why You’ll Love This Salad
Besides the fact that it’s gorgeous, this salad checks all the boxes:
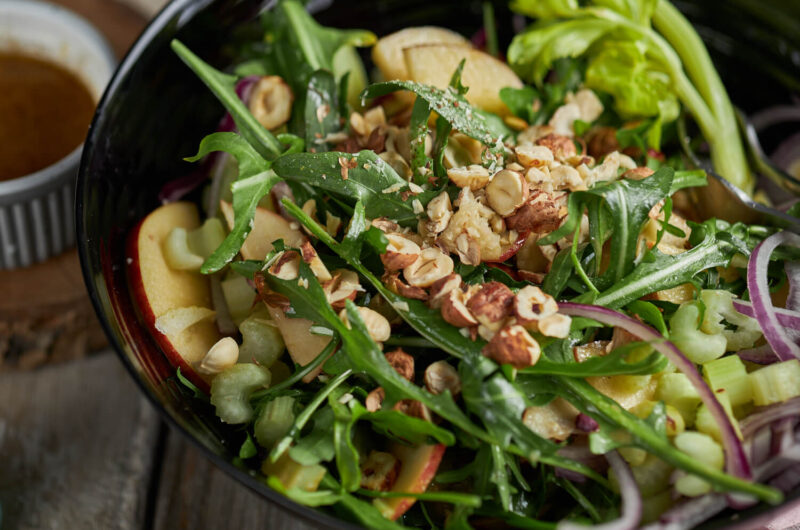
- Crunchy & Creamy: The toasted walnuts and crisp apples contrast beautifully with creamy blue cheese.
- Sweet & Savory: Honey and cinnamon bring a hint of warmth and sweetness, while the arugula and red onion add that peppery bite.
- Simple but Impressive: Nothing fancy here—just fresh, good-for-you ingredients that come together quickly.
- Versatile: It’s easy to switch up the cheese or greens based on what you have on hand (more on that below).
How To Make This Apple Walnut Salad
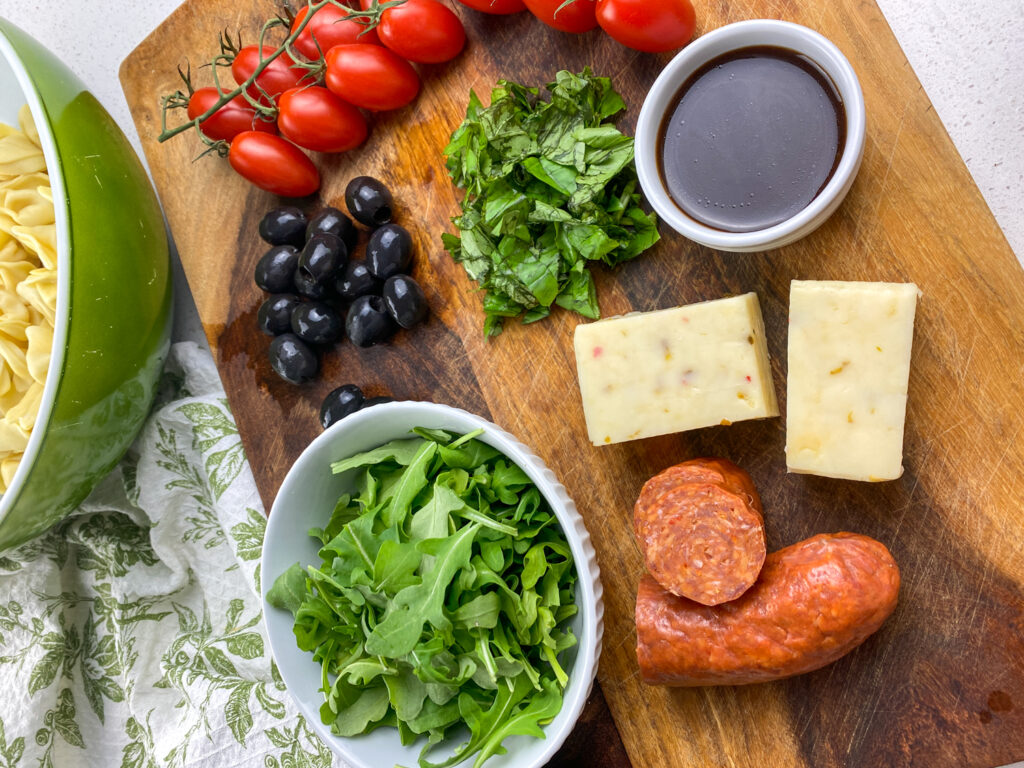
Ingredients For Apple Walnut Salad
- For The Salad:
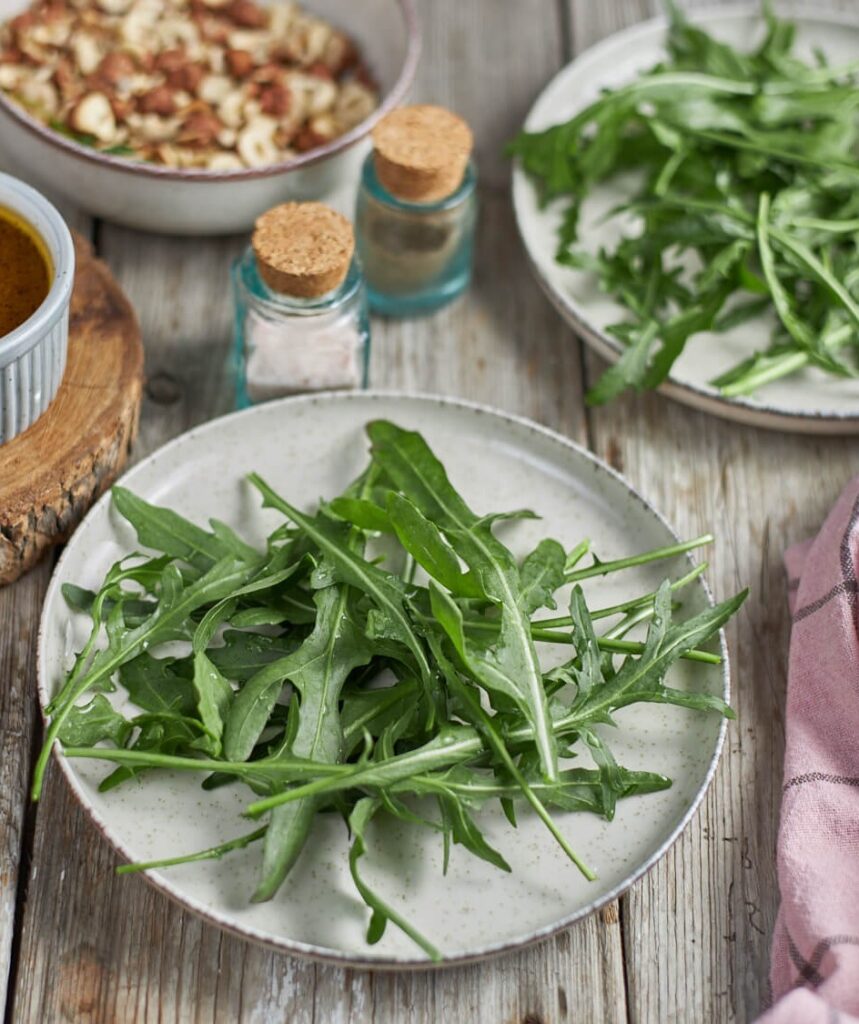
4 cups arugula, rinsed and patted dry
6 oz. walnuts, chopped
2 tablespoons honey, preferably local
2 teaspoons ground cinnamon
2 tart apples (Granny Smith works great), halved, cored, and thinly sliced
1 tablespoon fresh lemon juice
½ small red onion, sliced thin
4 oz. blue cheese, crumbled
Sea salt and freshly cracked black pepper, to taste
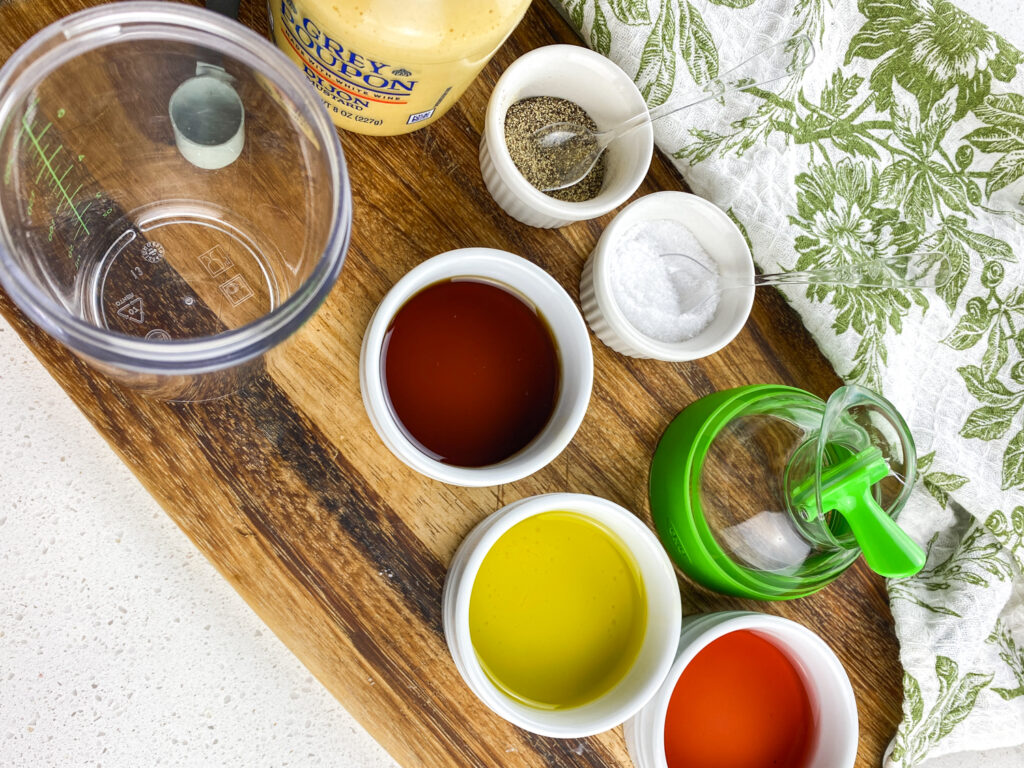
- For The Dressing:
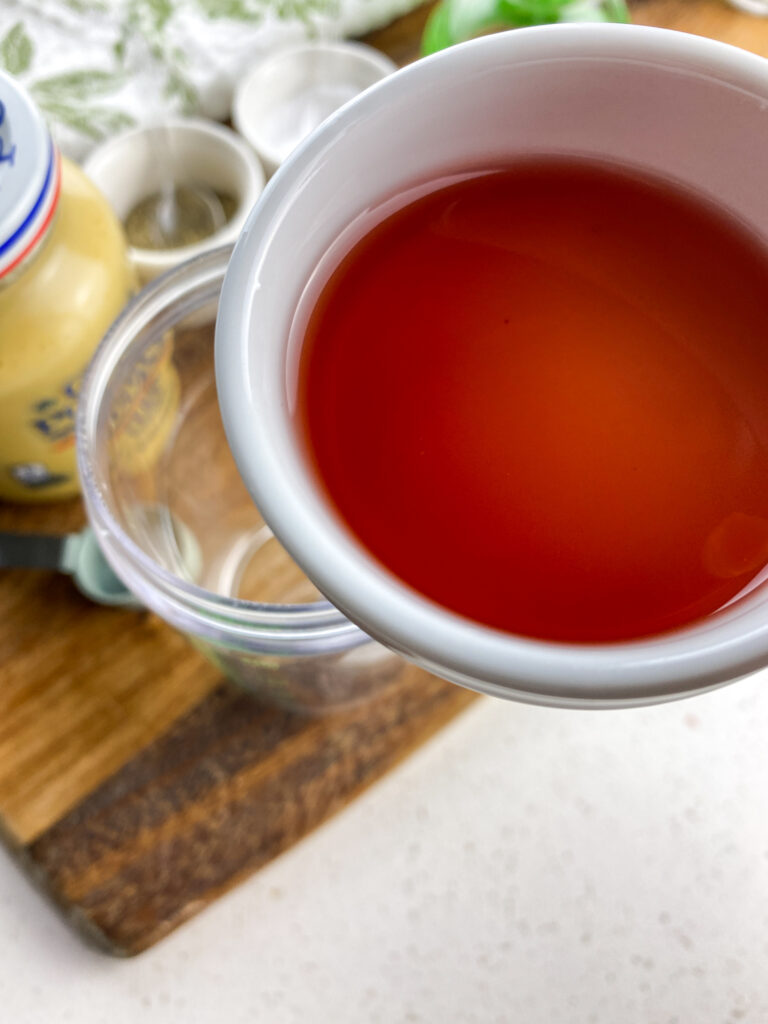
¼ cup white balsamic vinegar
1 garlic clove, finely minced
2 tablespoons honey, preferably local
1 teaspoon Dijon mustard
Sea salt and pepper, to taste
½ cup extra virgin olive oil
Step-By-Step Guide
Don’t be intimidated by the idea of homemade candied walnuts or fresh vinaigrette. I promise—it’s easy, and once you taste it, you’ll never go back to store-bought dressing again.
Step 1: Preheat and Prep:
Place your oven rack in the center position and preheat to 350°F (175°C).
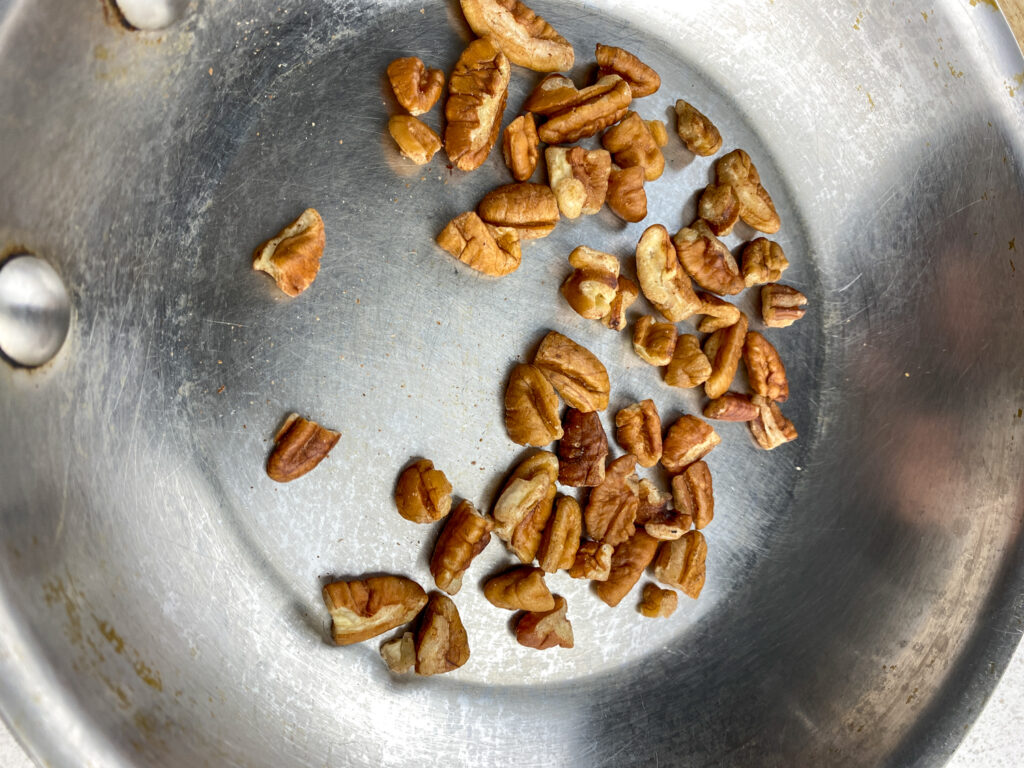
Step 2: Sweeten the Walnuts:
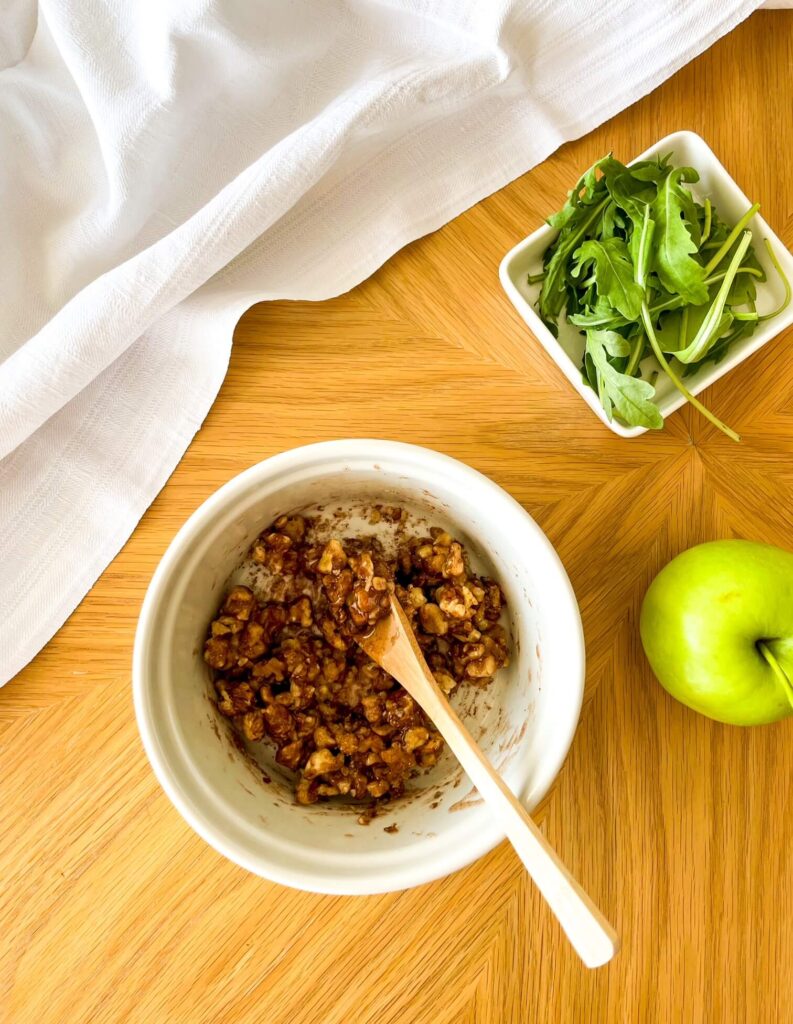
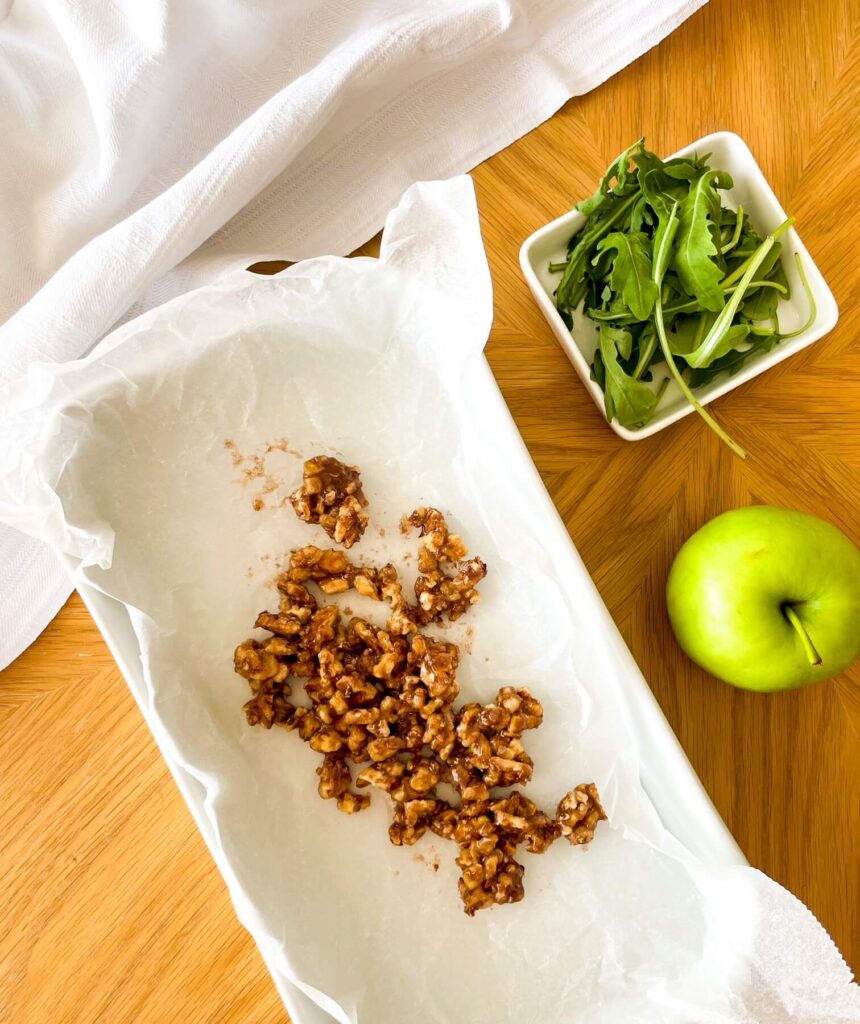
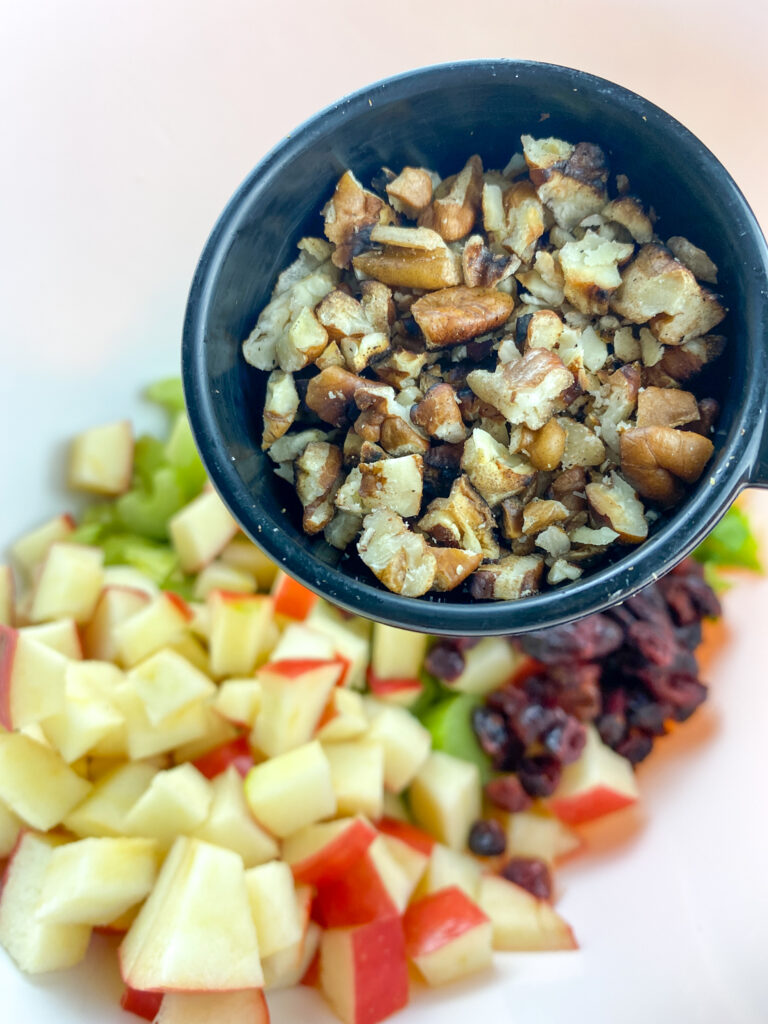
In a small bowl, toss the chopped walnuts with the honey and ground cinnamon until they’re evenly coated and glistening. Line a rimmed baking sheet with parchment paper or a nonstick baking mat (like a Silpat™), then spread the walnuts in a single layer.
Pop the baking sheet into your preheated oven and toast for 8–10 minutes. Keep an eye on them—the honey makes them caramelize beautifully but they can go from perfectly golden to burnt fast. Remove from the oven and let them cool while you prep the rest of your salad.
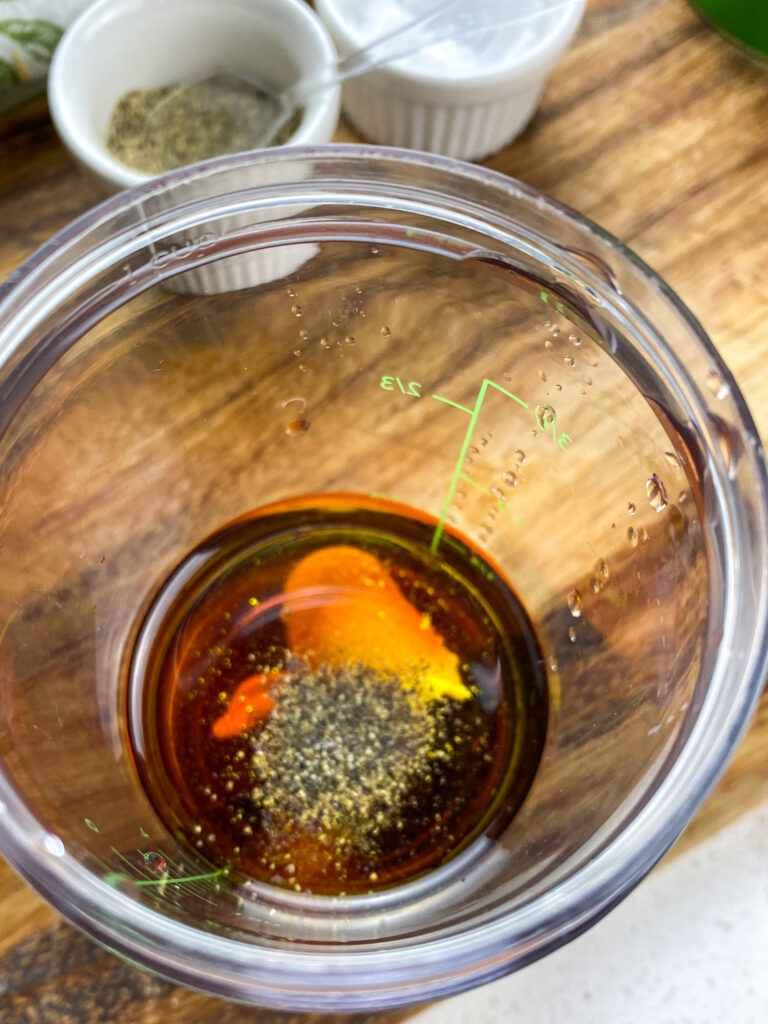
Step 3: Make the White Balsamic Vinaigrette:
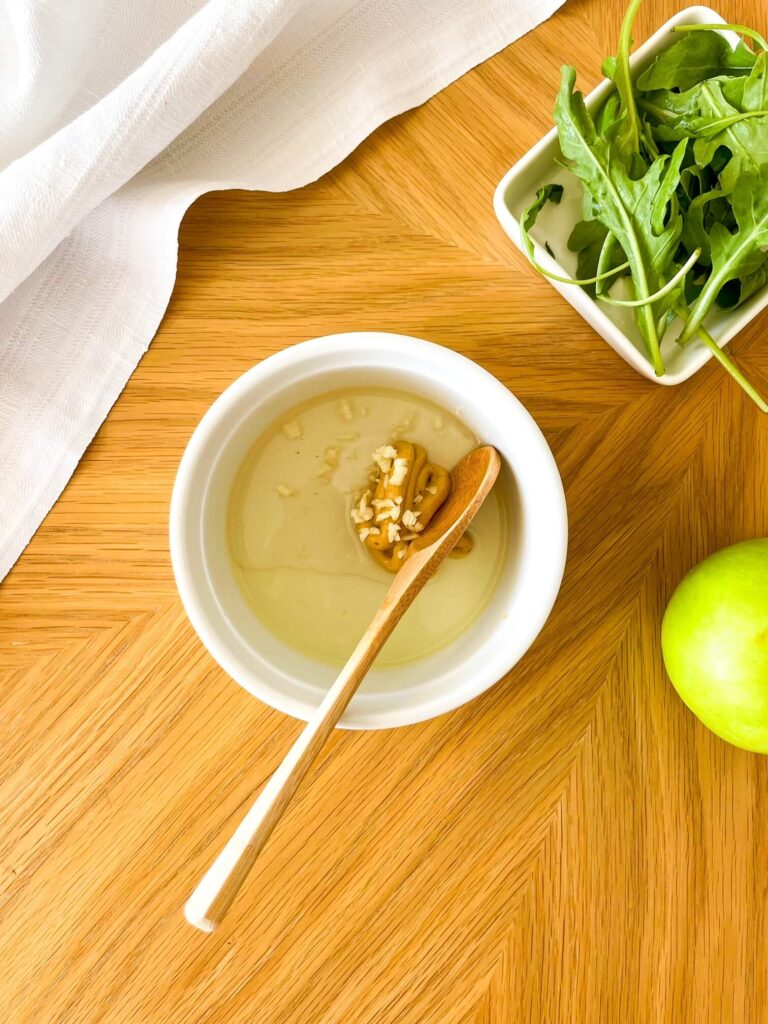
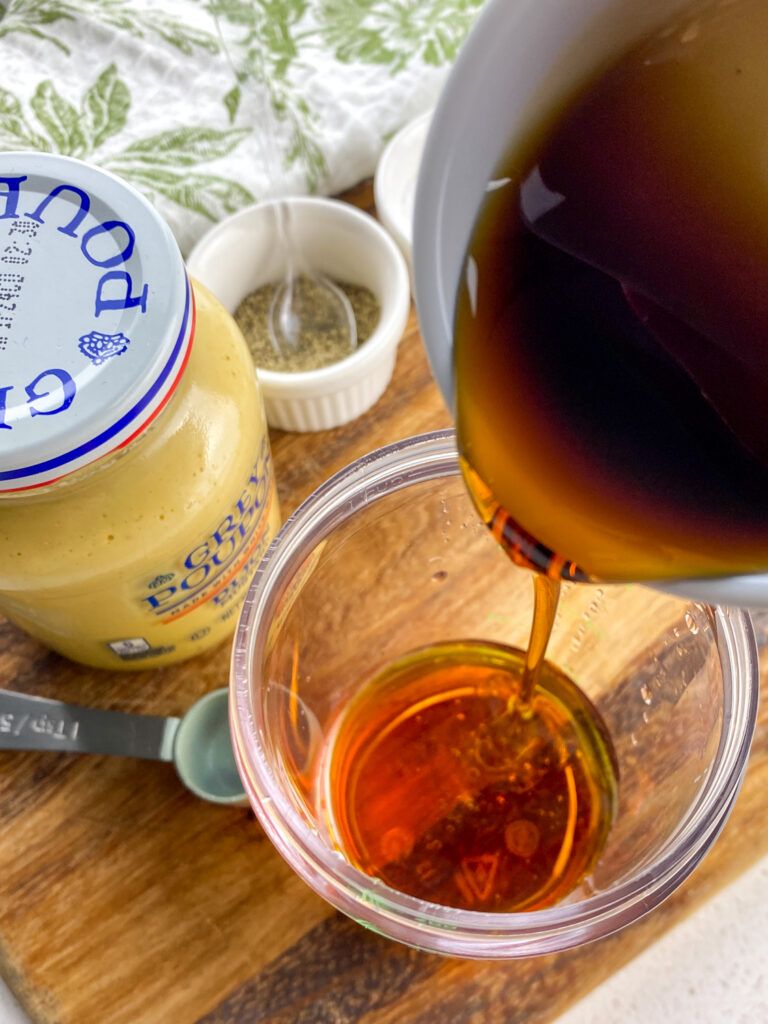
While your kitchen smells amazing from those warm cinnamon walnuts, whisk together the white balsamic vinegar, honey, Dijon mustard, and minced garlic in a small glass bowl. Add a pinch of sea salt and a few grinds of black pepper.
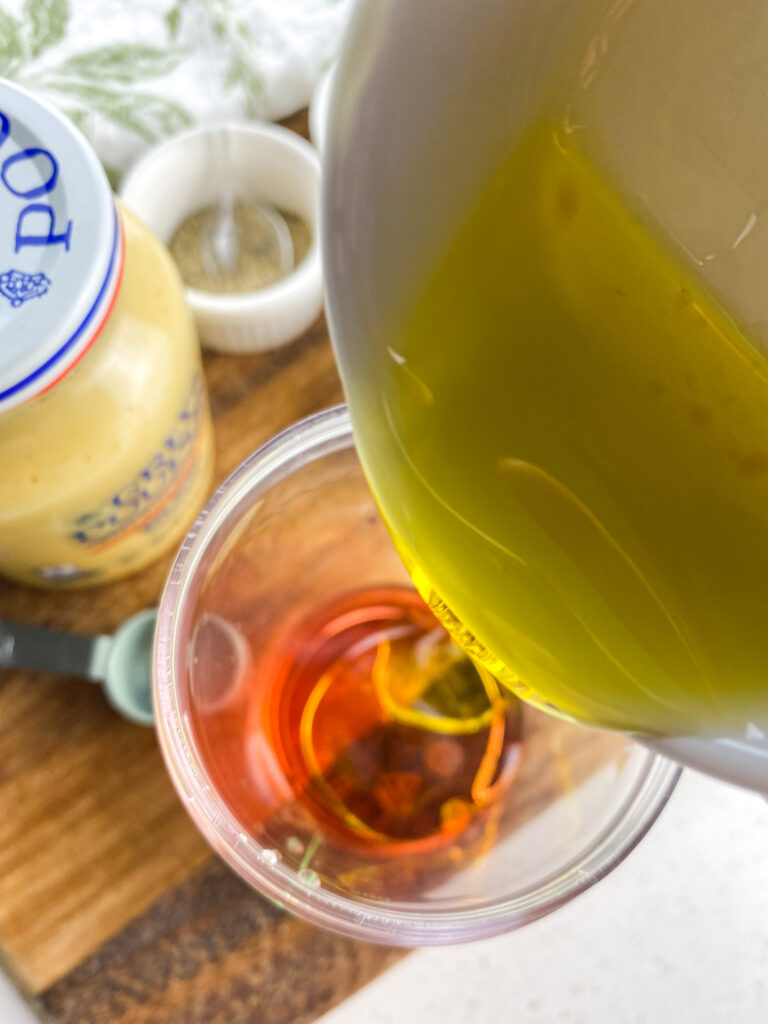
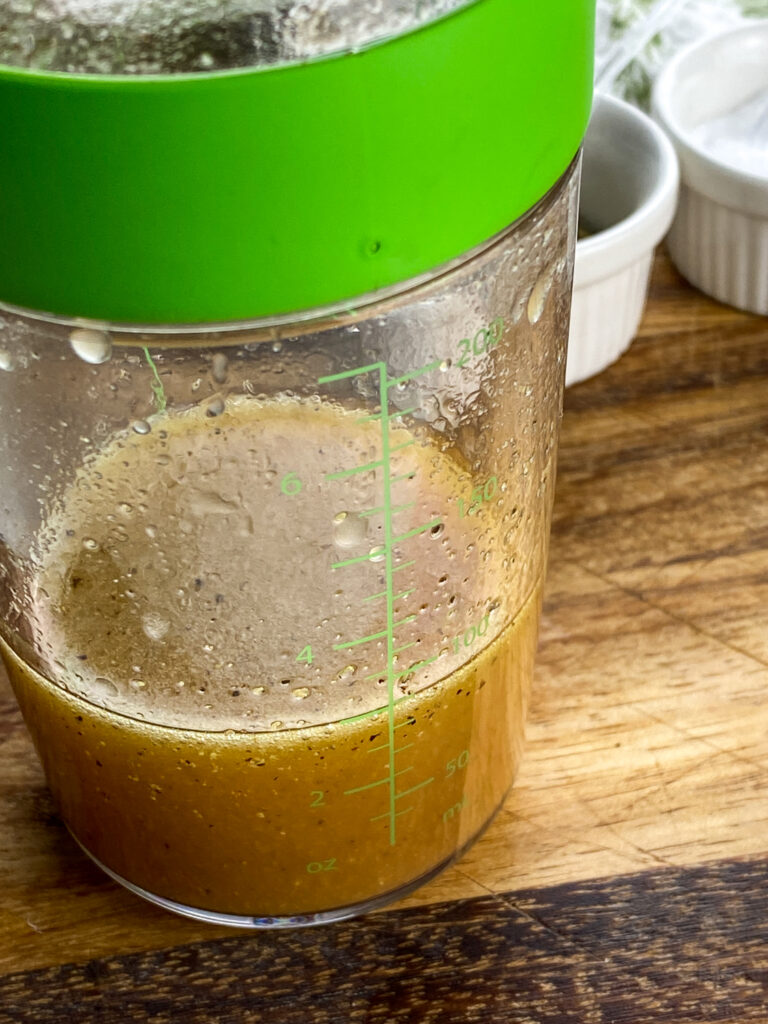
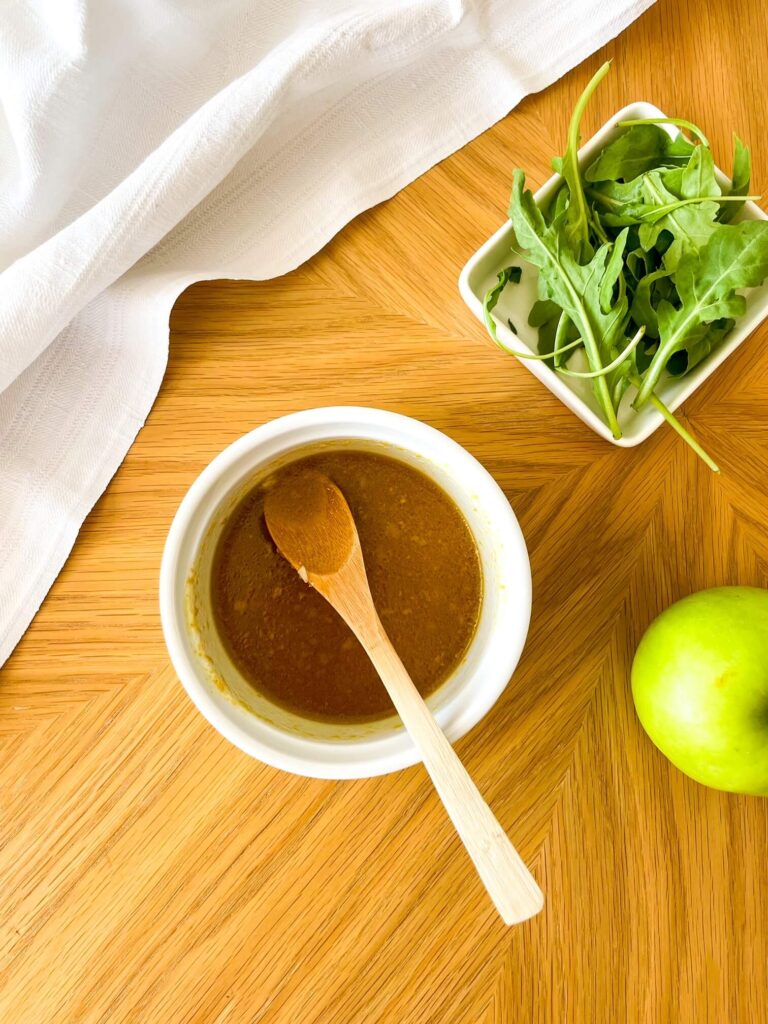
Next, slowly drizzle in the olive oil while whisking continuously to create a silky, well-emulsified dressing. Give it a taste—add a bit more salt, pepper, or honey if needed to balance the sweet-tart flavor. Set aside.
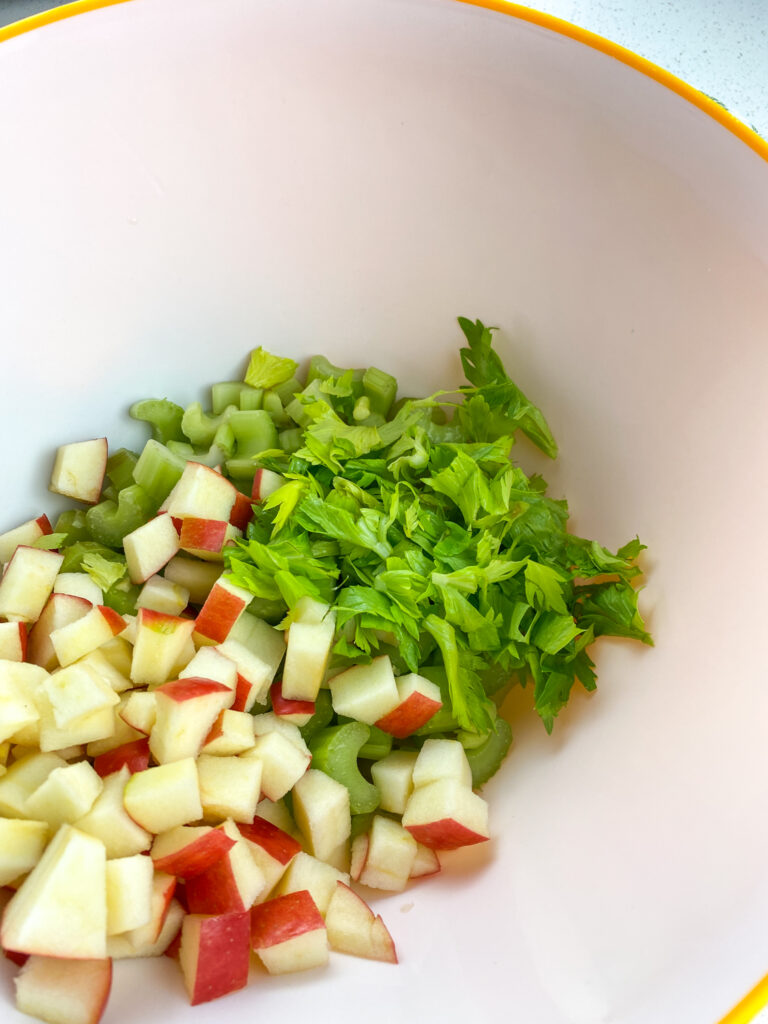
Step 4: Keep the Apples Fresh:
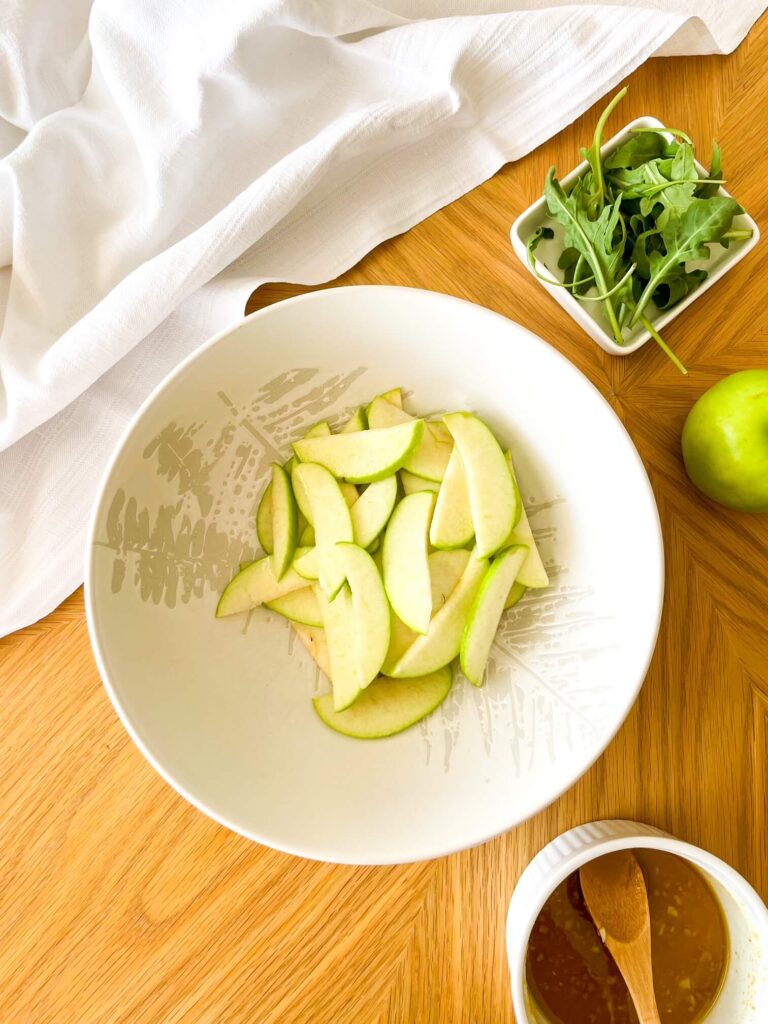
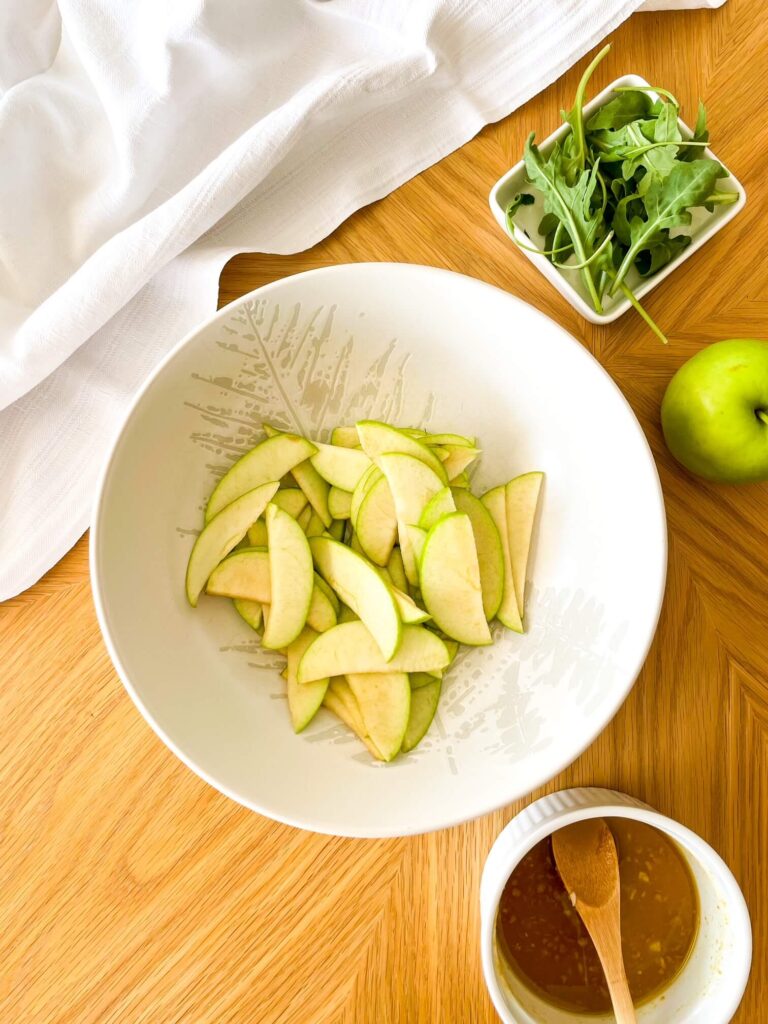
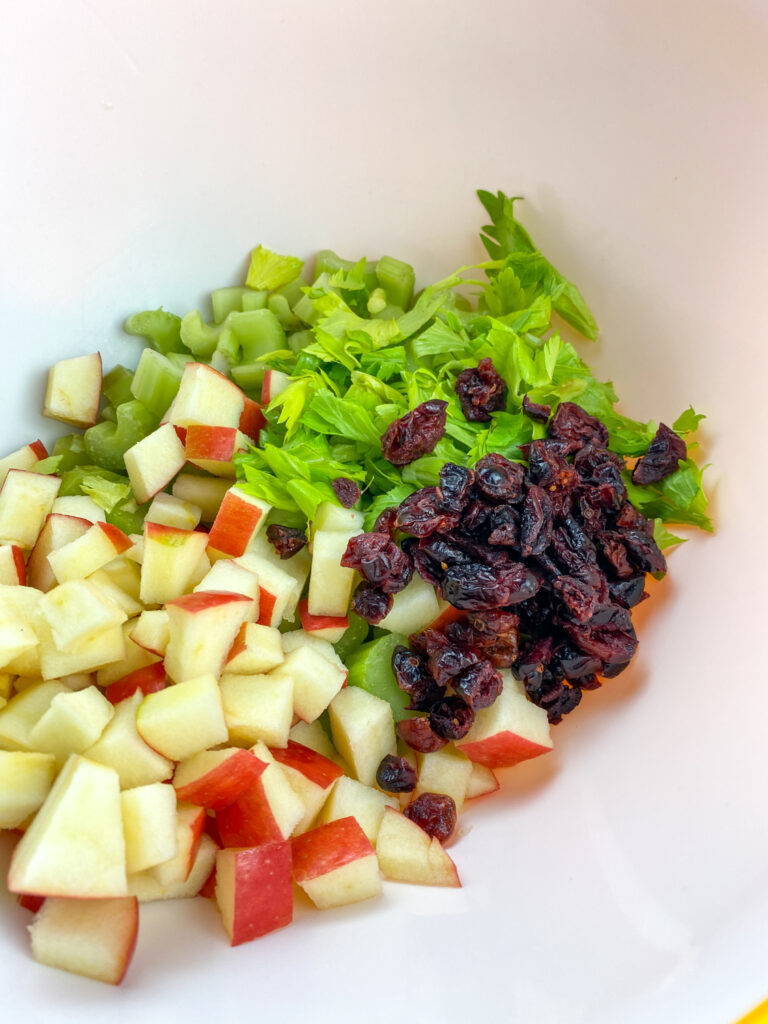
Thinly slice your apples and toss them in a large salad bowl with the fresh lemon juice. This step is a must—it prevents browning and adds a subtle brightness that plays so well with the sweet walnuts and bold blue cheese.
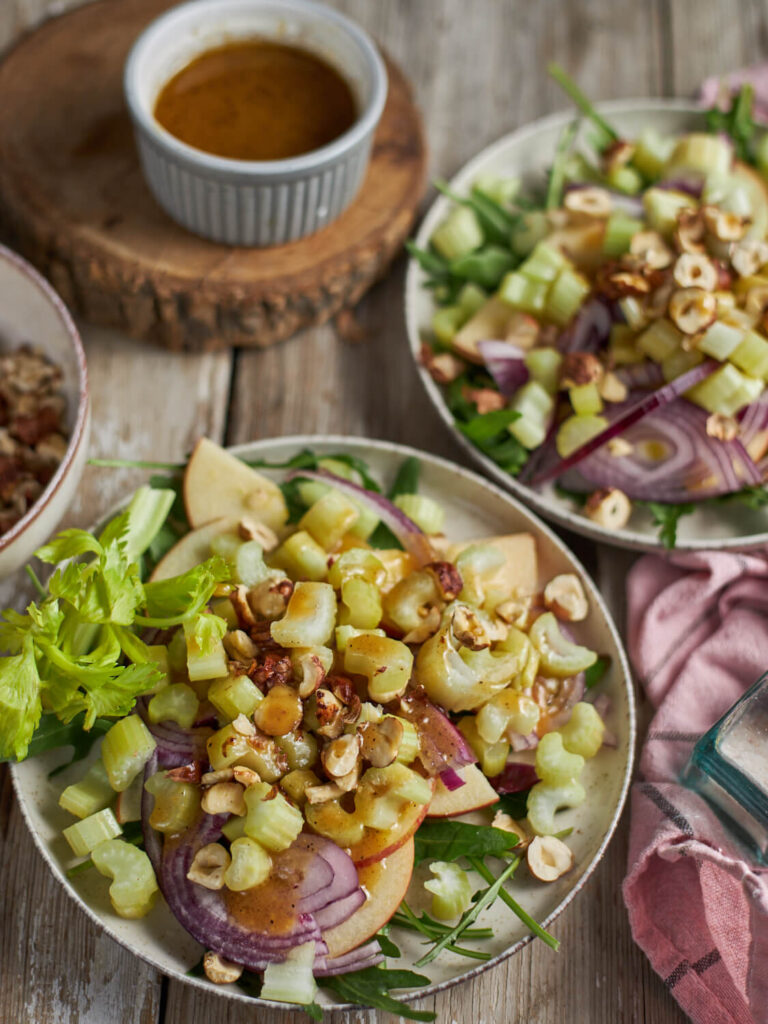
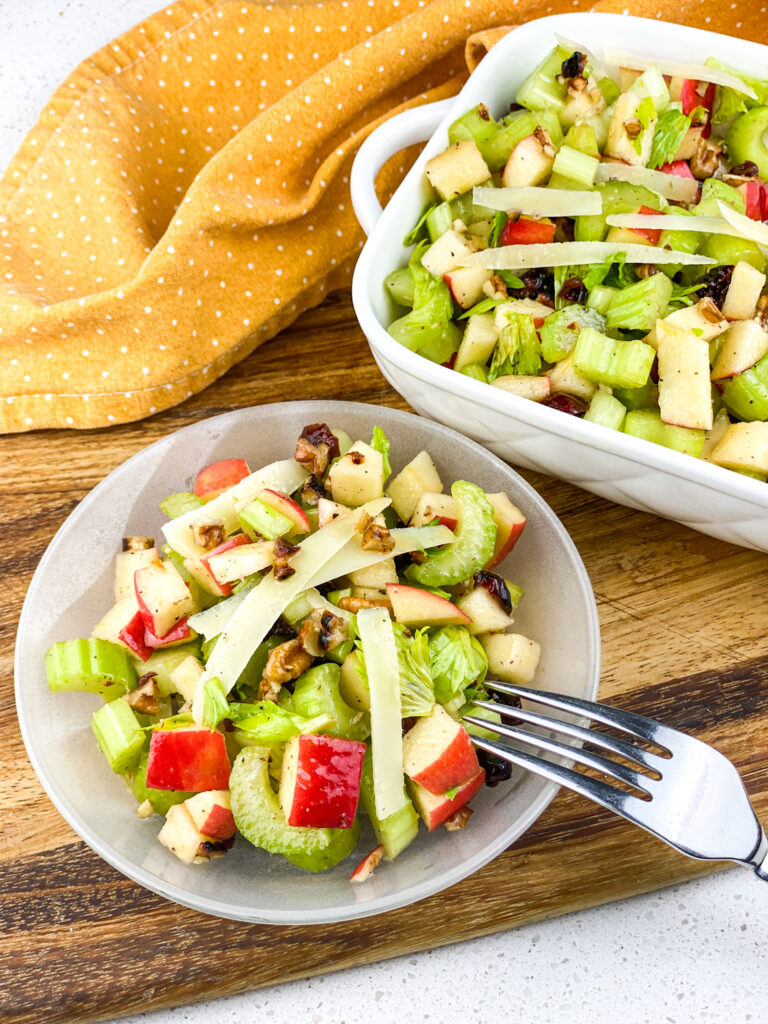
Step 5: Assemble the Salad:

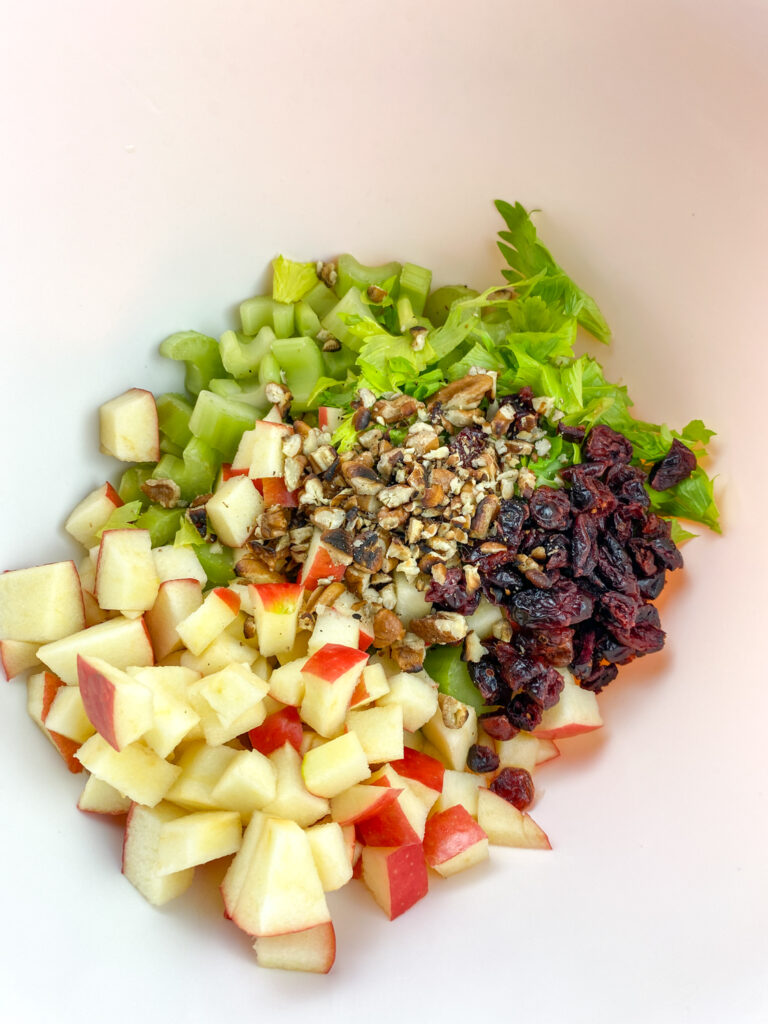
To the bowl of apples, add your fresh arugula, cooled honey-cinnamon walnuts, thinly sliced red onion, and crumbled blue cheese. Season with a little salt and pepper.
Tip: If you’re not a fan of that strong raw onion bite, here’s a simple trick—place the sliced onion in a small bowl of cold water and soak for 10–15 minutes. Drain and pat dry. This takes the edge off while keeping that mild onion flavor and crunch.
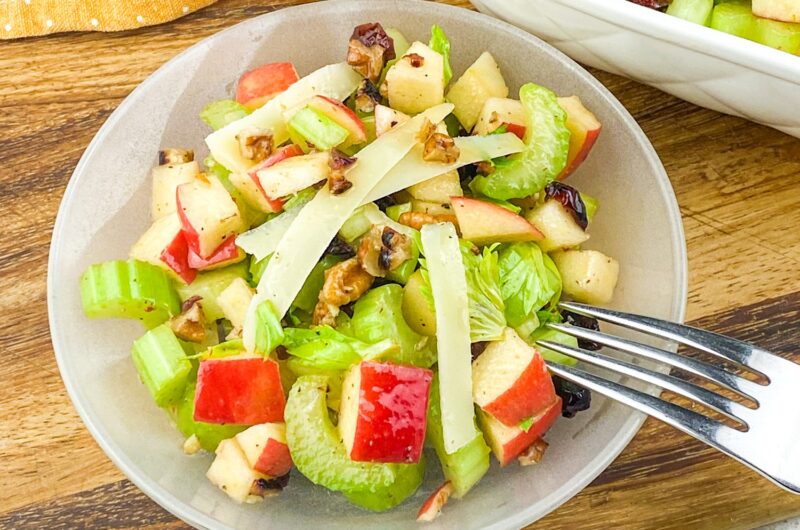
Step 6: Dress and Serve:
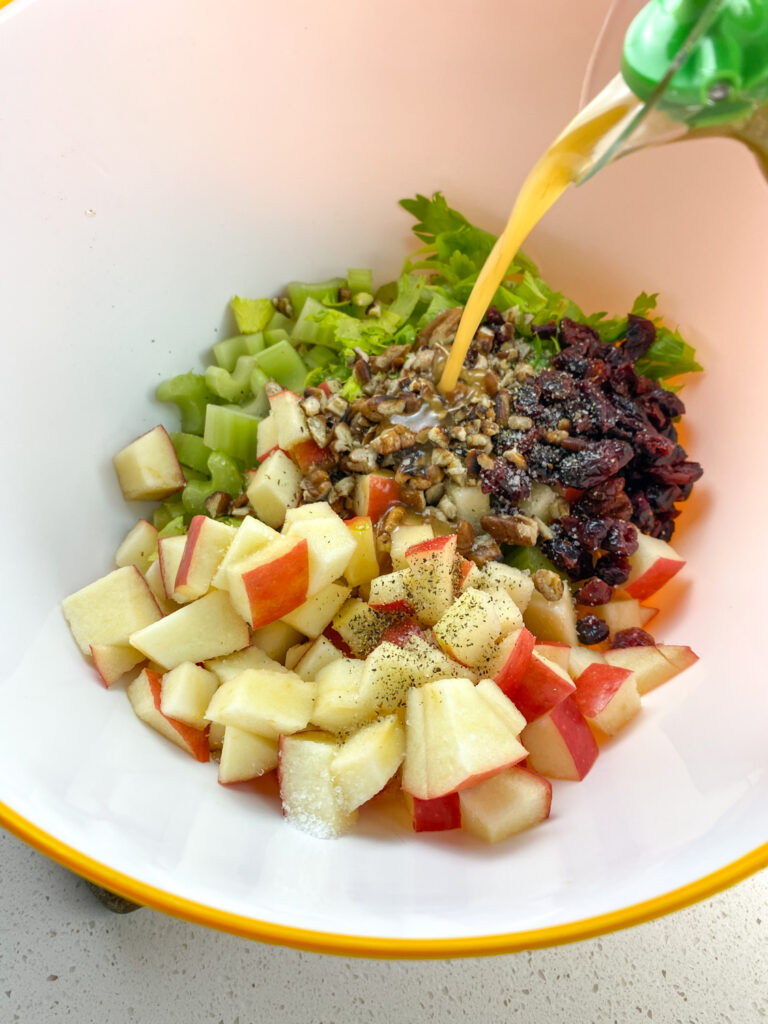
Right before serving, drizzle the salad with a bit of the vinaigrette and toss gently to coat. Serve immediately with extra vinaigrette on the side so everyone can add more to taste.
Make It Your Own
One of the best parts about this salad? It’s super flexible. Here are a few tasty swaps and add-ins:
- Switch the Greens: No arugula on hand? Try baby spinach, mixed spring greens, or even kale. If using kale, massage it with a bit of the vinaigrette to soften the leaves.
- Try Different Cheese: Not everyone loves blue cheese (I get it!). Goat cheese or feta are delicious alternatives that bring creaminess without that strong bite.
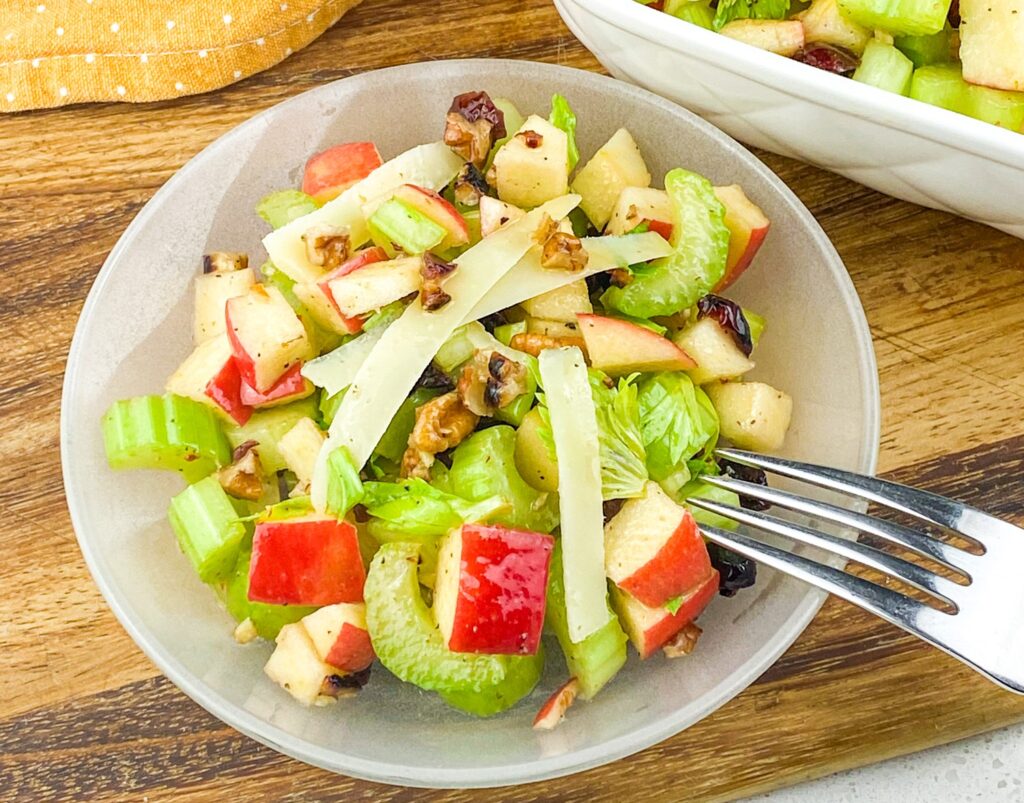
- Fruit Options: Tart apples are the star here, but pears work beautifully too—especially ripe Bosc or Anjou pears.
- Add Protein: Make it a meal! Top with grilled chicken, salmon, or even leftover holiday turkey.
- Extra Crunch: Toss in a handful of dried cranberries or pomegranate seeds for a pop of color and sweetness.
So there you have it—a fresh, crunchy, sweet-and-savory salad that’s as easy to pull together as it is delicious. Whether you’re impressing guests at brunch, adding something special to your holiday spread, or just need to get out of your salad rut, this Apple Walnut Salad with White Balsamic Vinaigrette is guaranteed to hit the spot.
Gather your ingredients, pop those walnuts in the oven, and get ready to fall in love with your new go-to salad. Happy tossing—and happy eating!
Apple Walnut Salad with White Balsamic Vinaigrette
Course: Uncategorized4
servings20
minutes10
minutes300
kcalIngredients For Apple Walnut Salad
- For The Salad:
4 cups arugula, rinsed and patted dry
6 oz. walnuts, chopped
2 Tbs honey, preferably local
2 tsp ground cinnamon
2 tart apples, cut in half, core removed, and cut into thin slices
1 Tbs fresh lemon juice
1/2 small red onion, sliced thin
4 oz. blue cheese, crumbled
Sea salt and black pepper, to taste
- For The Vinaigrette:
1/4 c. white balsamic vinegar
1 tsp Dijon mustard
1 clove garlic, finely minced
1/2 cup extra virgin olive oil
2 Tbs honey, preferably local
Sea salt and pepper, to taste
Directions
- Place the top oven rack in the center position and preheat the oven to 350°F.
- In a small bowl, toss walnuts with honey and cinnamon until evenly coated. Arrange walnuts in a single layer on a rimmed baking sheet lined with parchment paper or a Silpat™ baking mat.
- Place the baking sheet in the preheated oven and bake for 8-10 minutes. Remove from oven and set aside.
- While the walnuts are toasting, prepare the vinaigrette by combining the white balsamic vinegar, honey, Dijon mustard, and garlic in a small glass bowl. Season with salt and pepper, to taste. Slowly whisk in the olive oil until well combined. Taste and adjust other flavors, as desired. Set aside.
- Add sliced apples to a large salad bowl and sprinkle with lemon juice. Toss until well coated. Add arugula, seasoned walnuts, red onion slices, and blue cheese to the bowl and gently toss to combine.
- Drizzle salad with a little vinaigrette right before serving and toss to combine. Serve immediately with the remaining dressing on the side. Enjoy!