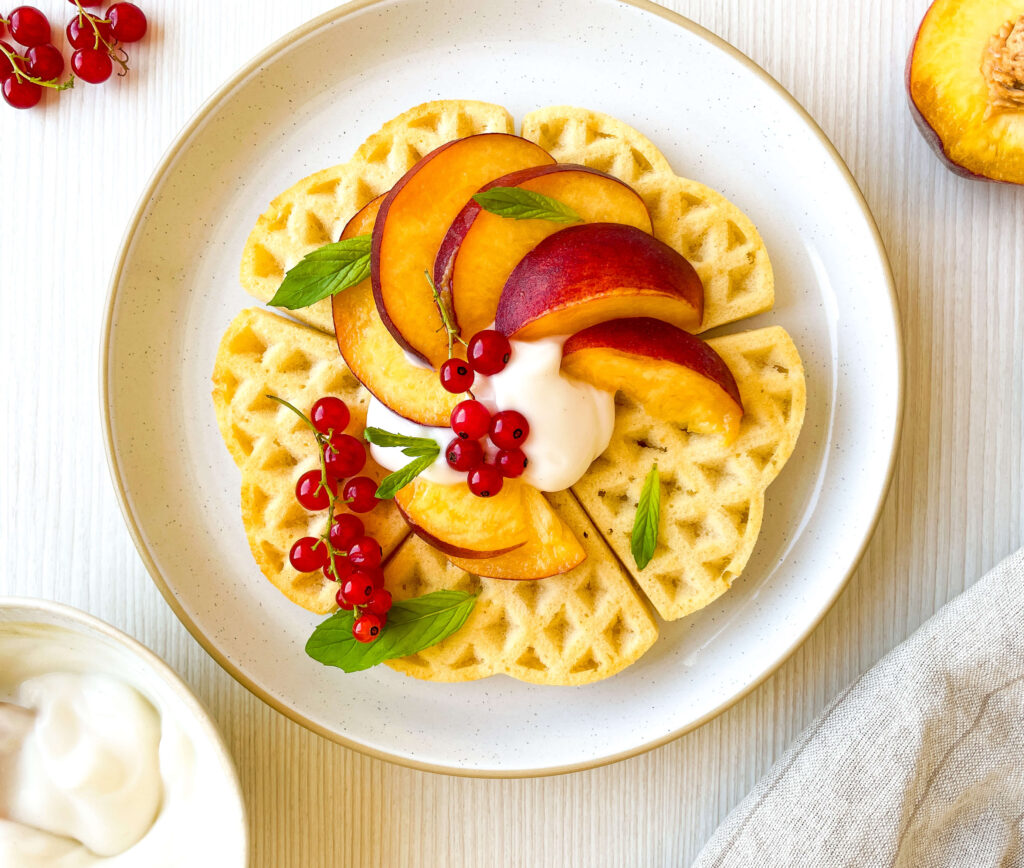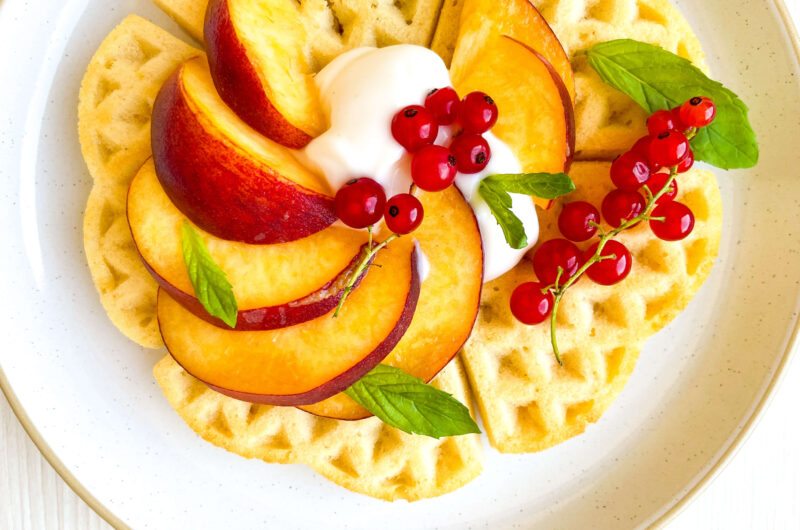
If you’re craving something that’s equal parts fancy and fuss-free, this Cherry & Chocolate Puff Pastry Tart is about to become your go-to dessert. Think crispy, golden layers of puff pastry topped with rich, melted chocolate and juicy cherries—all coming together in one dreamy bite.
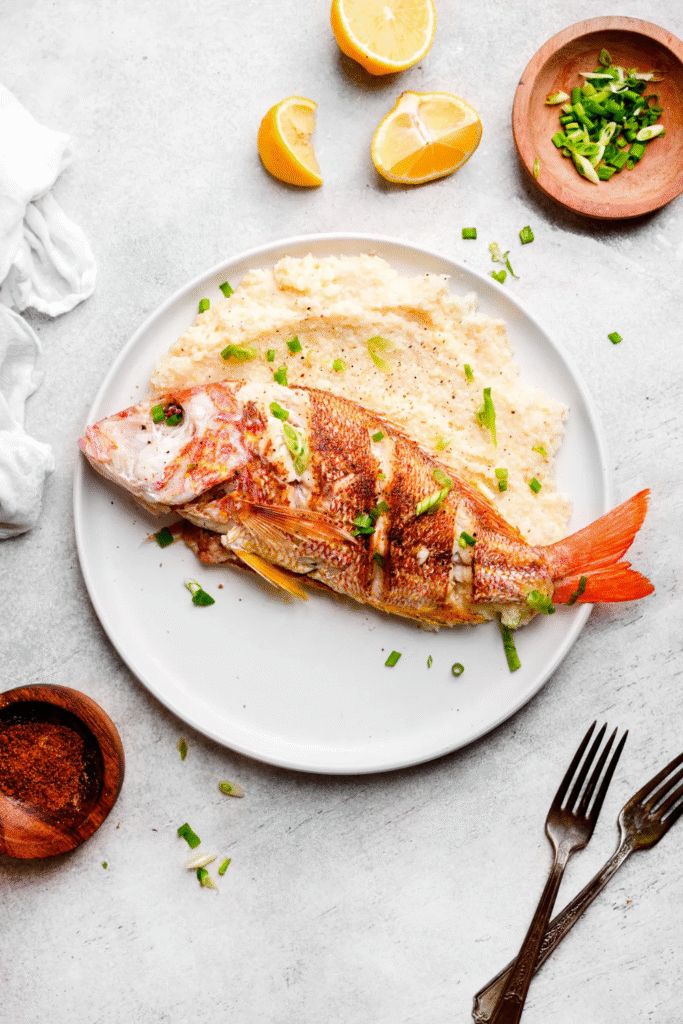
Also Read: 39 Creative and Delicious Fresh Cherry Recipes
How To Make This Cherry & Chocolate Puff Pastry Tart
Whether you’re hosting a brunch, looking for a last-minute sweet treat, or just want an excuse to indulge (no judgment here), this tart is as easy to make as it is impressive.
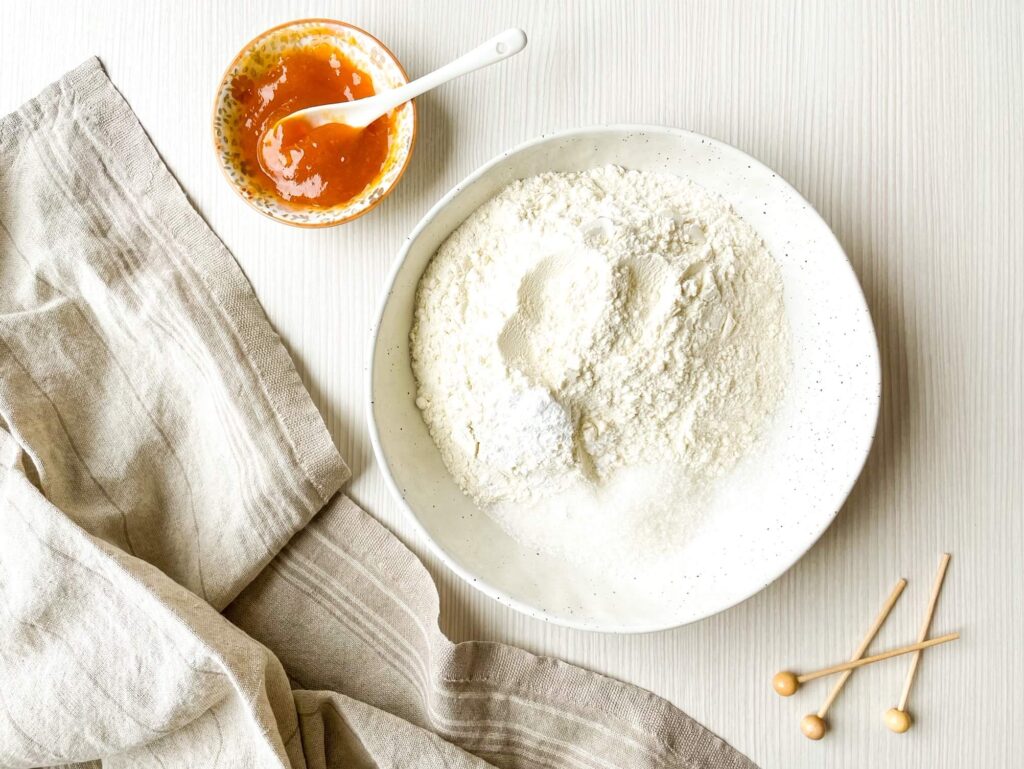
Ingredients For This Cherry Tart
1 frozen puff pastry sheet, thawed
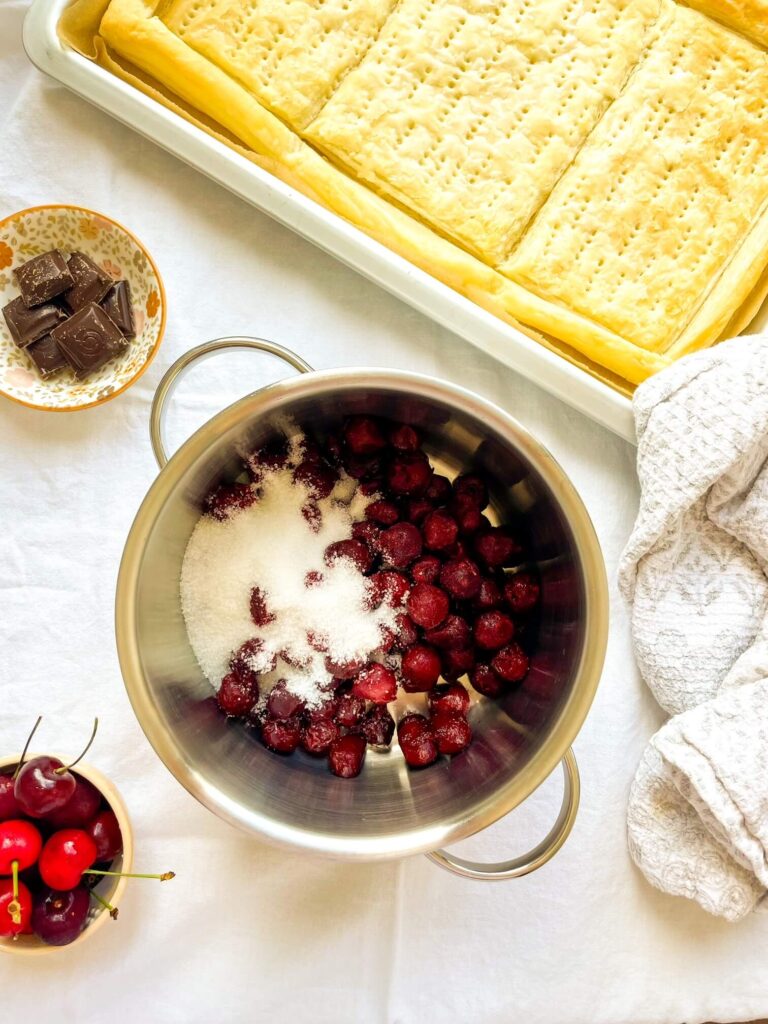
2 cups fresh or frozen cherries, pitted
6 Tbs sugar
1 Tbs cornstarch
1/4 c. water
4 oz. dark chocolate, melted
2 tsp coconut oil
Additional fresh cherries, for serving
Flaky sea salt, for sprinkling
Step-By-Step Guide
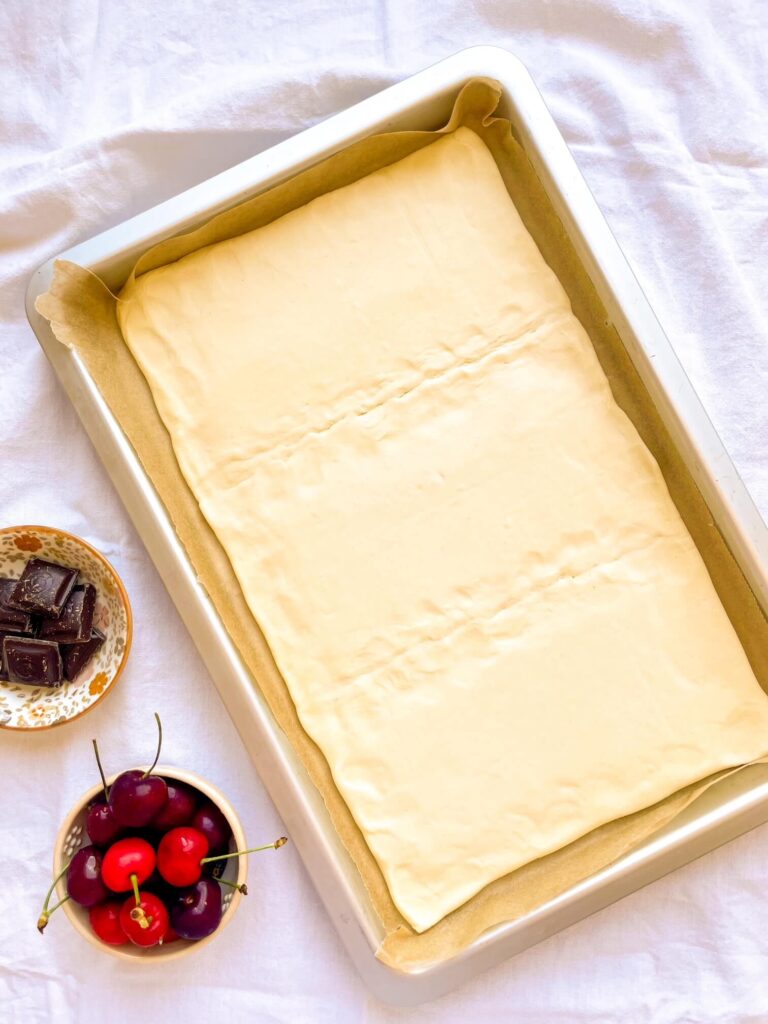
1. Preheat the oven to 400°F and line a rimmed baking sheet with a piece of parchment paper.
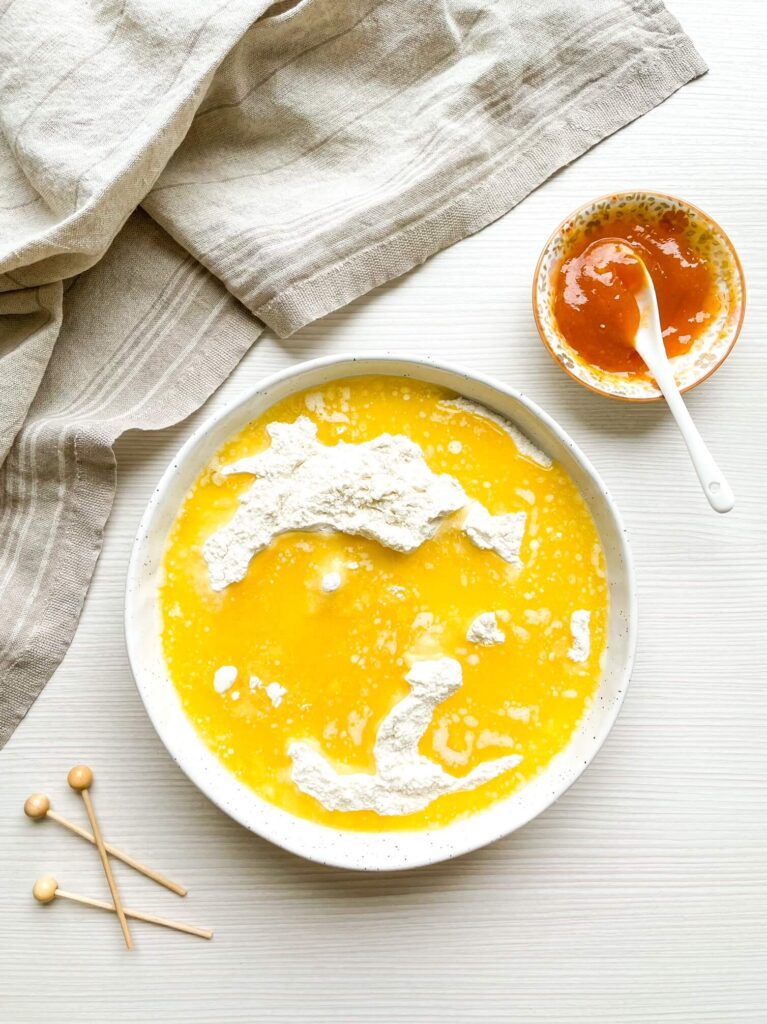
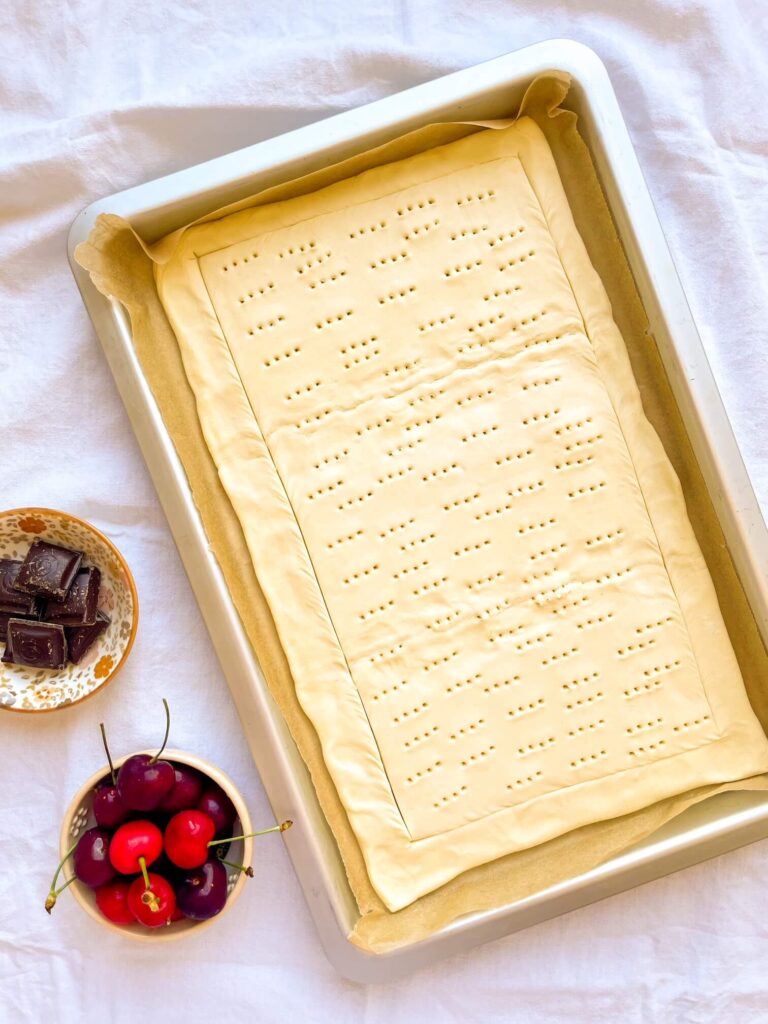
2. Roll out the puff pastry sheet into a rectangle onto the prepared baking sheet. Using a knife, score a 1/2-inch border on the sides of the puff pastry, making sure not to cut all the way through. Using a fork, prick the puff pastry inside the border.
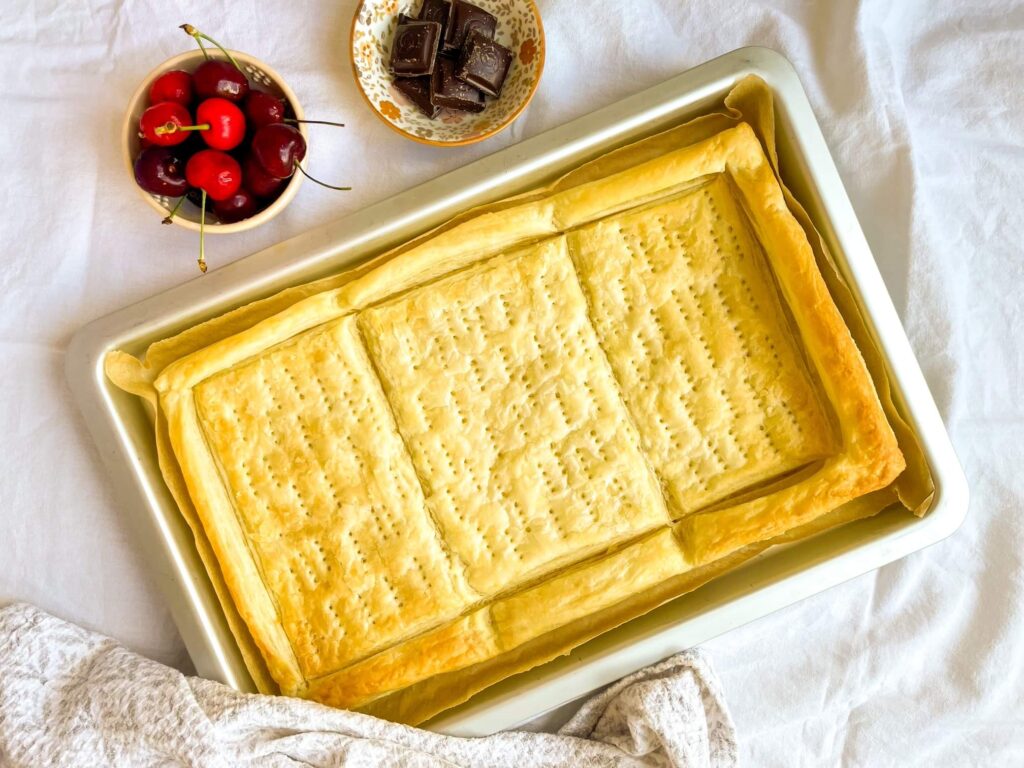
3. Place the puff pastry into the oven and bake for 15 minutes or until lightly browned.
4. In the meantime, combine the cherries and sugar in a small saucepan and place over medium heat.
5. In a small bowl, whisk the cornstarch with the water until smooth and set aside.
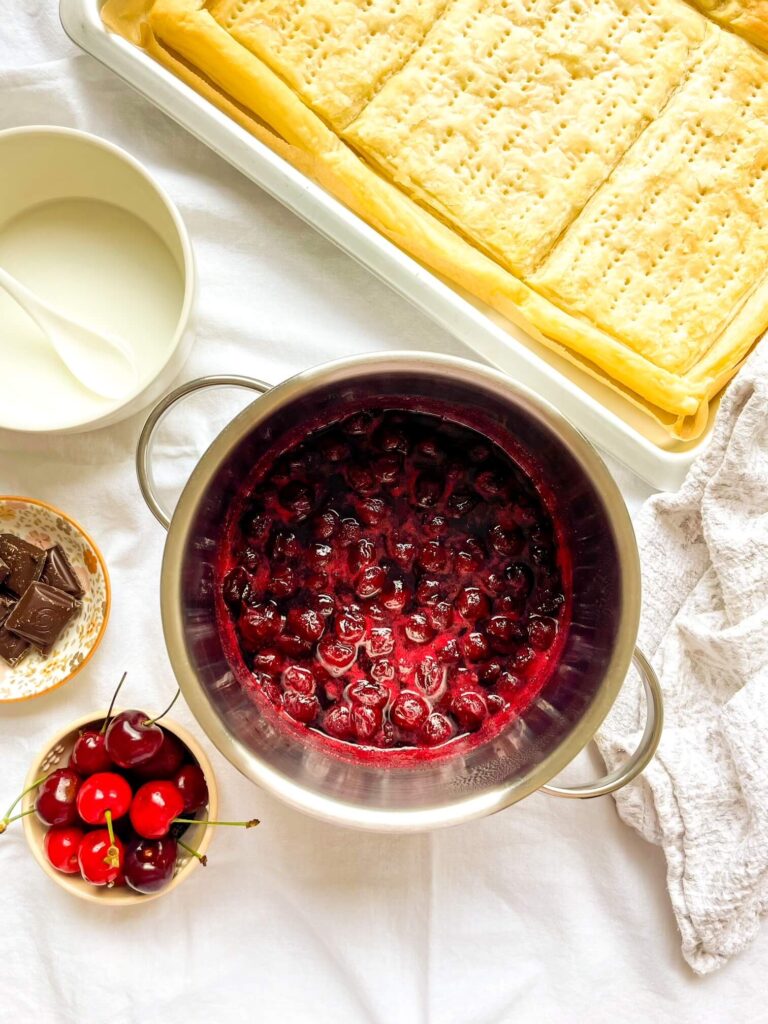
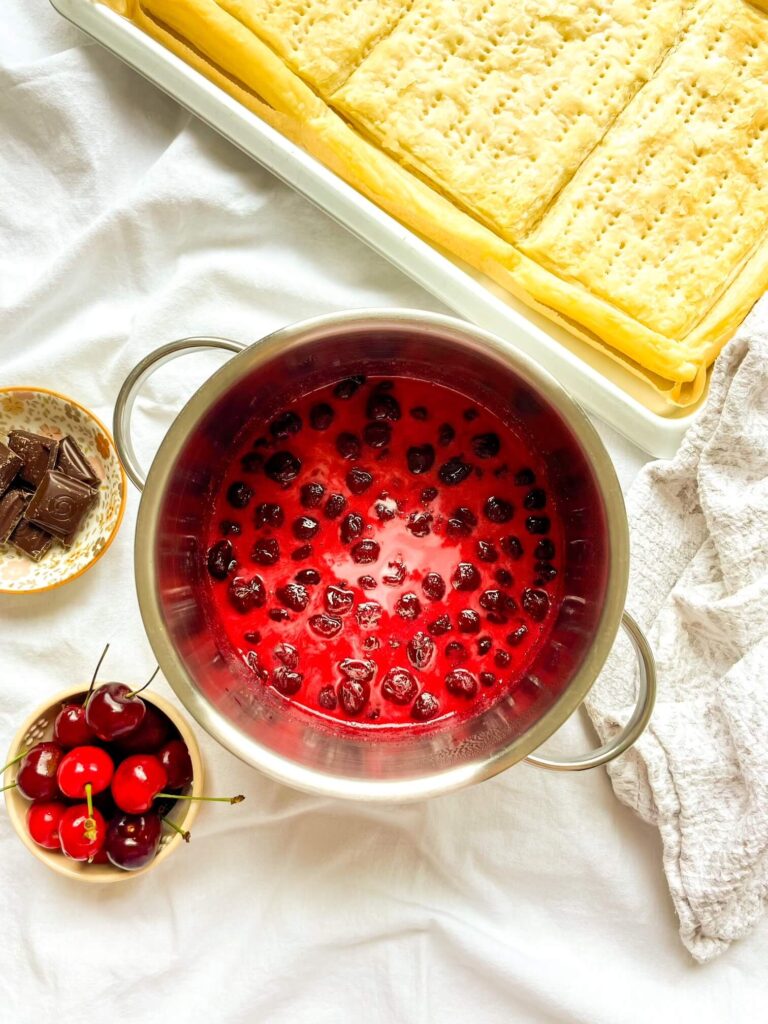
6. Allow the cherries to simmer for 5-6 minutes, then stir in the cornstarch slurry and continue cooking until lightly thickened, around 3-4 minutes. Remove from heat.
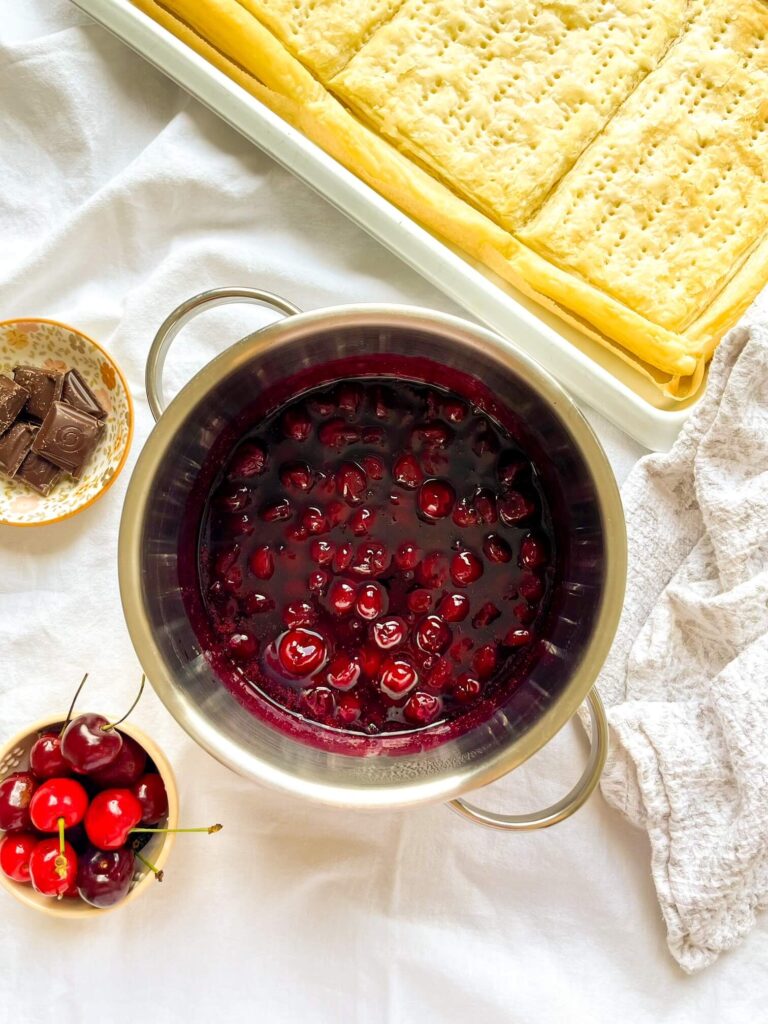
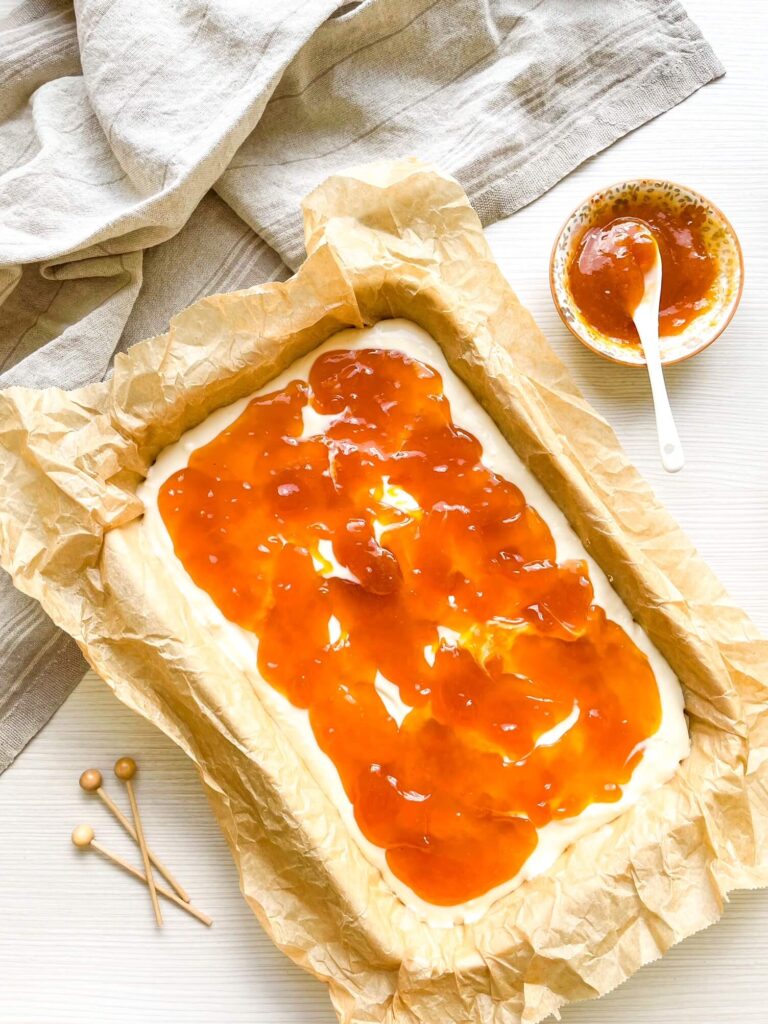
7. Remove the puff pastry sheet from the oven and spread the cherry mixture inside the border of the puff pastry.
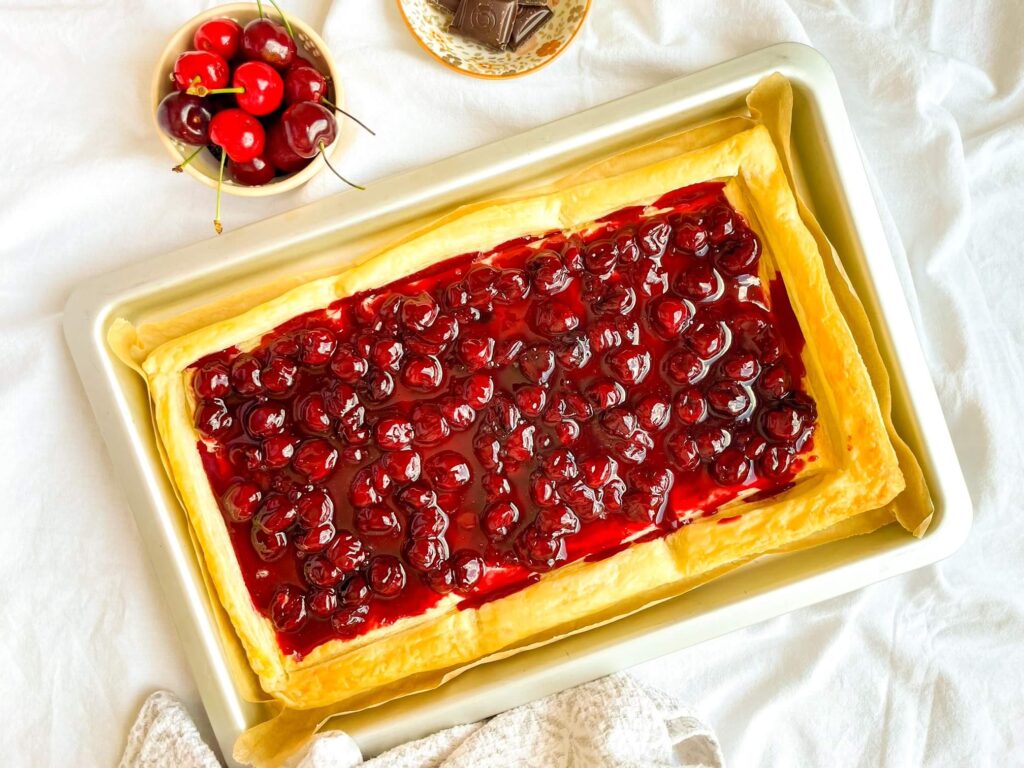
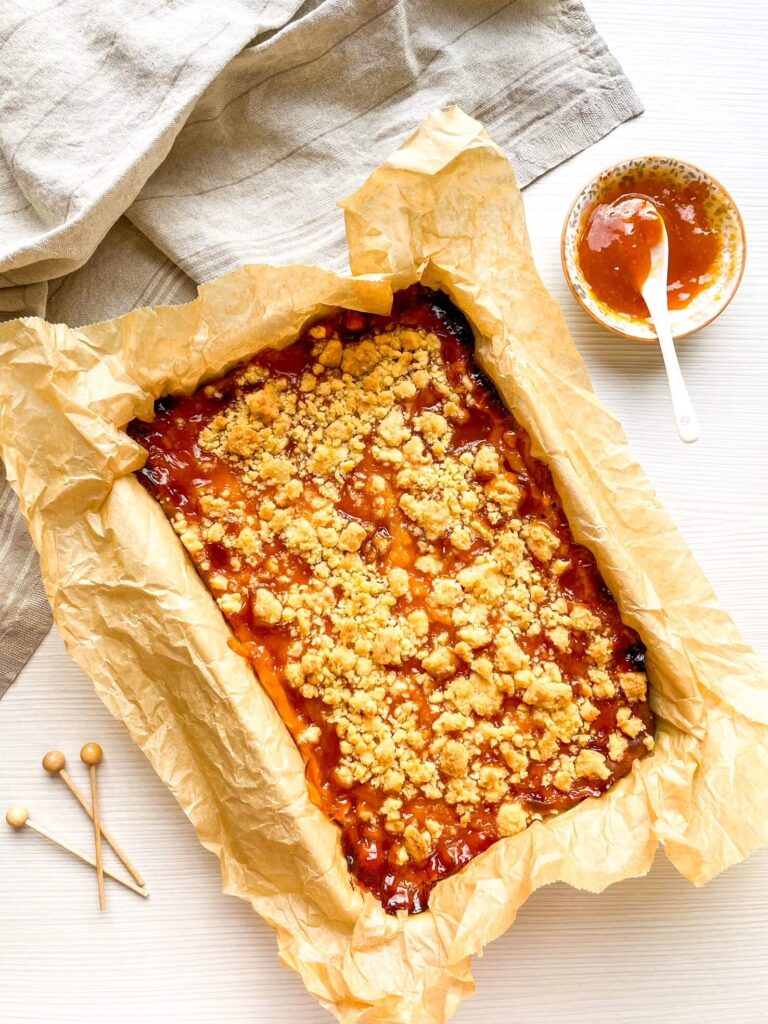
8. Return the tart into the oven and bake until the edges are deeply golden-brown and the cherry filling is bubbly, another 15 minutes.
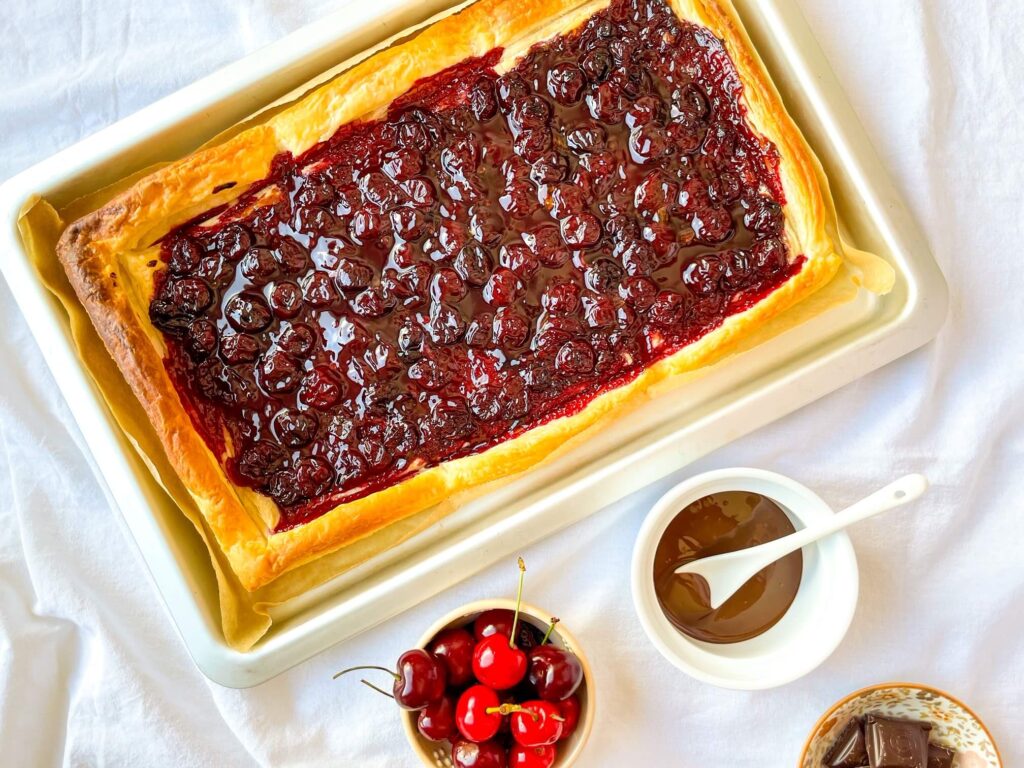
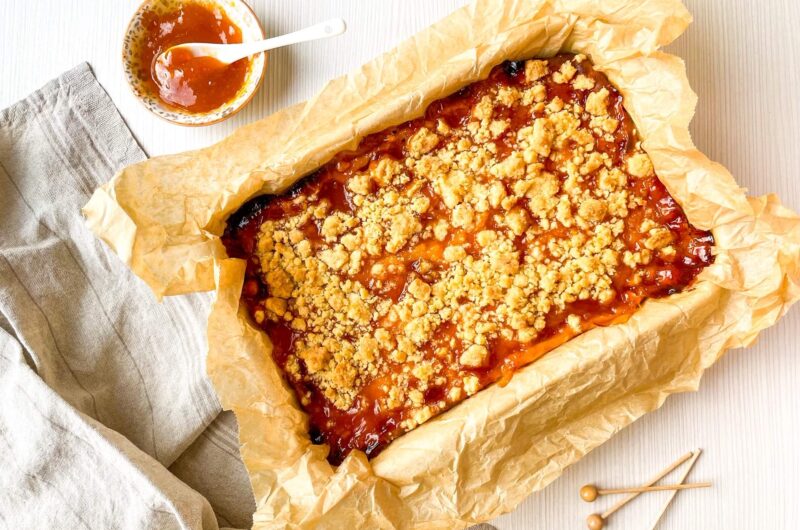
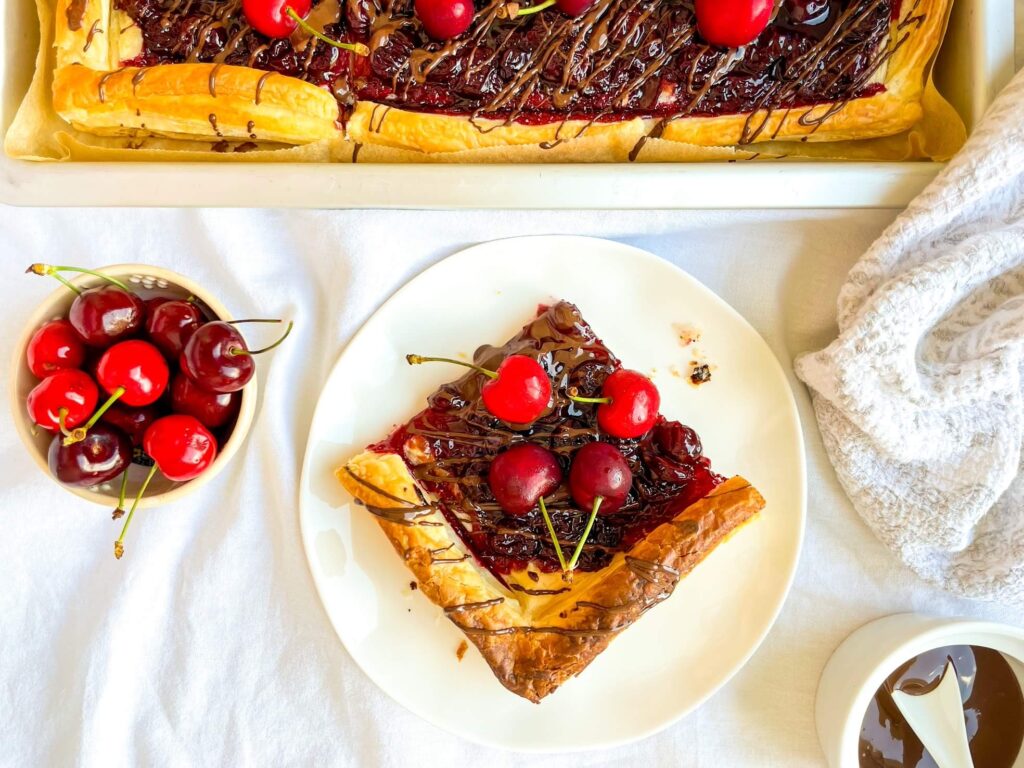
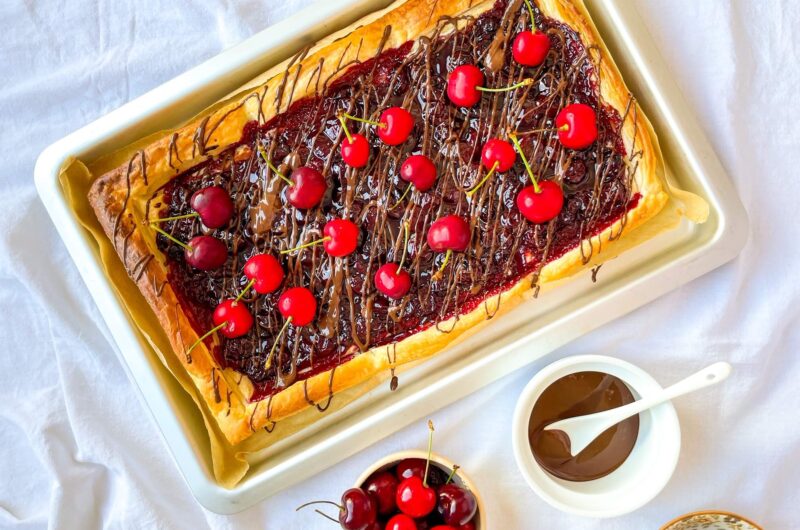
9. Stir the coconut oil into the melted chocolate and drizzle the chocolate all over the cherry tart. Top with flaky sea salt and additional fresh cherries. Enjoy!

And there you have it—your new favorite dessert that’s as effortless as it is impressive! This Cherry & Chocolate Puff Pastry Tart is the perfect blend of flaky, fruity, and chocolaty goodness that looks bakery-worthy without the stress.
Serve it warm with a scoop of vanilla ice cream or enjoy it chilled with a cup of coffee—it’s a win either way. Whether you’re treating yourself or sharing with friends, this tart is sure to steal the show. Don’t be surprised if you find yourself making it again (and again)!
Cherry & Chocolate Puff Pastry Tart
Course: DessertCuisine: FrenchDifficulty: Easy10
servings30
minutes40
minutes196
kcalIngredients
1 frozen puff pastry sheet, thawed
2 cups fresh or frozen cherries, pitted
6 Tbs sugar
1 Tbs cornstarch
1/4 cup water
4 oz. dark chocolate, melted
2 tsp coconut oil
Additional fresh cherries, for serving
Flaky Sea salt, for sprinkling
Directions
- Preheat the oven to 400°F and line a rimmed baking sheet with a piece of parchment paper.
- Roll out the puff pastry sheet into a rectangle onto the prepared baking sheet. Using a knife, score a 1/2-inch border on the sides of the puff pastry, making sure not to cut all the way through. Using a fork, prick the puff pastry inside the border.
- Place the puff pastry into the oven and bake for 15 minutes or until lightly browned.
- In the meantime, combine the cherries and sugar in a small saucepan and place over medium heat.
- In a small bowl, whisk the cornstarch with the water until smooth and set aside.
- Allow the cherries to simmer for 5-6 minutes, then stir in the cornstarch slurry and continue cooking until lightly thickened, around 3-4 minutes. Remove from heat.
- Remove the puff pastry sheet from the oven and spread the cherry mixture inside the border of the puff pastry.
- Return the tart into the oven and bake until the edges are deeply golden-brown and the cherry filling is bubbly, another 15 minutes.
- Stir the coconut oil into the melted chocolate and drizzle the chocolate all over the cherry tart. Top with flaky sea salt and additional fresh cherries.