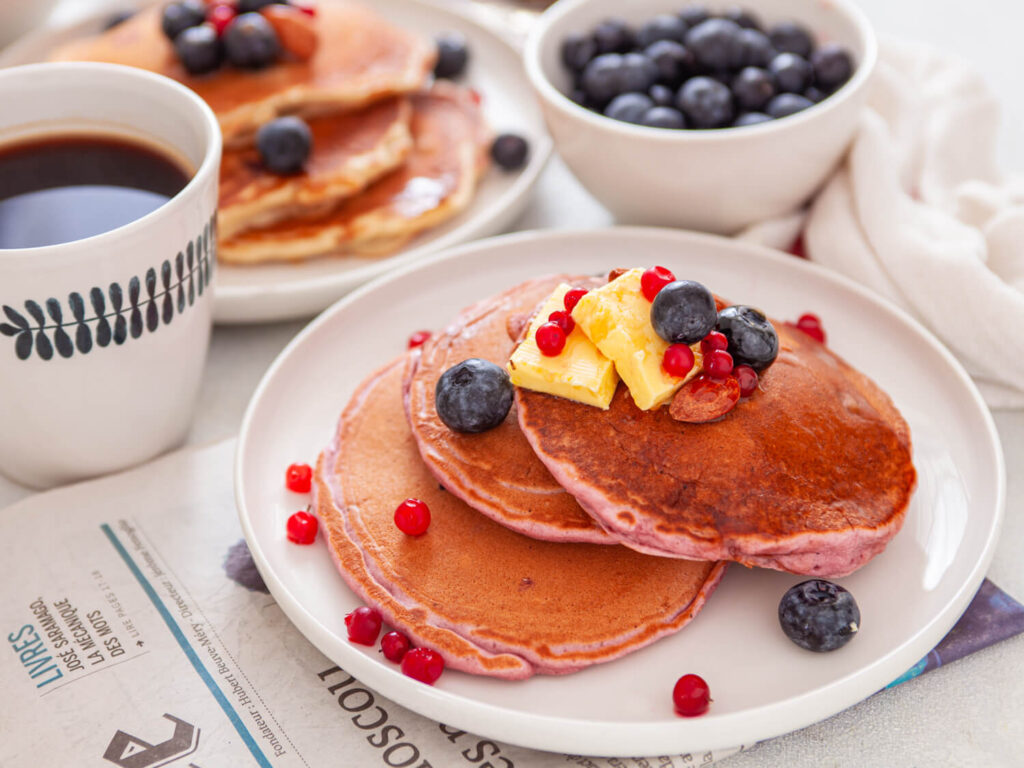
As the leaves start to turn and the air gets a bit crisper, it’s the perfect time to indulge in the warm, comforting flavors of fall. If you’re looking for a breakfast that captures the essence of the season while still aligning with your health goals, then look no further than these Paleo Pumpkin Spice Pancakes. They’re fluffy, flavorful, and incredibly easy to whip up in no time! Plus, they make for an awesome start to your day.
Why are these pancakes special? For one, they’re not just packed with pumpkin flavor, but they also embrace the principles of the Paleo diet, focusing on wholesome, natural ingredients. Not only are they gluten-free and grain-free, but they’re also a delightful way to sneak in some nutrients, thanks to the pumpkin puree. Let’s dive into what makes these pancakes a fantastic addition to your breakfast table!
More Pancake Recipes:
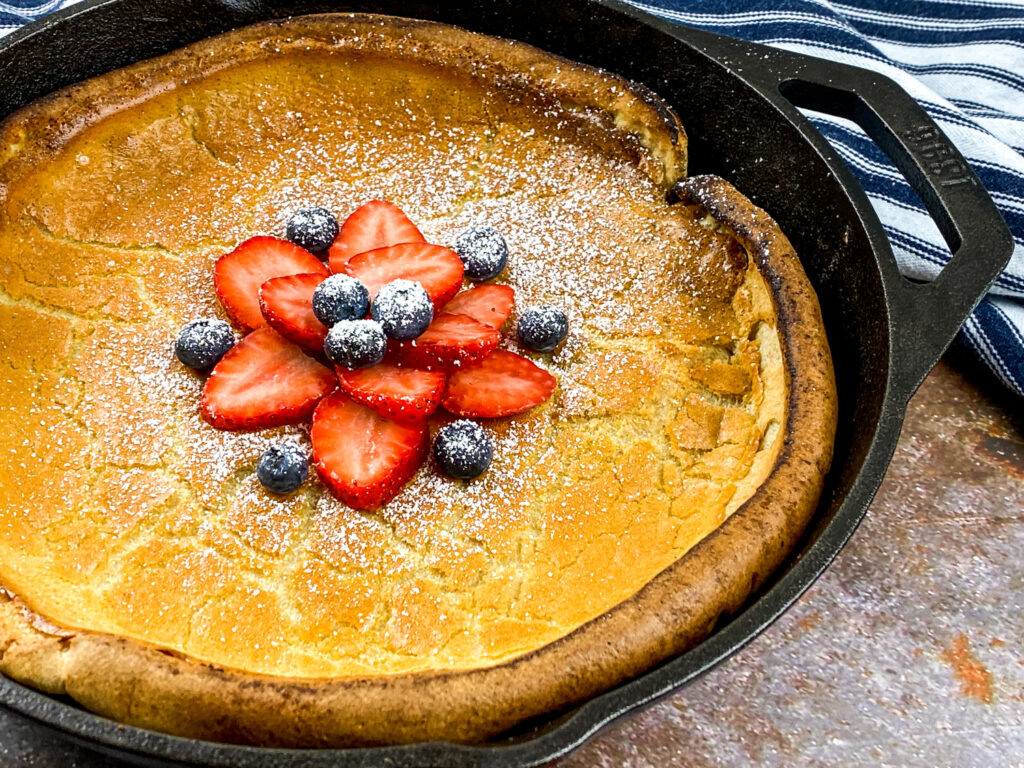
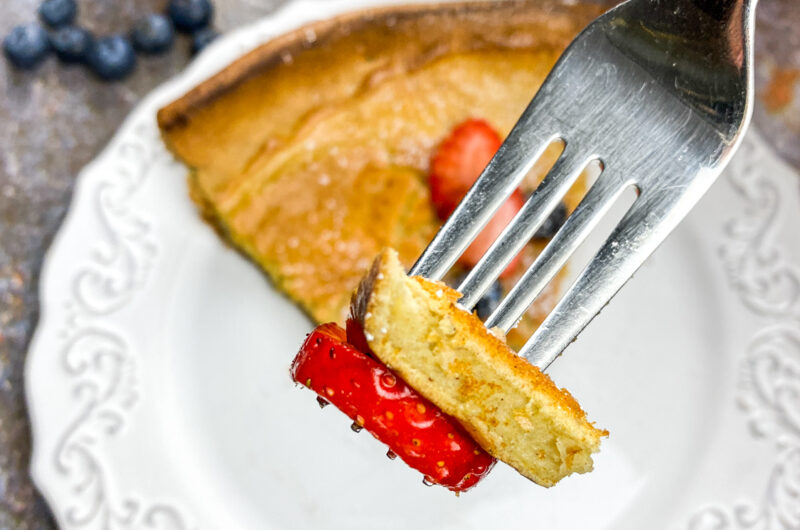
- Easy & Delicious Fluffy Dutch Baby Pancake Recipe
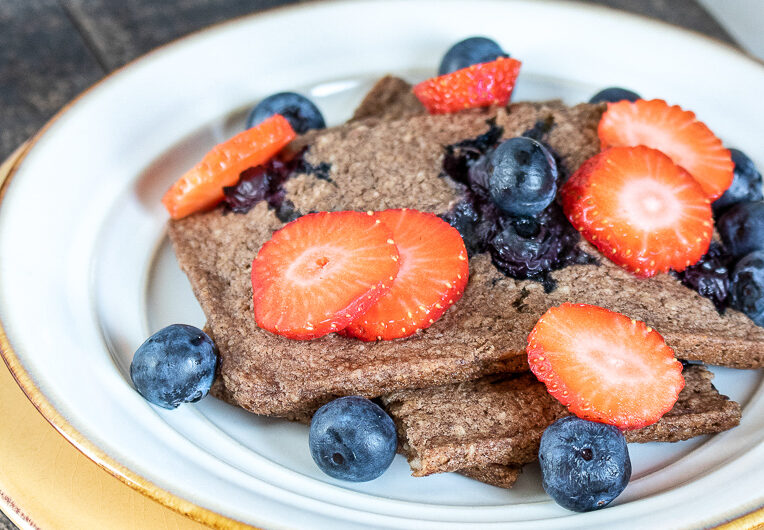
- Special Spiced Purple Blueberry Pancakes
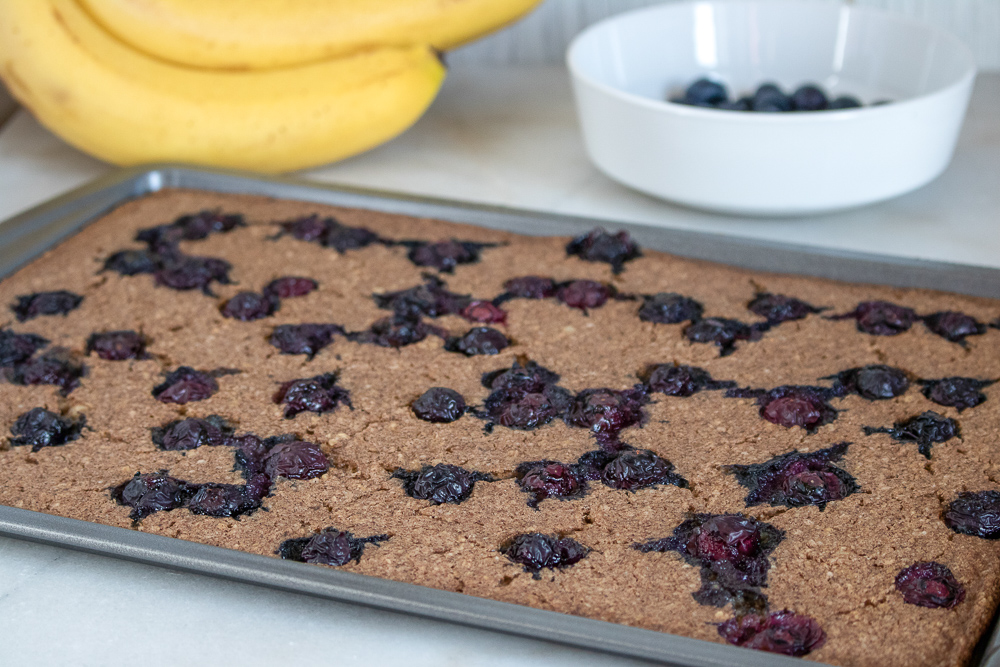
- Sheet Pan Blueberry Pancakes For A Family-Friendly Breakfast
A Flavorful and Nutritious Fall Treat
Pumpkin is not only delicious but also incredibly nutritious. It’s rich in vitamins A and C, which are excellent for immune health. These pancakes are not just a treat but a refined way to enjoy one of fall’s superfoods! Light and fluffy, with the perfect blend of pumpkin pie spice, they’ll remind you of cozy evenings spent by the fireplace and holiday gatherings around the table.
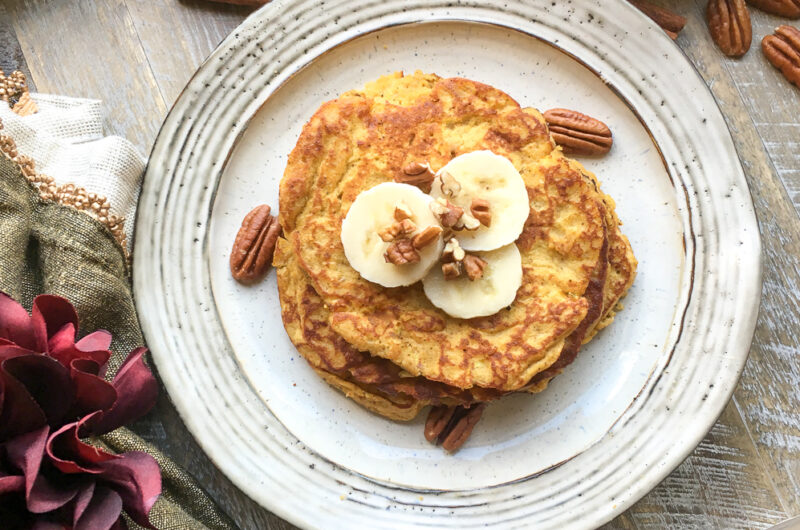
These pancakes have a delightful texture — thanks to both almond and coconut flour — that keeps them moist and fluffy while being super fulfilling. You won’t believe they’re paleo! And for those wanting to sweeten the deal, top them off with sliced bananas, chopped pecans, and a drizzle of real maple syrup. Your taste buds will thank you!
How To Make These Pumpkin Pancakes
Now, let’s roll up our sleeves and get into the kitchen. This recipe is easy to follow, and there’s a good chance you already have most of the ingredients at home!
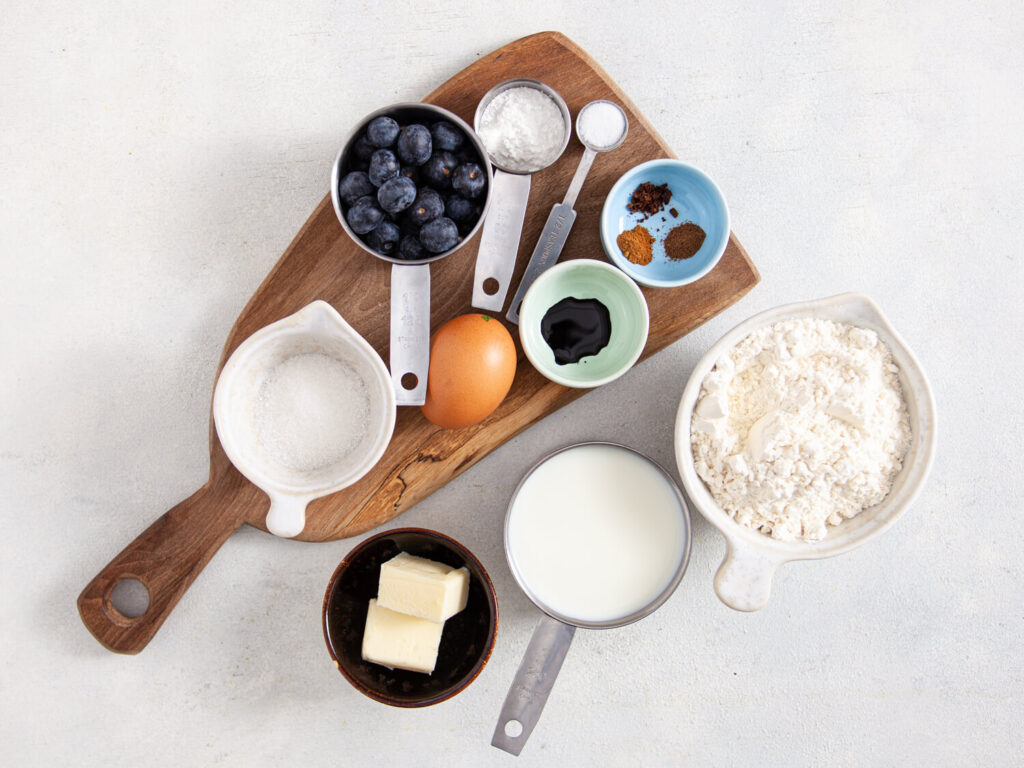
Ingredients
6 large eggs
2/3 cup pure pumpkin puree
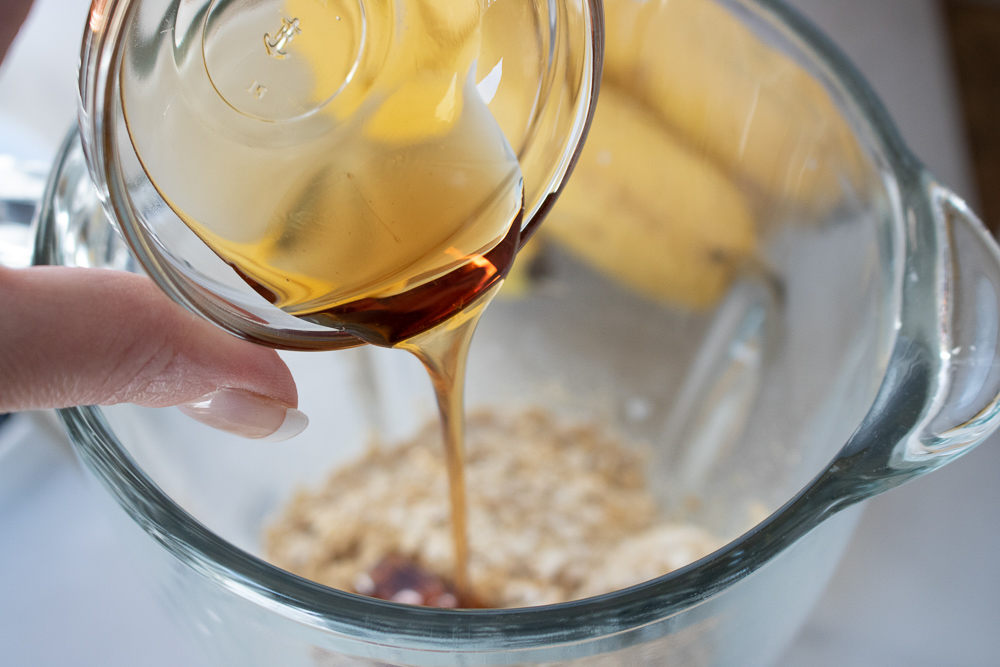
2 tablespoons honey
1/2 cup almond flour
1/2 cup coconut flour
1 1/2 teaspoons baking powder
1 tablespoon pumpkin pie spice
1/8 teaspoon salt
3 tablespoons coconut oil, divided
- To Serve:
1 banana, sliced thin, and 1/3 cup pecans, chopped
Real maple syrup (optional)
Step-By-Step Guide:
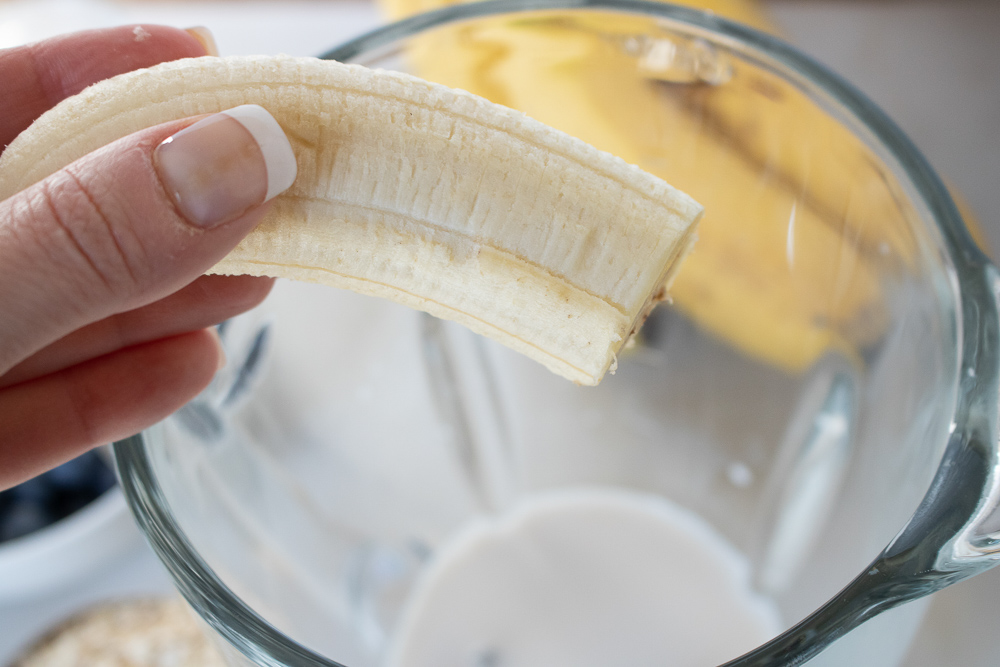
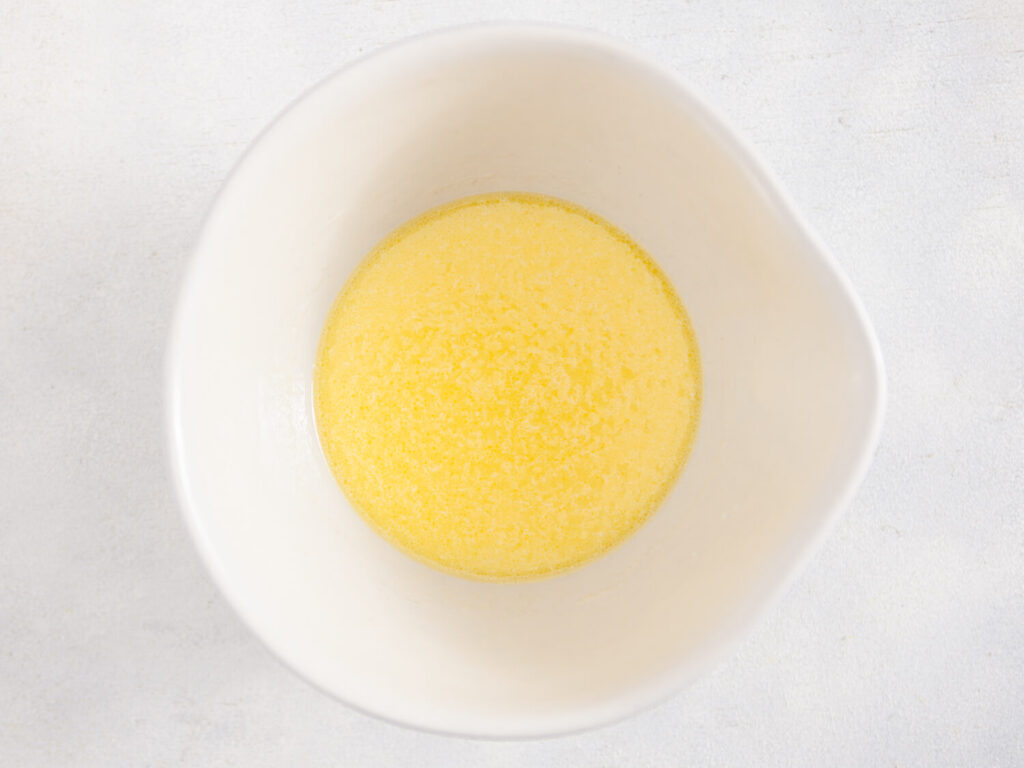
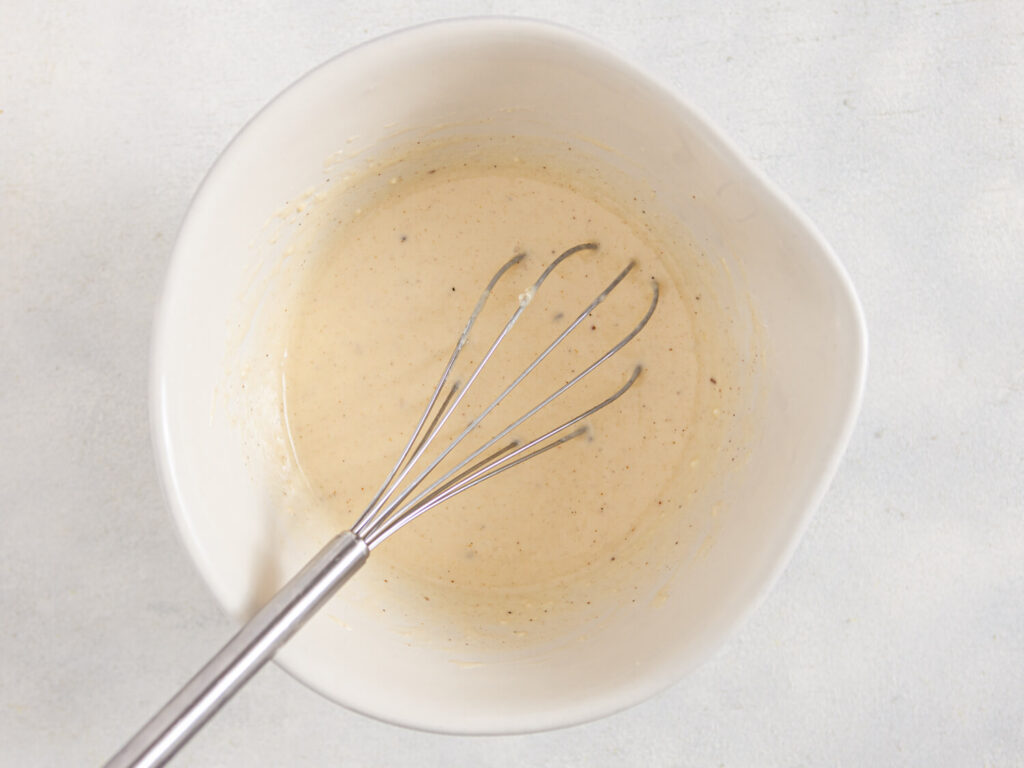
1. In a large mixing bowl, whisk the eggs, pumpkin puree, and honey until thoroughly combined.
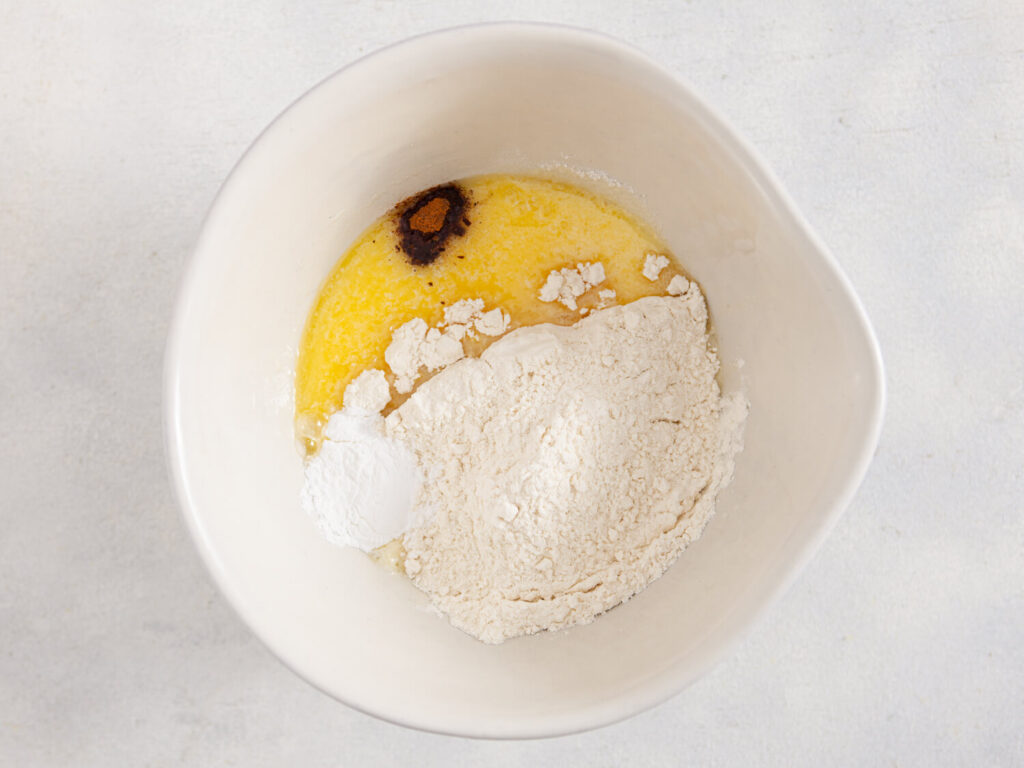
2. In a separate bowl, combine the almond flour, coconut flour, baking powder, pumpkin pie spice, and salt.
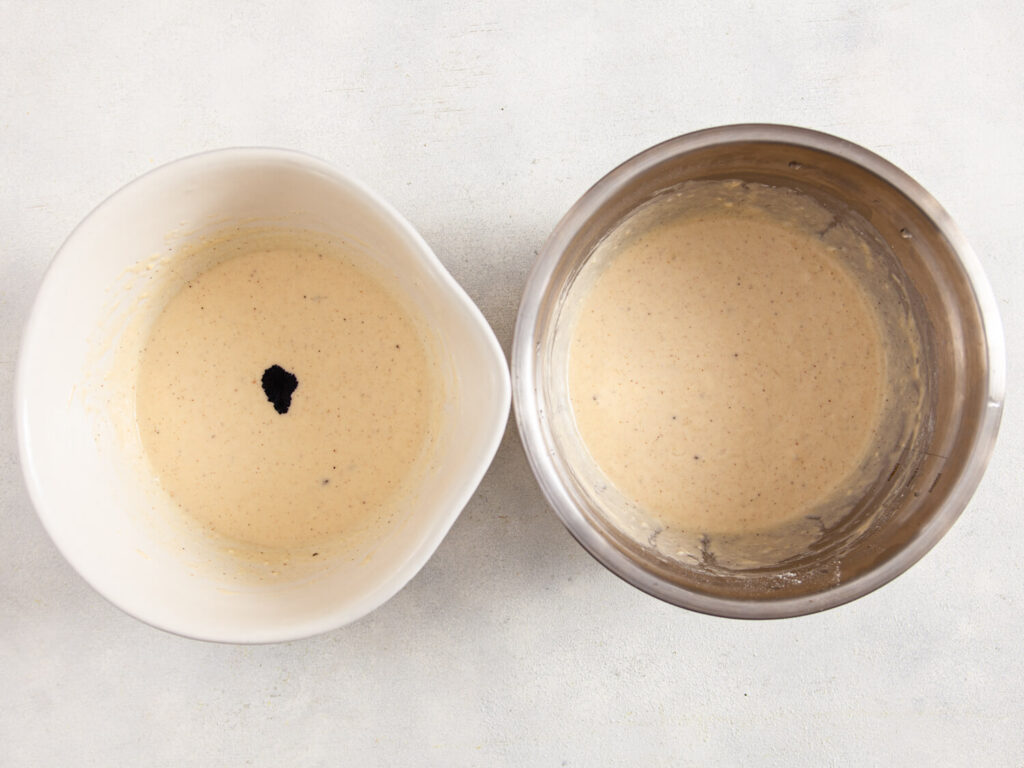
3. Add the dry ingredients to the bowl with the egg mixture and gently fold the two together until blended.
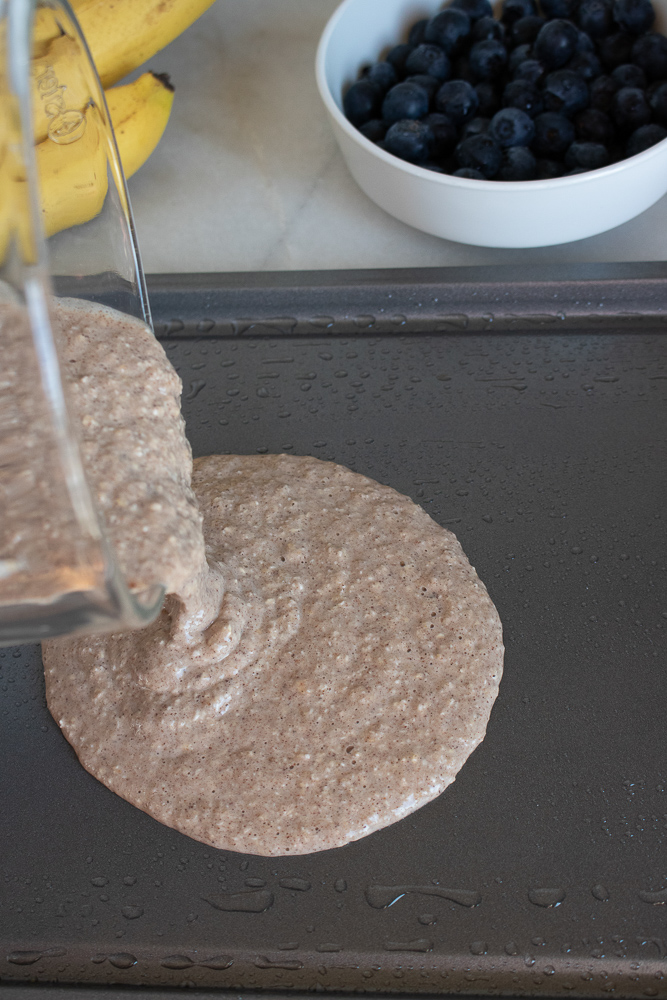
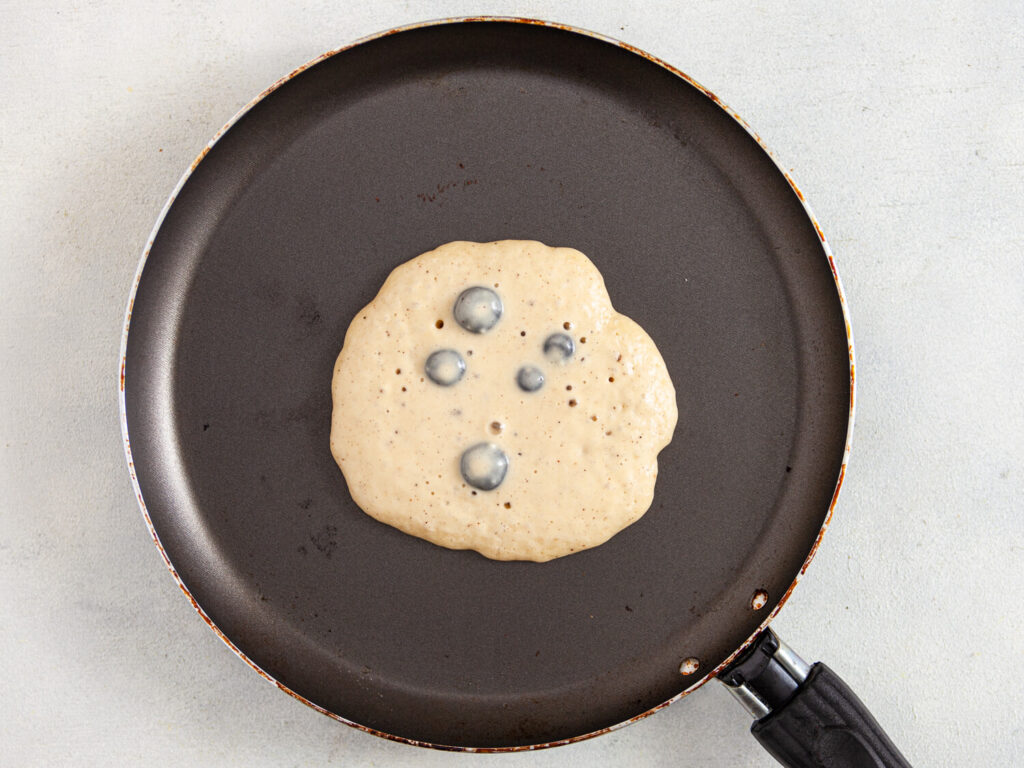
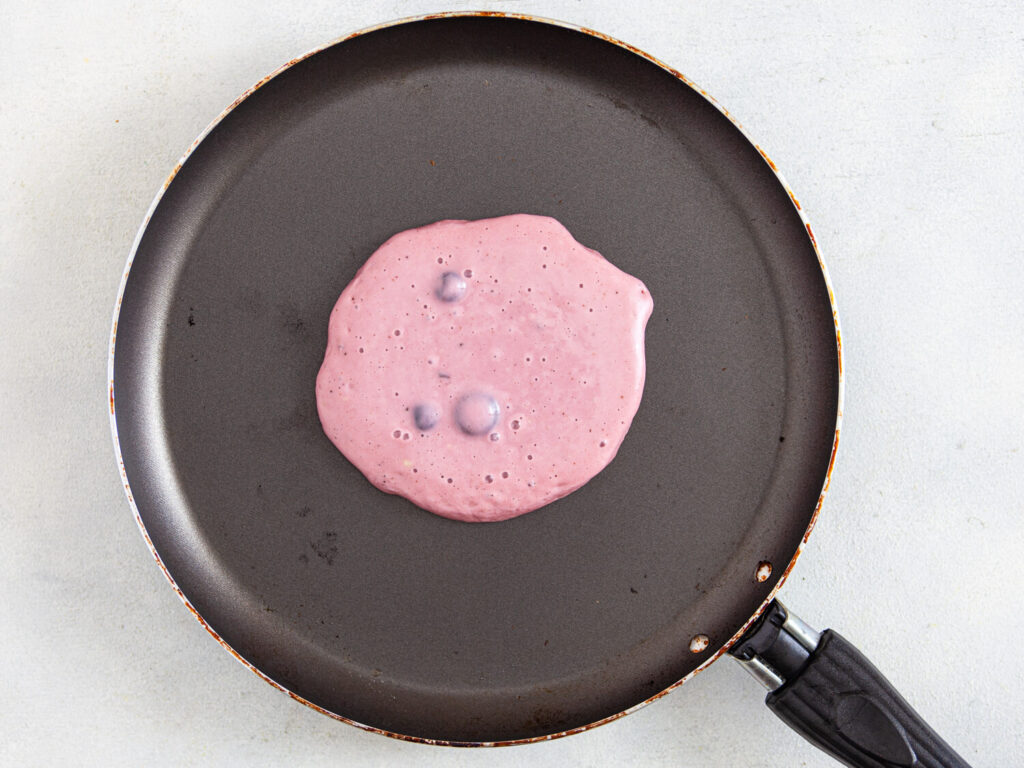
4. Heat one tablespoon of coconut oil in a large griddle over medium heat. Once hot, spoon 2-3 tablespoons per pancake and cook for 3 minutes on the first side, then flip and cook for another 2-3 minutes on the other side.
5. Repeat this process with the remaining coconut oil and pancake batter.
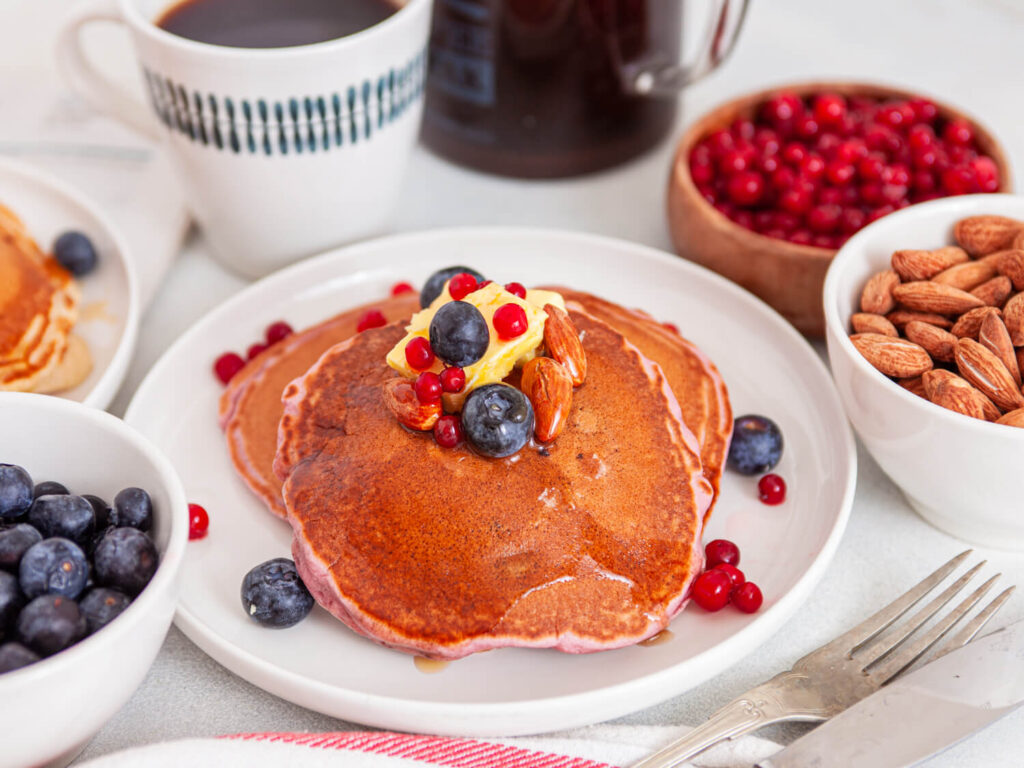
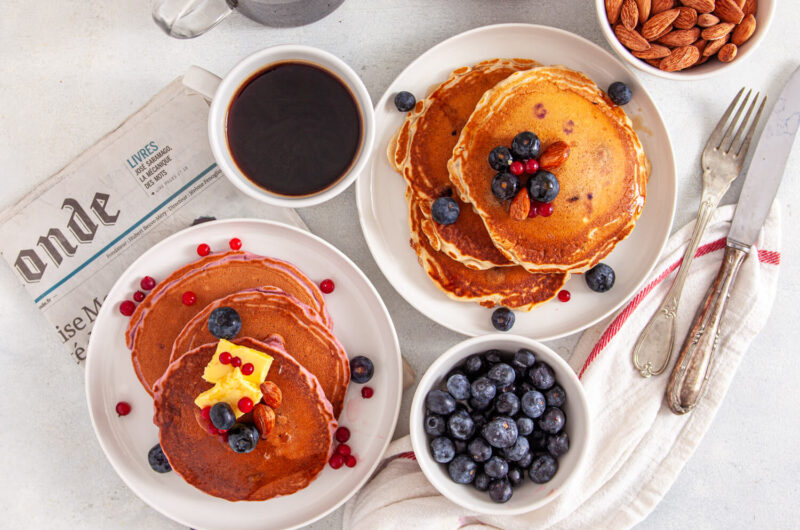
6. To serve, stack 2-3 pancakes per serving and top with sliced bananas, chopped pecans, and a drizzle of maple syrup, if desired. Enjoy!
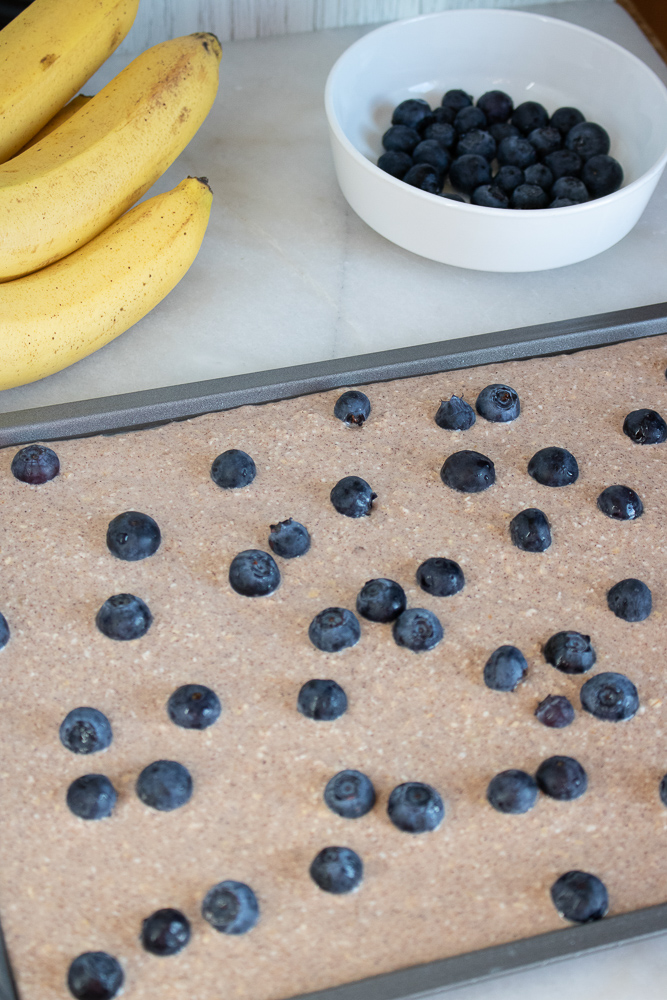
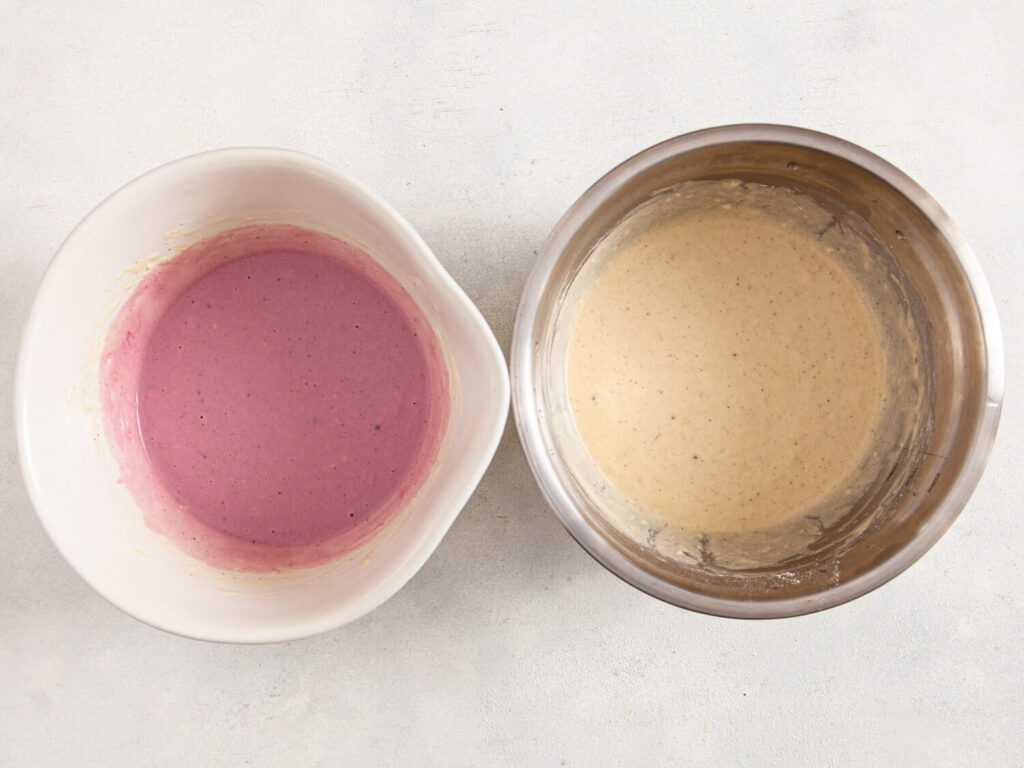
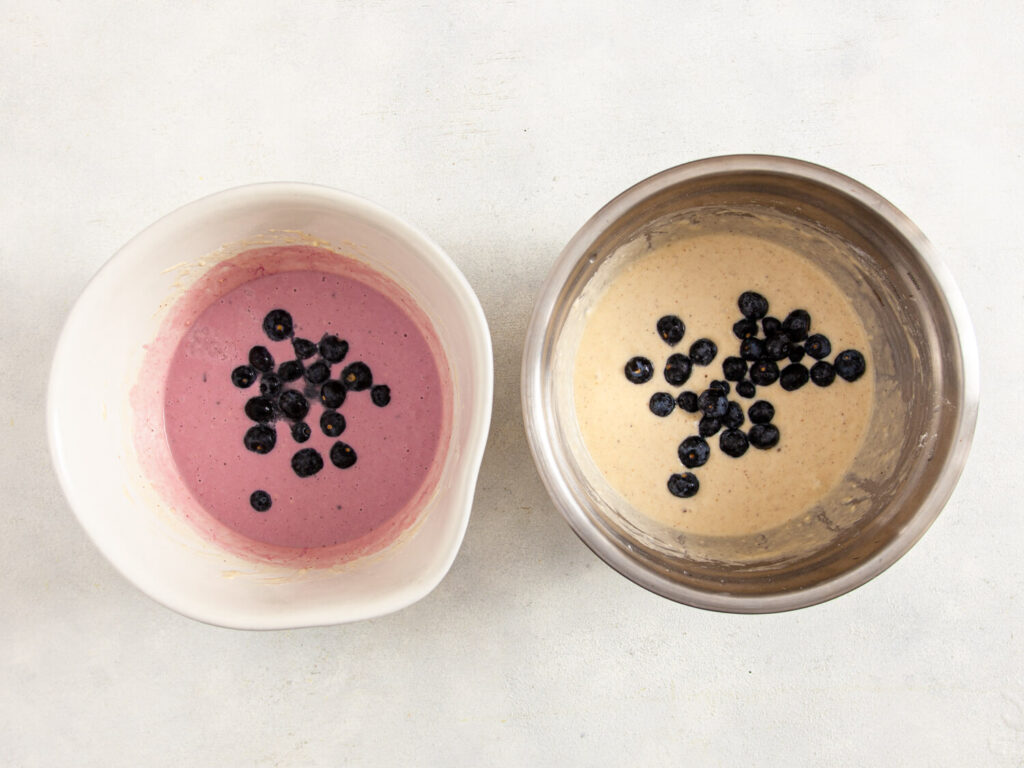
Serve these pancakes with a hot cup of coffee or a chilled apple cider for a delightful breakfast experience. For an extra twist, add some chocolate chips or blueberries to the batter for added flavor! You can also experiment with different nuts or seeds to mix up the toppings.
Health Benefits:
This pancake recipe offers a great source of protein from the eggs and healthy fats from the coconut oil and nuts. The pumpkin adds fiber and vitamins that will keep you satisfied and energized throughout your day.
Common Mistakes to Avoid:
One common mistake is not allowing the pan to heat enough before adding the batter, which can result in soggy pancakes. Always ensure the griddle is adequately heated for that ideal golden-brown exterior.
So, what are you waiting for? Grab your ingredients and get cooking. These Paleo Pumpkin Spice Pancakes are sure to be a hit for the whole family! Have you tried this recipe? Share your experience in the comments below!
Fluffy Paleo Pumpkin Spice Pancakes Recipe
4
servings30
minutes40
minutes300
kcalIngredients
6 large eggs
2/3 cup pure pumpkin puree
2 tablespoons honey
1/2 cup almond flour
1/2 cup coconut flour
1 1/2 teaspoons baking powder
3 tablespoons coconut oil, divided
1/8 teaspoon salt
1 tablespoon pumpkin pie spice
- To Serve:
1 banana, sliced thin, and 1/3 cup pecans, chopped
Real maple syrup (optional)
Directions
- In a large mixing bowl, whisk the eggs, pumpkin puree, and honey until thoroughly combined.
- In a separate bowl, combine the almond flour, coconut flour, baking powder, pumpkin pie spice, and salt.
- Add the dry ingredients to the bowl with the egg mixture and gently fold the two together until blended.
- Heat one tablespoon of coconut oil in a large griddle over medium heat. Once hot, spoon 2-3 tablespoons per pancake and cook for 3 minutes on the first side, then flip and cook for another 2-3 minutes on the other side.
- Repeat this process with the remaining coconut oil and pancake batter.
- To serve, stack 2-3 pancakes per serving and top with sliced bananas, chopped pecans, and a drizzle of maple syrup, if desired. Enjoy!