Starting a new hobby for mental health can be a great way to improve overall well-being and reduce stress. Especially if you’re usually all work and no play.
There’s actual research showing that a hobby can benefit your physical, mental, and cognitive well-being.
Hobbies help us maintain emotional balance, enhance our pleasure in life, and encourage relaxation.
Benefits Of Adopting Healthy Hobbies
Hobbies can have several benefits for mental health, including:
1. Reduces stress and anxiety, especially after a long day of hard work. Having a hobby is like having an escape to go to when life gets too difficult.
2. Improves mood and overall well-being. When you allow yourself to have fun, it’s easier to be in a good mood.
3. Provides a sense of accomplishment and satisfaction. Especially when you practice this hobby often and become more engulfed in it.
4. Allows you to foster social connections and a sense of community. There are so many forums you could join where there are people who are into the same hobby as you. This will allow you to build a community with people and even make new friends.
5. Provides a creative outlet for self-expression, which we all need for emotional release.
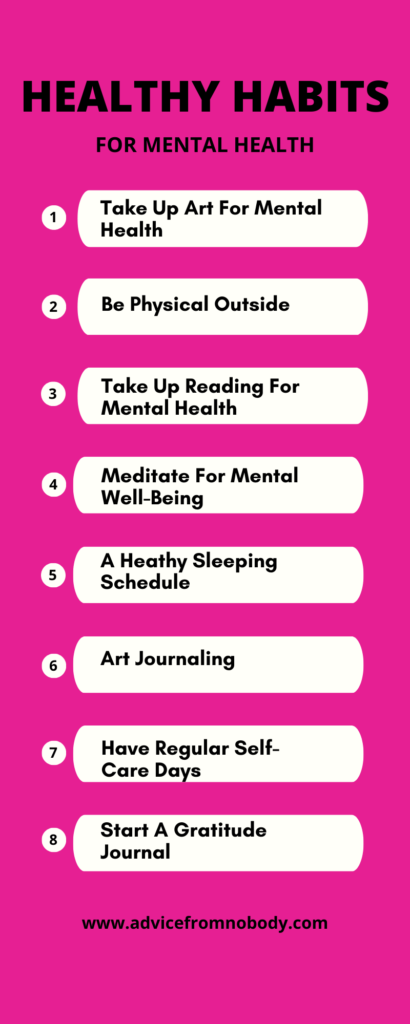
5 Hobbies You Can Pick Up To Improve Your Mental Health
Now that you know the benefits of picking up a hobby, if you need some inspiration, here are a few you can start soon:
1. Take Up Reading For Mental Health
Books are great when it comes to unwinding and letting yourself relax.
Taking the time to read can help put your mind at ease by giving you something positive and reassuring to focus on, assuming you’re reading books that are good for your mental health.
Reading can take your mind away from negative thoughts you may be experiencing from a long day.
Reading for self-care is super easy to pick up, you can join your local library or get a kindle and get any book you want off Amazon.
If you’re not one to sit around quietly and just read, maybe take up audiobooks.
Reading can have several positive impacts on your mental health, including:
-Reduces stress and promotes relaxation.
-Improves focus, concentration, and cognitive function.
-Increases knowledge and expands your knowledge.
-Can boost empathy and emotional intelligence.
-Provides a temporary escape from reality and reduces negative thoughts.
-Enhances your vocabulary and communication skills.
2. Meditate For Mental Well-Being
Meditation is a great outlet for stress, it allows you to become more in tune with yourself.
Meditation has many benefits when it comes to health benefits. It can lower blood pressure, and decrease heart rate, just to mention a few.
It can also be a powerful thing for your brain as it improves memory, attention span, and emotional regulation skills for handling daily stress.
To take up meditation, all you need is a quiet place, where you feel comfortable sitting or lying down.
Set a timer for 10 to 15 minutes and try to focus all your attention on your breathing and thoughts.
Here’s a more in-depth guide on how to start meditating.
The emotional and mental health benefits of meditation can include:
-You gain a new perspective on stressful situations in your life.
-Increases your self-awareness and allows you to become more accepting of yourself.
-Allows you to build on ways to handle stressful situations.
-Makes you more in tune with the present.
-Increases your patience and tolerance to stressful situations you may find.
-Reduces negative emotions.
When meditating, I suggest starting up a journal and recording your sessions to look back at them.
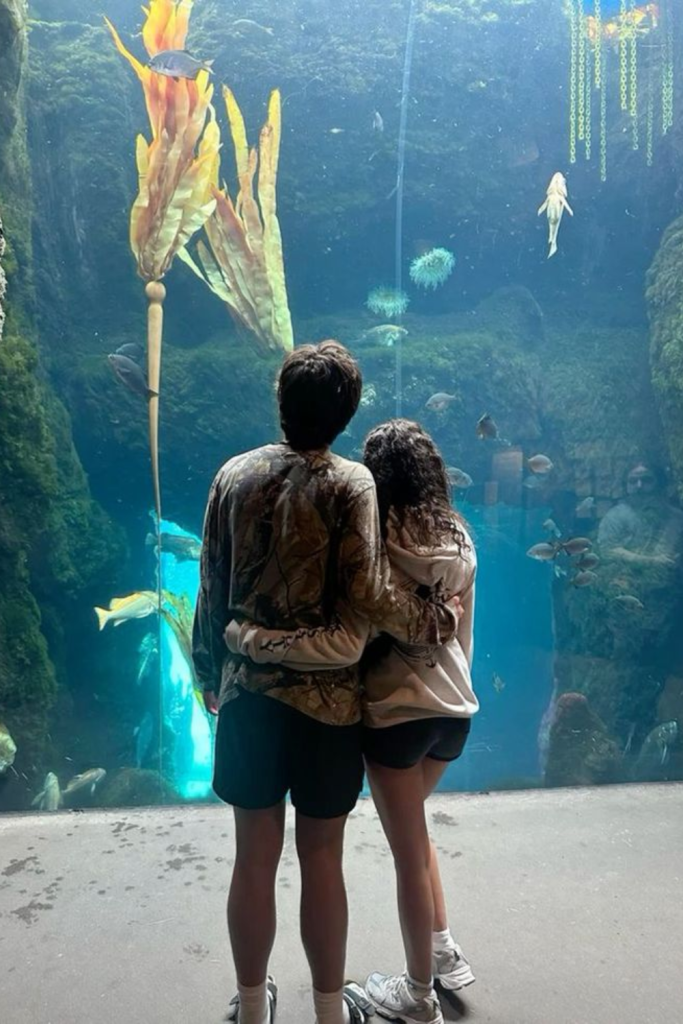
3. Take Up A New Physical Activity That Involves Being Outside
Whether it’s hiking, running, or just going on regular walks.
Physical exercise has many health benefits and even more mental health benefits.
When you exercise, be it running r walking, endorphins, and serotonin are released in your body, these are chemicals in your brain that can improve your overall mood.
Working out regularly can improve your mental health. It also improves your memory and ability to learn.
Being outside also has other benefits, like lessening feelings of loneliness and isolation. It can also reduce depression, and anxiety and improve your sleep habits.
Studies also show that being outside in nature is relaxing, reducing our stress, cortisol levels, muscle tension, and heart rates – all of which are risk factors for cardiovascular disease.
Benefits Of Working Out Outside On Your Mental Health
-Can provide consistent boosts to your overall feelings of happiness
-Naturally produces chemicals in your body that floods your bloodstream and moves into the brain. This provides short-term feelings of reduced stress and calm.
-Reduces anxiety and depression. When you run or walk, blood circulation to the brain is increased, and the part of your brain that responds to stress and improves your mood is affected
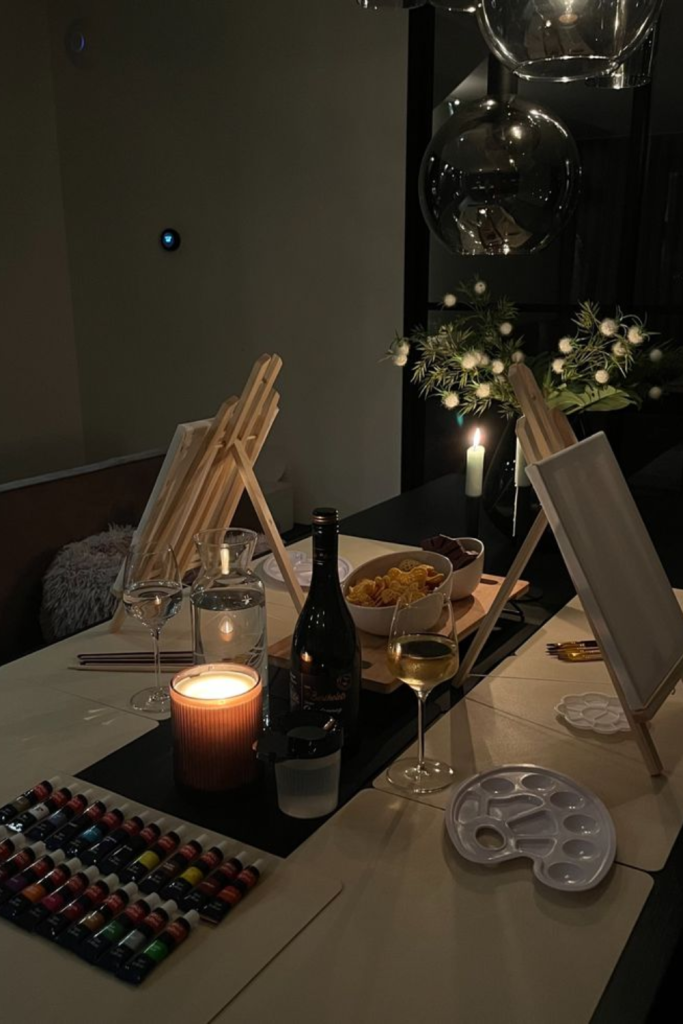
4. Take Up Art For Mental Health
Art is a great way to be creative.
When you are creating art, you start to stay calm, happy, relaxed, and inspired.
Art has an incredible way of connecting the world and allowing us to express ourselves. Because of these feel-good effects, art is a powerful tool for self-care and mental health.
Expression through art can help you with depression, anxiety, and stress. Art has also been shown to improve memory and reasoning.
The best part is, art is something everyone can participate in. It does not prescribe to any particular set of norms and is unique to each and every one of us. So why not give it a try? It may be the best trick for mental health yet.
Benefits Of Art For Your Mental Health:
-Stress relief, making art can be a great creative outlet that allows you to let go of stress.
-Can boost self-esteem and confidence. Creativity makes us feel good about ourselves.
Finding The Right Hobby For You
If you don’t see something on this list that works for you, don’t worry.
The possibilities for hobbies are endless. Go with whatever you feel drawn to.
When you do decide on the one you like, start small and build on progress, leading to more sustainable change. Start with 15 minutes a day and grow in small increments from there.