Turning 21? First of all—cheers to you! If there’s ever been a birthday that deserves an extra fabulous cake, it’s this one. Whether you’re planning an epic night out, a cozy dinner with your besties, or just want a photo-worthy moment for the ’Gram, your cake should scream main character energy. So, grab your favorite drink, get comfy, and let’s dish out some seriously fun and cheeky 21st birthday cake ideas that’ll have everyone saying, “Wait, where’d you get that?!”
More Ideas For Your 21st:
Fun 21st Birthday Cake Ideas Worth Celebrating
1. Barbie & Bubbly

A “Drunk Barbie” perched right on your cake? Iconic. Think hot pink frosting, edible glitter, and your favorite doll living her best life sprawled across a buttercream masterpiece. Nothing says “I’m 21 and fabulous” quite like a tipsy Barbie centerpiece. It’s fun, flirty, and totally unforgettable.
2. Coquette & Cursing
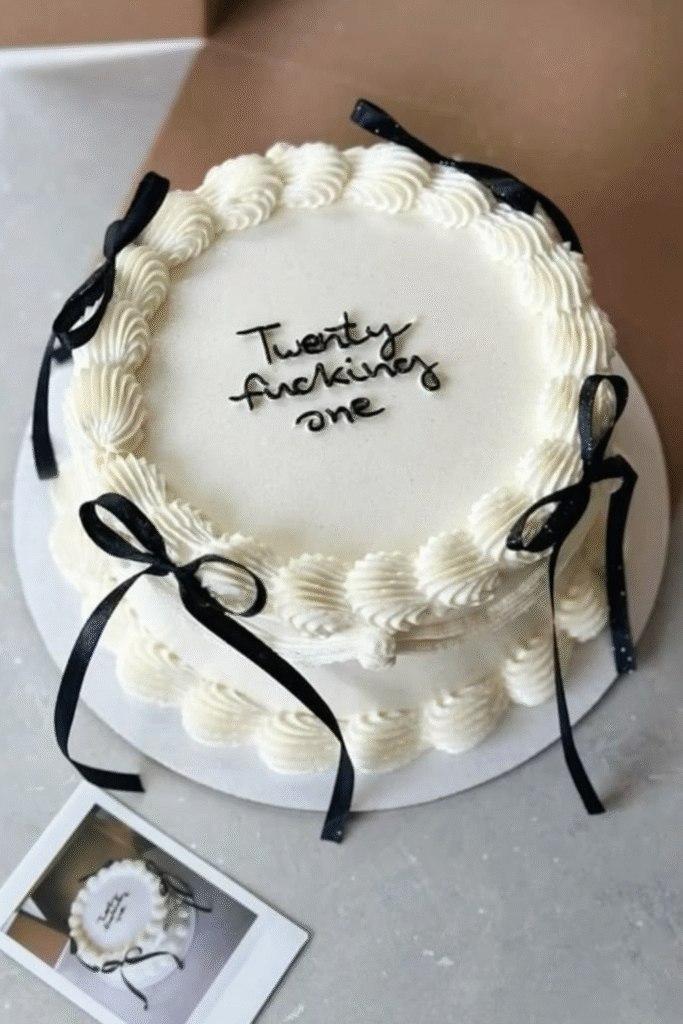
Elegant but with attitude—this white coquette cake topped with dainty black bows and the words “twenty fucking one” is the perfect mix of sweet and spicy. It’s giving classy rebellion vibes. Serve this at your party for a cake that’s pretty to look at but still packs a punch. Who says delicate can’t be daring?
3. Heartbreaker
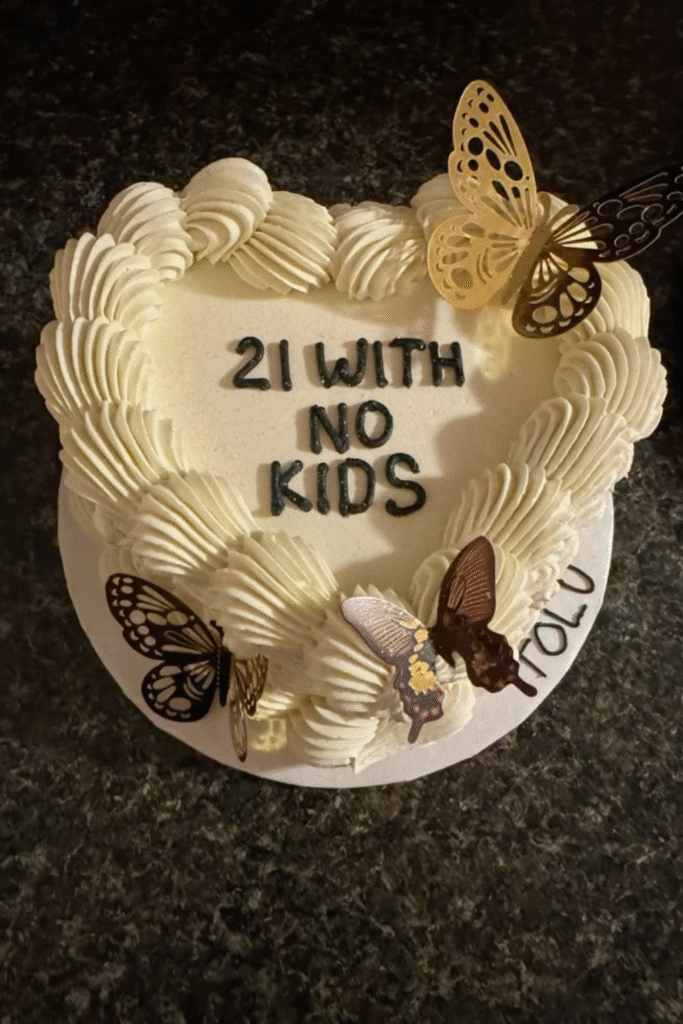
This white heart-shaped cake with “21 no kids” scrawled across the top is equal parts sassy and cute. It’s a playful wink at your new adult era—grown but not too grown. Pair it with a sparkly candle and watch everyone line up for a photo. Perfect for your group chat and your feed.
4. Sweet & Saucy
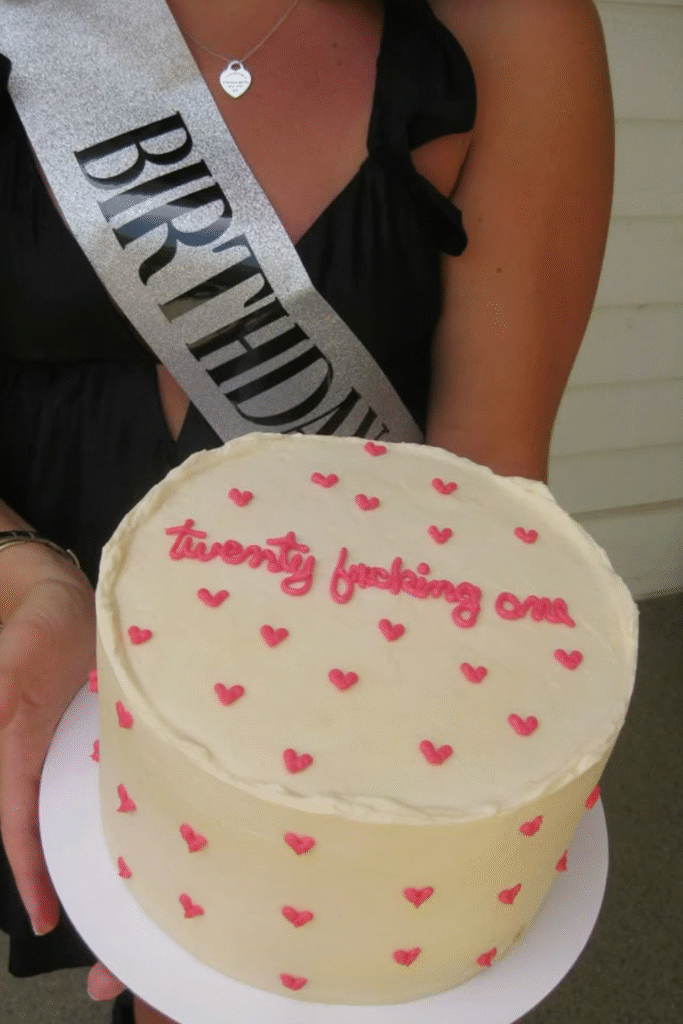
Pink hearts, fluffy frosting, and “twenty fucking one” in bold letters—this cake is all about channeling that main character birthday energy. It’s cheeky, adorable, and just the right amount of rebellious. Get ready for your guests to snap selfies with it all night long.
5. Cherry Bombshell

Keep it classic but fun with a simple white cake topped with bright red cherries and a sweet “hello 21” greeting. It’s giving retro diner vibes in the best way. Fresh, cute, and so photogenic—especially next to a glass of bubbly or a vintage soda bottle.
6. Simply Iconic

Sometimes, less is more. A minimal white heart-shaped cake with a soft “twenty one” piped in dainty script is understated but chic. Perfect if you want your outfit (and your presence) to steal the show while the cake whispers “adulting, but make it aesthetic.”
7. Euphoria Fever

If you live for a little drama, channel your inner Maddie with this cake that reads: “21? bitch you better be joking.” It’s playful, bold, and perfectly on-brand if you love Euphoria’s vibe. Serve it with glittery cocktails for maximum main character energy.
8. Chapter Cute

A heart-shaped pink cake with “chapter 21” piped on top? So adorable. It’s like turning the page on your next big era—sweet, soft, and photo-ready. Pair it with pastel sprinkles for that extra touch of fairytale birthday magic.
9. Party Pop

Bright frosting, rainbow sprinkles, and the words “it’s supposed to be fun turning 21” make this cake a total party starter. It’s cheeky, colorful, and impossible not to smile at. Perfect if you’re the life of the party who wants to keep things fun and carefree.
10. Martini Mood
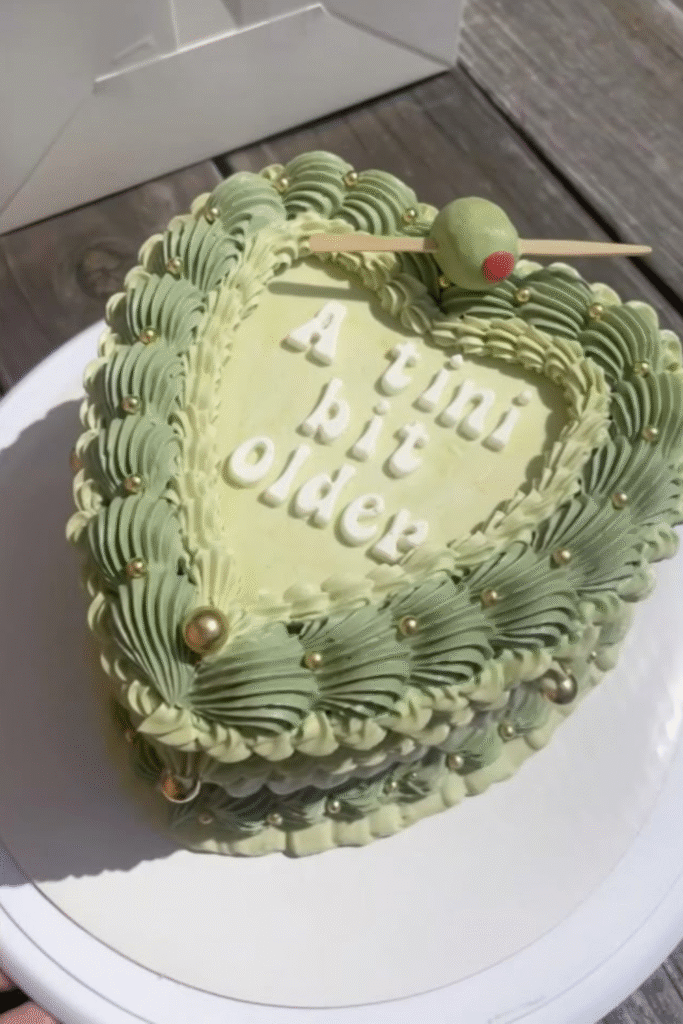
Raise a glass to this clever martini-inspired cake, crowned with a big olive topper and the phrase “a tini bit older.” It’s witty, cute, and practically demands a cocktail to match. Ideal for the classy birthday babe who loves a clever pun.
11. Number Slice

Keep it classic but creative with a sheet cake carved into the shape of 2 and 1—decorated with whipped cream and fresh fruit. It’s simple, fresh, and oh-so-perfect for a summer birthday. Plus, who doesn’t love a big slice piled with berries?
12. Grown & Gorgeous

Last but not least, a cake that declares exactly how you feel: “older, wiser, hotter than ever.” Whether it’s frosted in sleek white or dripping in chocolate ganache, this one’s for the confident 21-year-old who’s just getting started.
There you have it—12 cheeky, stylish, and totally Instagram-worthy 21st birthday cake ideas to make your big day extra sweet. Whether you’re feeling bold, classy, rebellious, or all of the above, there’s a cake here that’ll match your vibe perfectly. So pop the bubbly, light those candles, and get ready to make your 21st the birthday everyone talks about. You deserve it!