The best way to gather your thoughts and relax at the end of the day is with a self-care night routine. Here are 12 excellent suggestions you can incorporate into your nightly self-care routines for a peaceful night’s sleep.
Anyone who appreciates the value of taking time for themselves will understand that connecting with oneself at night is a wonderful way to unwind.
Self-care is the final piece and presto! It’s the ideal formula for relaxing alone time.
Self-care before going to bed can be used to enhance mental health or engage in a proactive self-growth process.
Here’s a nice introduction for those of you who are fresh to the world of self-care.
What Is Self-Care?
Self-care is a proactive and thoughtful way to take care of your well-being. Realizing your needs and choosing to meet them is important.
It includes things that allow you to unwind, relieve stress, and advance through life at a pace that feels natural to you.
I know it may seem selfish to put time aside for yourself, but you might find yourself fighting this practice. Self-care is not selfish in the slightest.
You have the power to direct your own existence in any way you see fit because you are in charge of it.
You want self-care on your ship, not outside of it, I assure you. You owe it to yourself as an adult to incorporate self-care into your lifestyle and daily routine.
Why You Need Self-Care At Night
I’d advise anyone just getting started with self-care to start by incorporating it into their bedtime routine because it’s the ideal method to wind down.
Throughout the day, our mind is exposed to a lot of external energy.
Most likely, you bring it with you to bed each night, repeating the pattern the following day. Stress, anxiety, and overthinking result from this. A
lthough we all face significant challenges in life, it’s the minor inconveniences and annoyances that add up to form a stress ball in our heads.
By addressing your worries at the end of the day, which is where self-care comes in, you can completely avoid this.
How To Create The Perfect Self-Care Night Routine
I share 12 self-care night routine suggestions in this post that would be a great fit for your bedtime.
Choose the ones that best appeal to you, then enjoy creating your own unique nighttime routine.
1. Have A Screen Detox
Tuning out the outside noise—which we frequently tote in the form of our phones—is the first step in entering a safe zone for self-care.
No matter how many benefits this tiny gadget may have, it is still a source of anxiety and should be eliminated from our nightly routine.
Your entire day is taken up with setting work priorities, interacting with people, and attending to your obligations. However, you should only use your evenings to unwind and relax.
This is the time for you to spend alone and without the outside world. Deactivate your notifications right away, or better yet, put your phone away.
It might take a few evenings to completely overcome the urge to pull out your phone, but you’ll actually look forward to this point of your day.
2. Get Some Fresh Air

You might want just want to tune everything out and unwind in bed after engaging with the outside world all day.
But it’s important to acknowledge nature’s strength. There are numerous aspects of the environment that we frequently take for granted.
Due to this, nighttime is ideal for discovering small pleasures in nature and cultivating heartfelt appreciation.
Just take a quick two-minute stroll outside to observe your environment. Go for a quick stroll if you like the way the air feels.
Watch the trees around you, take a moment to scent the flowers, and let nature soothe your mind.
If it’s not too chilly outside when you get back, keep your windows open and carry on with the rest of your evening routine.
3. Wash The Day Away
The best aspect of any nighttime routine is getting washing away the stress from the day.
I value my evening showers highly, and for a good cause. You can unwind and get rid of your day’s worries by taking a relaxing shower or a warm bath, maybe even a detox bath at the end of the week.
You can have a daily spa-like experience at home in a magical and affordable manner. I firmly think that the healing properties of water are real.
Use its abilities to wind down your day on a positive note and get a good night’s sleep. Light scented lamps before taking a bath to relax your senses and make use of your favorite body lotion.
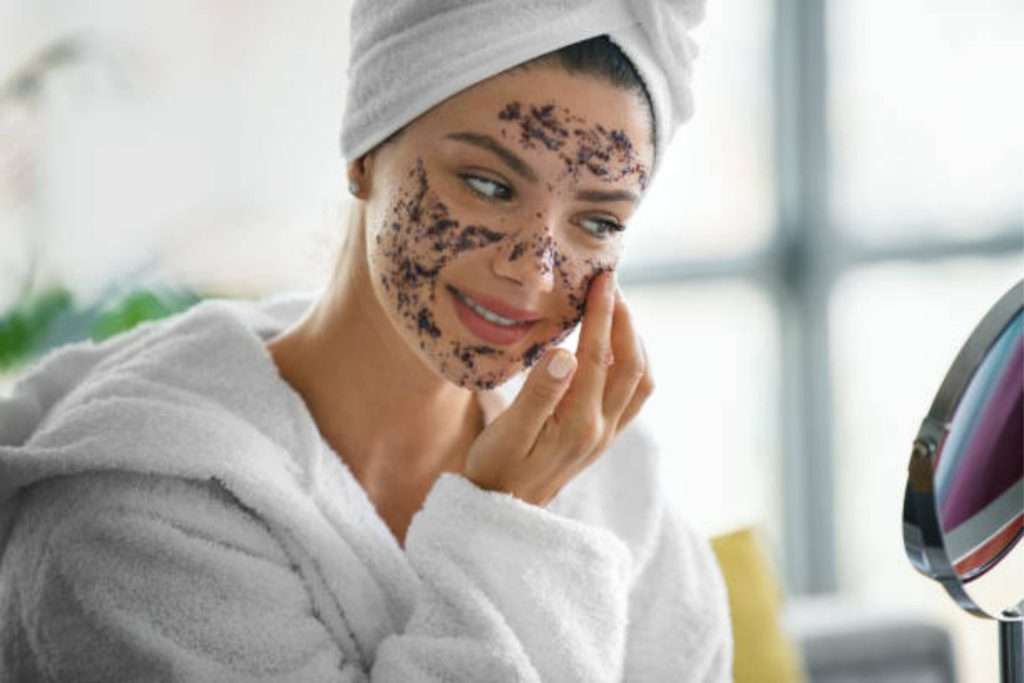
4. Do Some Skincare
Your skin accumulates oil, dirt, and pollution throughout the course of the day, and water is insufficient to remove them.
Additionally, your skin is delicate after a bath and requires appropriate hydration to prevent damage. So begin your skincare regimen as soon as you get out of the shower or bath.
Apply body lotion all over your hands and thighs if they feel dry. Wash your face, use a toner, then a good moisturizer to complete your hygiene routine.
To reduce puffiness around your eyes, use an eye cream or eye roll. Alternately, use a pleasant, relaxing face mask or scrub.
5. Plan Your Day
You ought to be basking in serenity and feeling pretty at ease at this point of your routine. Now it’s time to get a little work done and prepare for the next day.
And don’t worry. This won’t increase your stress levels or interfere with your me-time.
It’s simply a mindful way to plan your next day so that you don’t feel rushed and stressed or arrive late for work. Choose your outfit for the next day, get your gym clothes and gear ready if you exercise in the morning, pack your bag for work, and make a note of your plans.
You should incorporate this process into your bedtime routine. Feel free to omit it if you prefer to get things done in the morning before you start your day.
6. Try Some 5-Minute Meditation

This will enable you to live in the moment and really be present. Just five minutes of meditation will help you gather your scattered thoughts and let go of your concerns and put the day behind you.
Take a comfortable position while lying in bed (I prefer doing it with my back against the wall).
Then choose a mediation method that best suits your needs. For beginners, controlling your breathing is always a good place to begin.
Breathe in for three counts, maintain for three, then let out in three seconds. Play around with these numbers to find the right balance for you.
Focusing on each individual sound will help you tune into the motions of your environment. It’s a technique that will assist you in quieting the chatter in your head.
7. Journal
Being mindful is the foundation of self-care. And writing down your thoughts while journaling is the best way to really be mindful.
You only need to write before bed to calm your restless energy, identify the direction of your thoughts, and rejuvenate your mind.
It’s a fantastic method for classifying your ideas and managing your life. Depending on how I’m feeling, I can doodle, write a letter to myself, and decide what I want to accomplish the following day.
Try these journal prompts if you don’t like keeping a journal. I almost always use them at night to get ideas, and I believe you might as well.
8. Read A Good Book
I consider reading to be an excellent form of self-care. It’s wonderful how a book will allow you to shut out the world.
There are also countless millions of books published worldwide, so you’ll always have multiple options.
A self-help book is a great way to get new ideas and see things from a different angle at night.
Your ability to solve problems increases and your issues turn into tasks that you are willing to take on. Non-fiction and fiction books alike are excellent for winding down at night.
What could possibly be more energizing than submerging yourself in a new environment? Make it a point to read every night. How beneficial it is to your personality will surprise you.
9. Stretch Before Bed
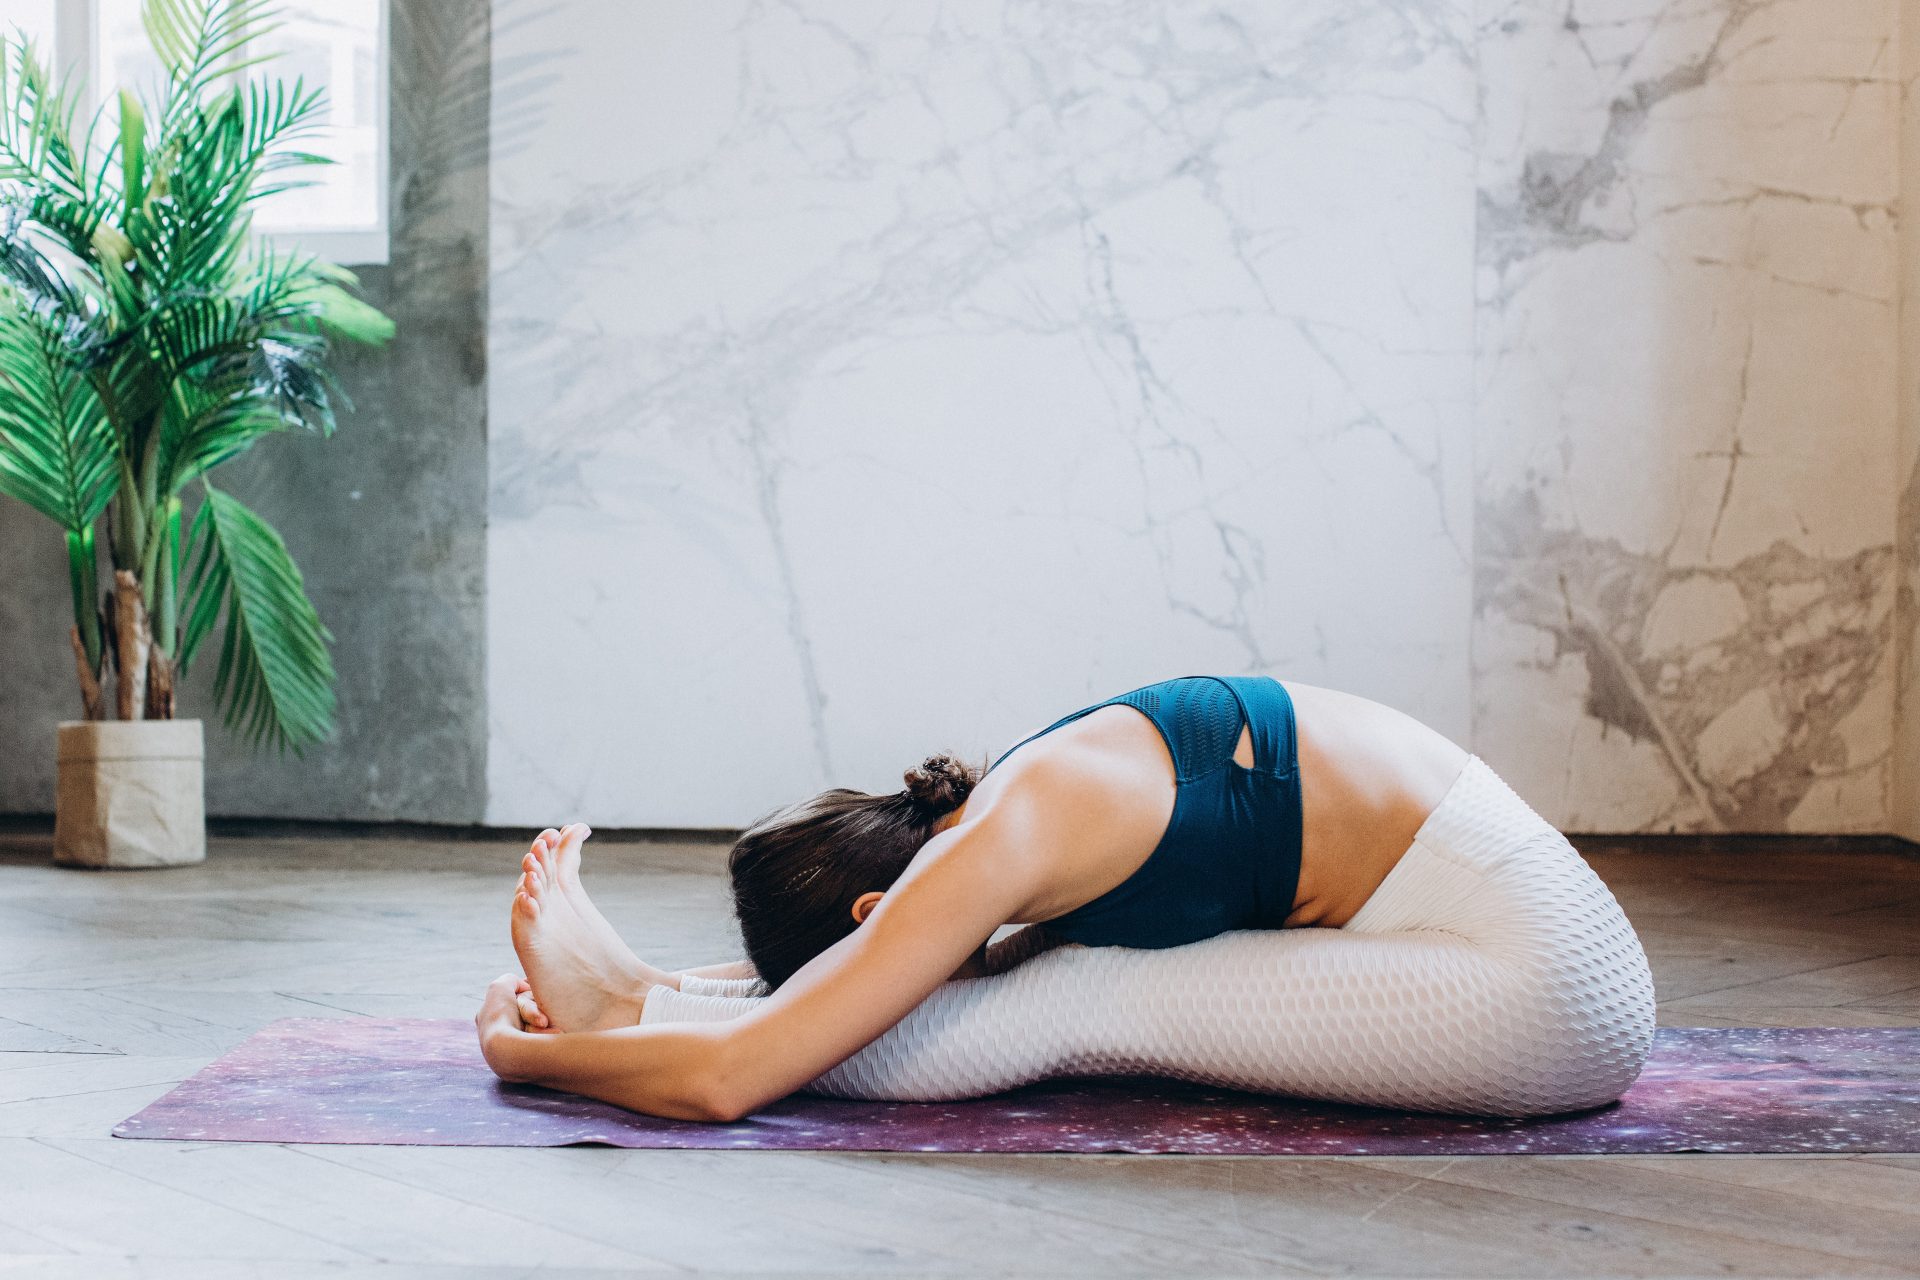
One of the most popular recommendations for enhancing your quality of sleep is to stretch in bed. It helps in bodily relaxation, muscle stretching, and mental preparation for a restless night.
Additionally, it helps you to digest food and relax your neck and back. It works just as well for me to get clear of my stressful thoughts as meditation does.
It is without a doubt the simplest and least stressful type of physical activity you can perform. My go-to stretching technique is this 10-minute bed yoga practice. To see a difference in your sleep, give it a try today.
10. Unwind To Some Soothing Music
It’s time for our final self-care practice of the evening. It’s crucial to end your evening regimen with some downtime.
Music, in my opinion, is the ideal distraction for this activity because it allows you to relax.
I enjoy closing my eyes and listening to slow, soft music on my music device. If I’m not yet in the mood to go to slumber, I do my nails or write in my journal.
You are free to develop your own closing ceremony for your daily routine but do make an effort to incorporate music.
Before going to bed, I try to complete as many of these tasks as I can. Everything depends on my mood and what I’m willing to do.
If you can’t do it all, save the other activities for another time and only do in those that fit your mood for the evening.
Be aware that some evenings you may just want to lie in bed listening to music, and that’s perfectly fine too.
You’ll be fine if you follow your bedtime ritual deliberately and mindfully.