There’s just something magical about a sleepover. Maybe it’s the way time feels slower once pajamas are on, or how conversations get extra silly after midnight.
Whether you’re planning a cozy girl sleepover, a full-on sleepover party, or even sleepover birthday parties, this guide is packed with fun sleepover ideas to make the night unforgettable.
From dreamy sleepover aesthetic inspo to games to play at a sleepover, snacks everyone will fight over, and the ultimate sleepover packing list, this post covers literally everything you’ve ever wondered about what to do at a sleepover.
So grab your fluffiest blanket, queue up your favorite playlist, and let’s get into all the fun stuff to do at a sleepover.
Also Read: What Is A Dopamine Menu And How Can You Use It To Be A Happier Person
Sleepover Ideas To Have The Best Pajama Party
Before the snacks come out and the games begin, let’s make sure you’re actually prepared for the night. Because nothing kills the sleepover vibe faster than realizing you forgot your pajamas or your phone charger.
Whether you’re heading to a cozy girl sleepover, a pajama party, or one of those all-out sleepover birthday parties, having the right things with you makes everything smoother (and way more fun).
So before you zip up your sleepover bag, let’s break down exactly what to pack so you can focus on enjoying every moment.
Sleepover Packing List
Before the fun can begin, let’s talk about the most important part: what to bring to a sleepover. Having a solid sleepover checklist means less stress and more time for laughing, snacking, and staying up way too late.
Your sleepover bag doesn’t need to be huge, but it should definitely be well thought out. Here’s a sleepover packing list that works for everything from a casual friend hangout to themed pajama party.
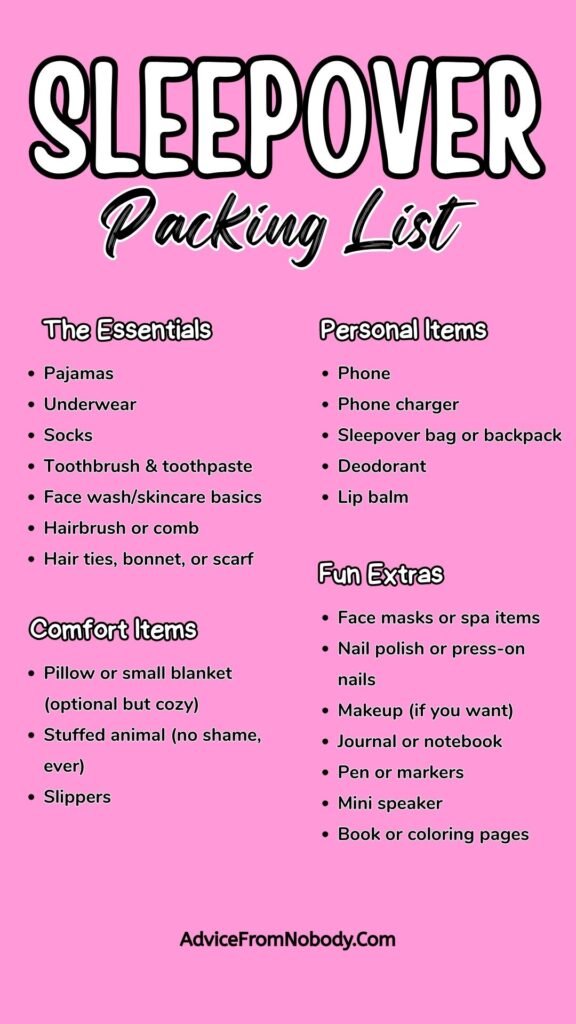
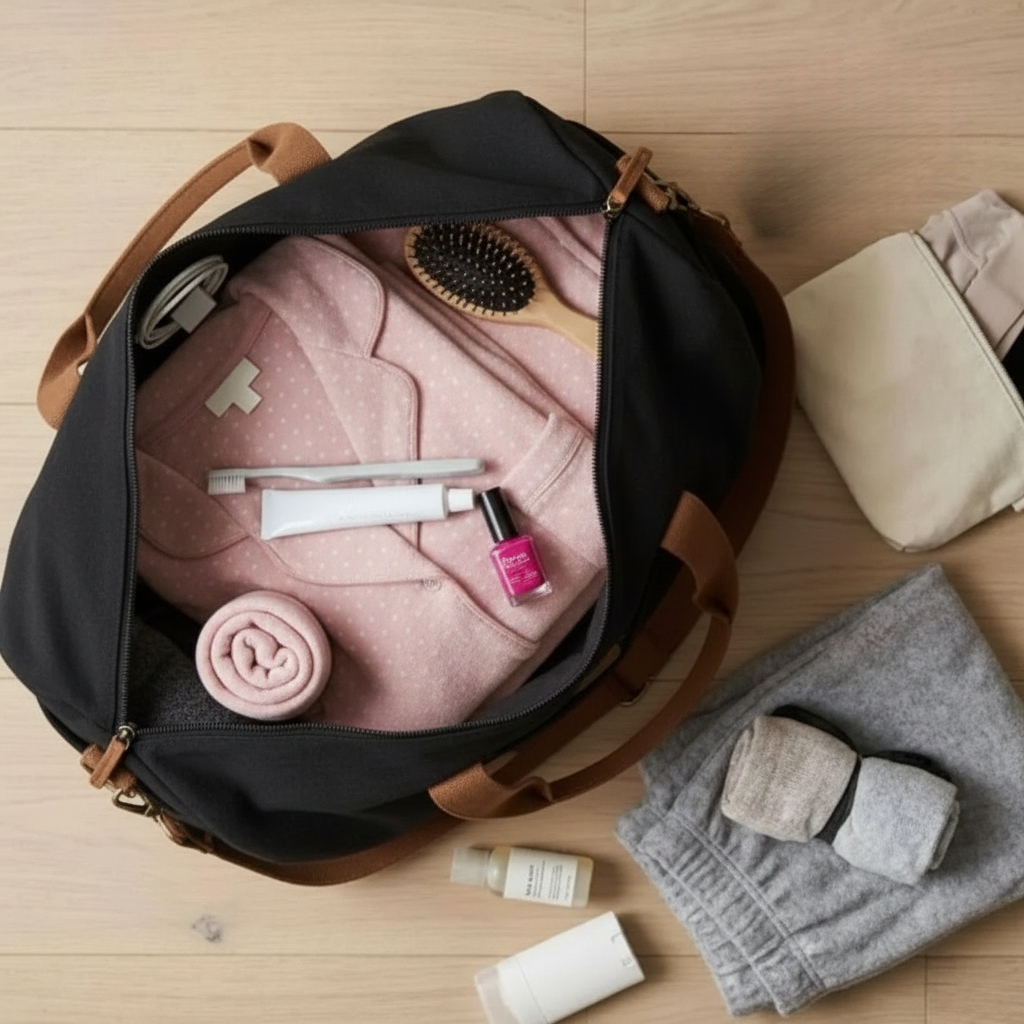
Sleepover Essentials:
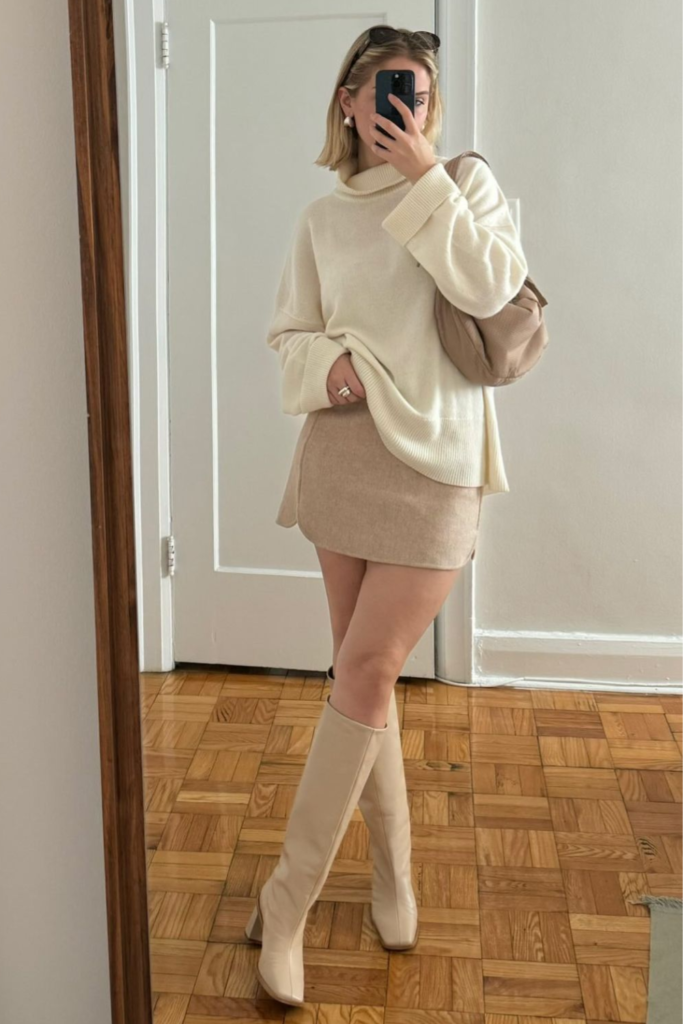
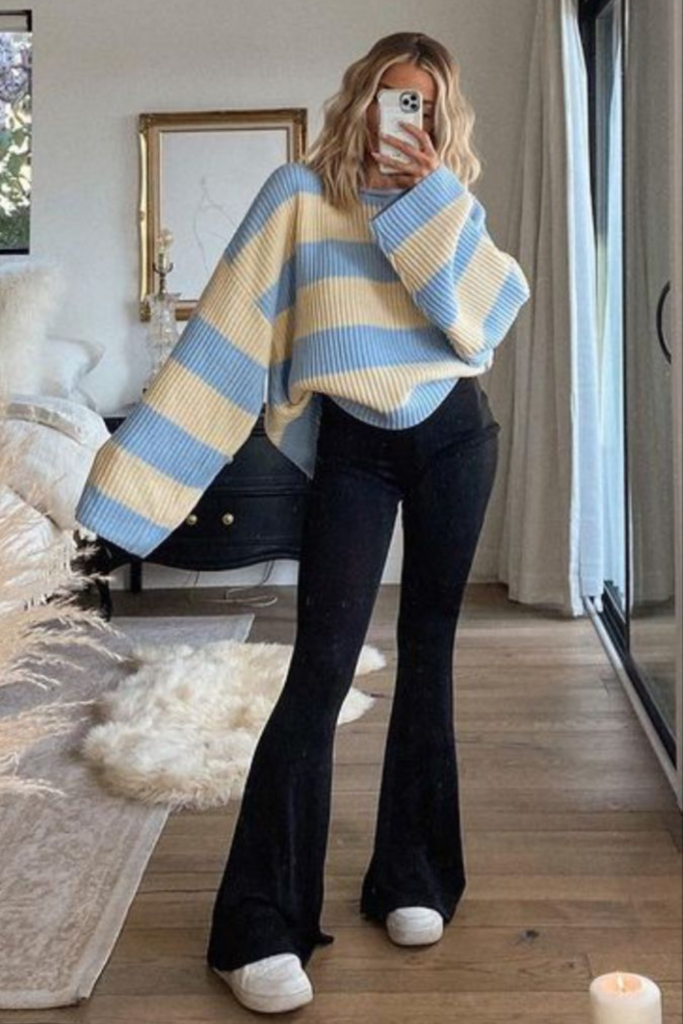
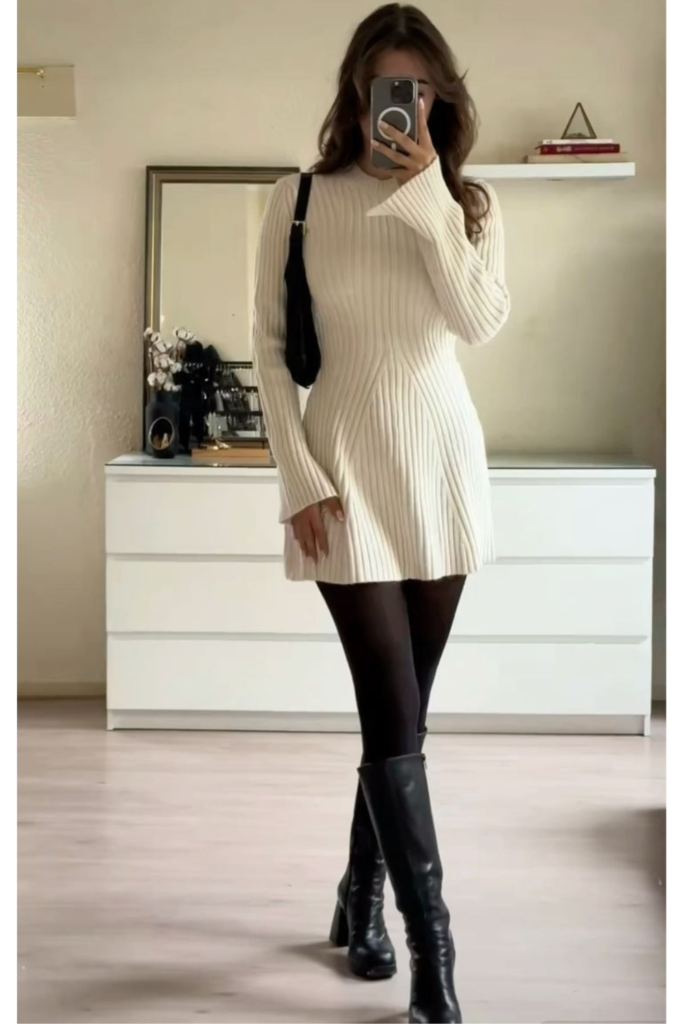
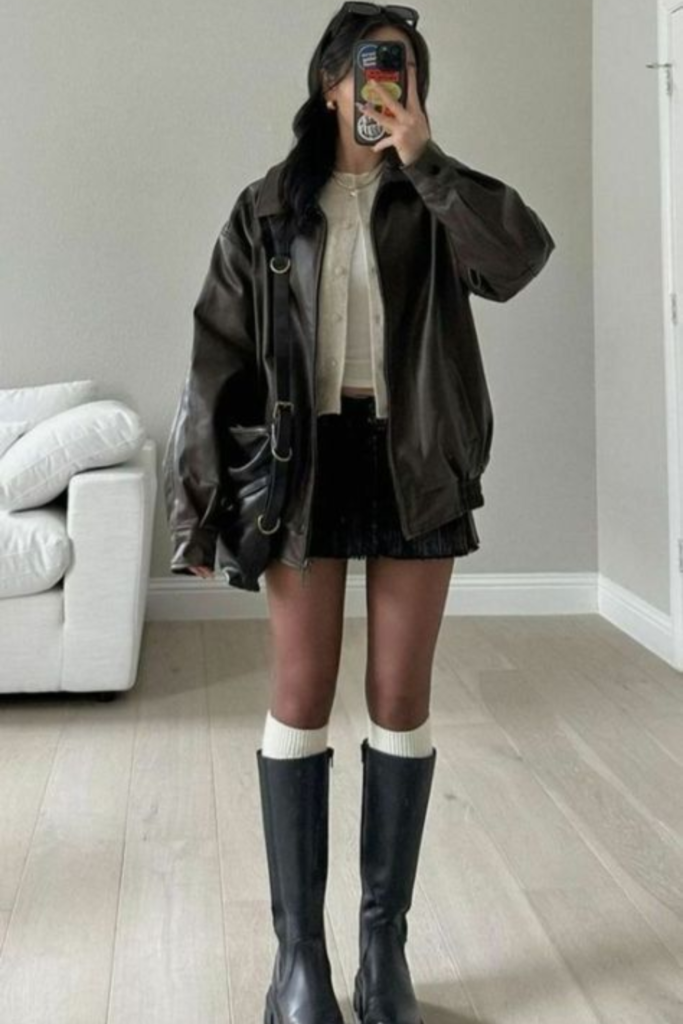
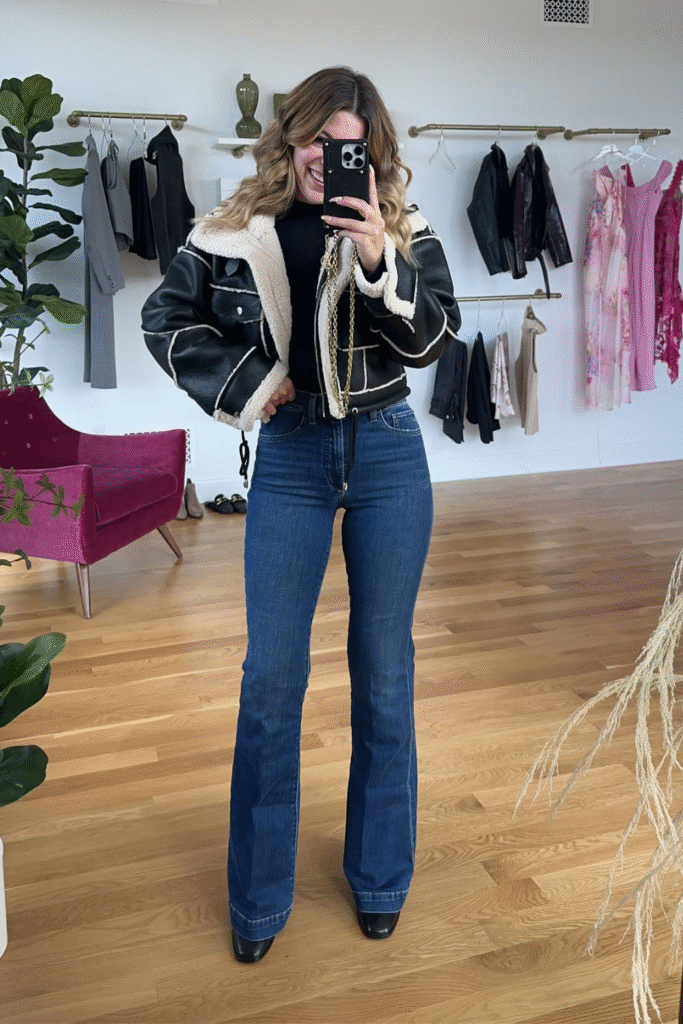
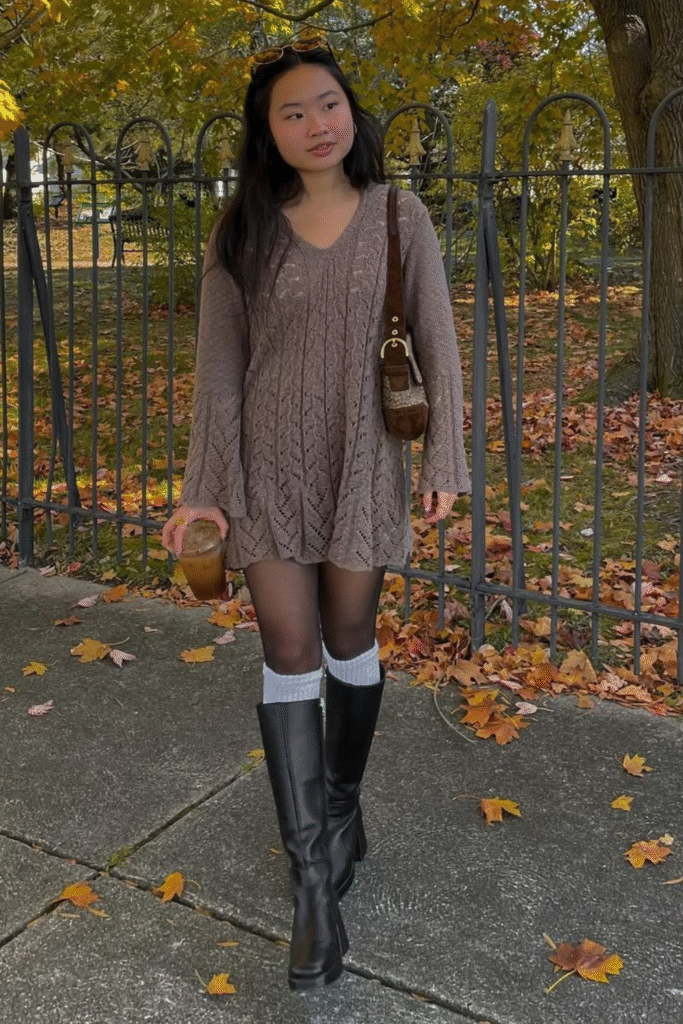
- Pajamas (bring your cutest set for that sleepover aesthetic)
- Underwear and socks
- Toothbrush, toothpaste, and basic toiletries
- Hairbrush, hair ties, bonnet or scarf
- Phone charger (trust me, everyone forgets this)
- A small blanket or favorite pillow if you’re picky about sleeping
Fun extras to throw in your sleepover bag:
- Face masks or skincare goodies
- A journal or notebook for late-night chats
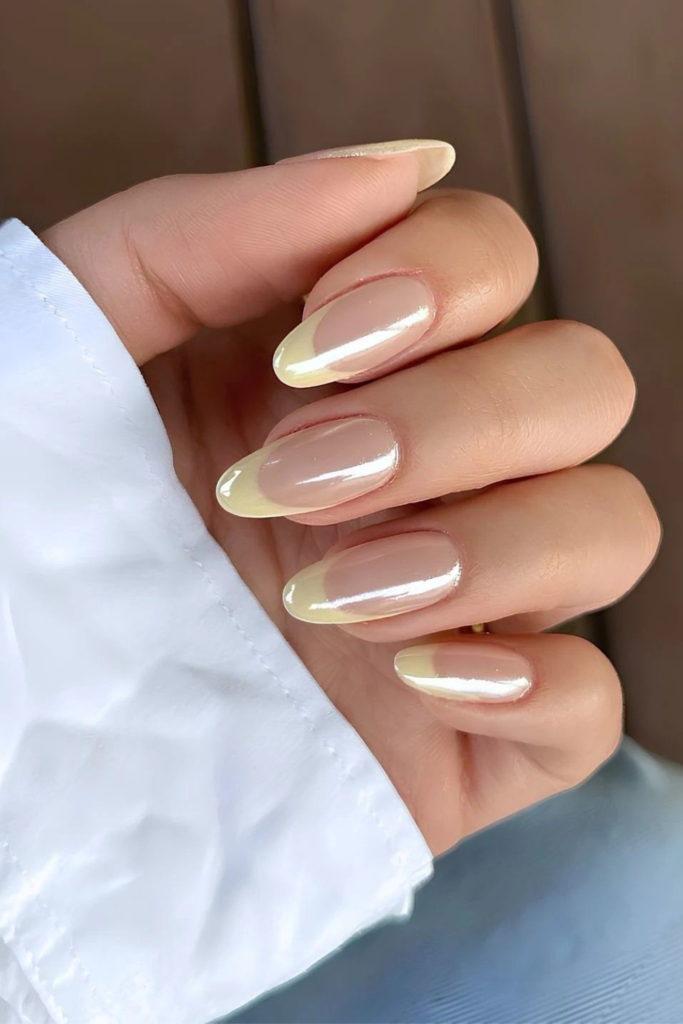
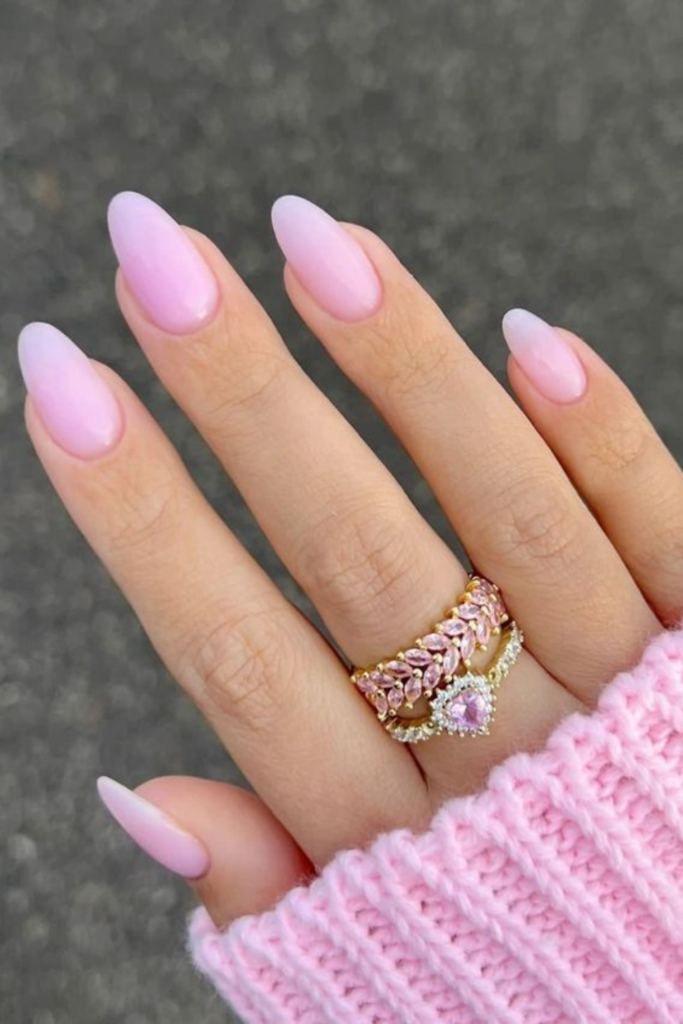
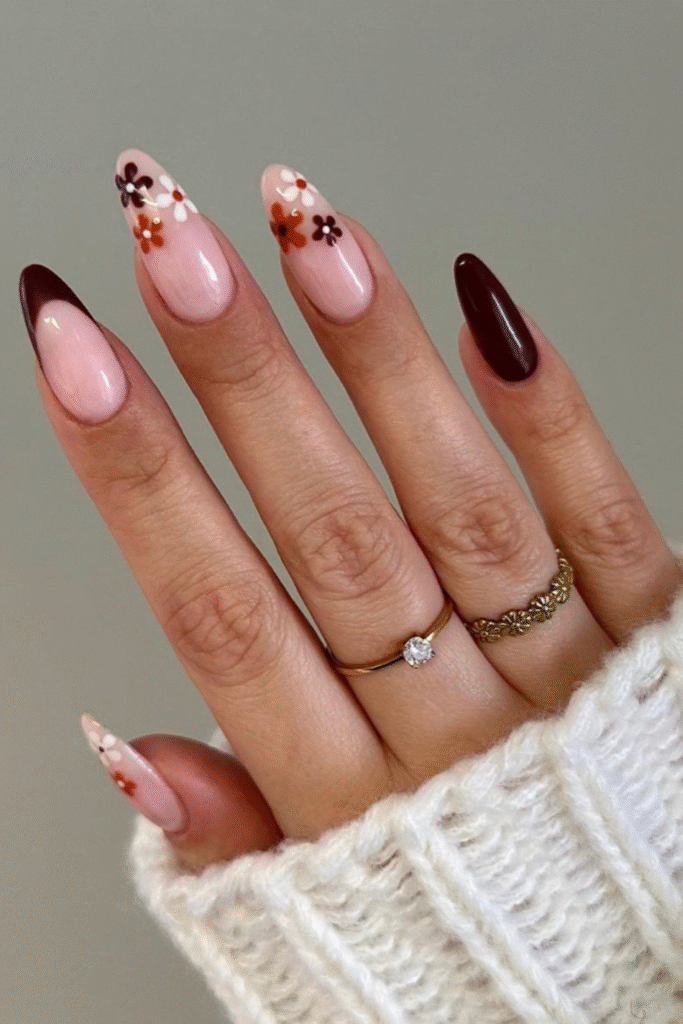
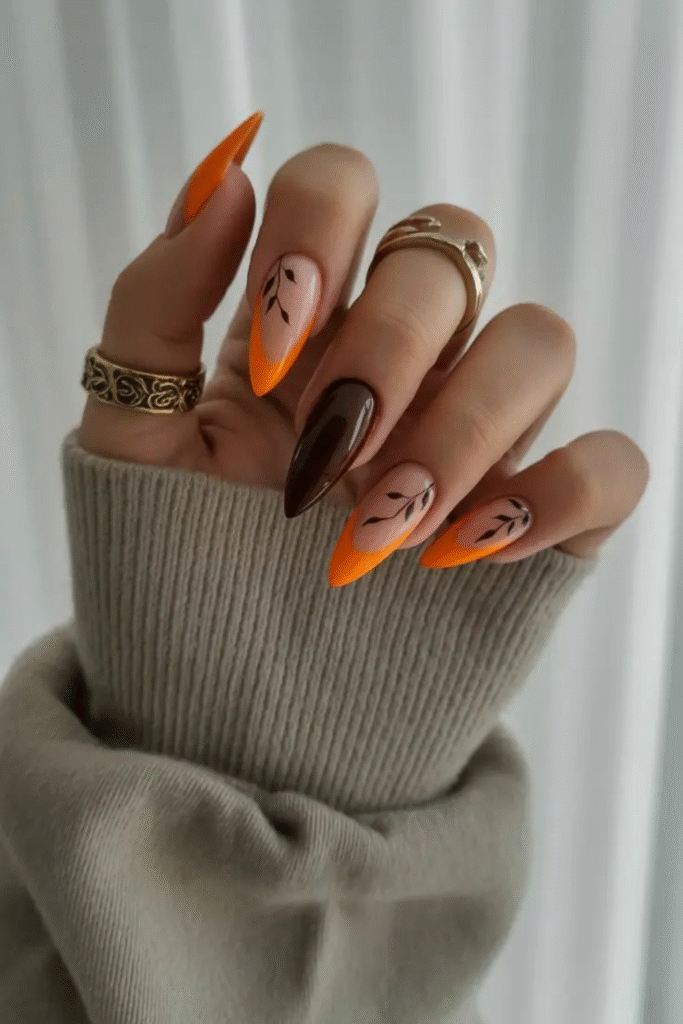
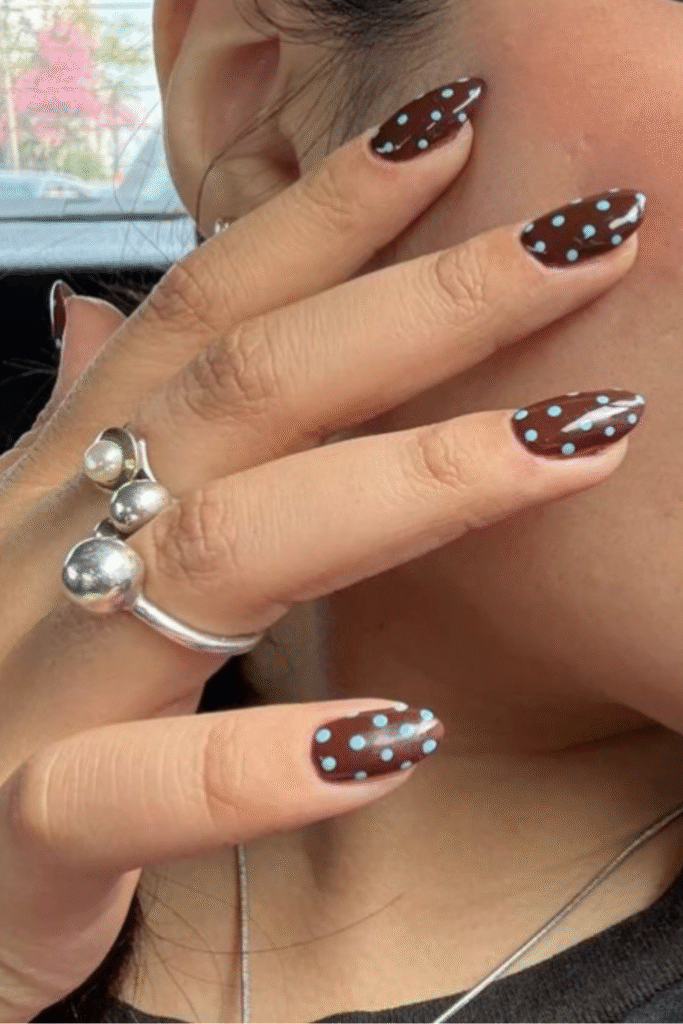
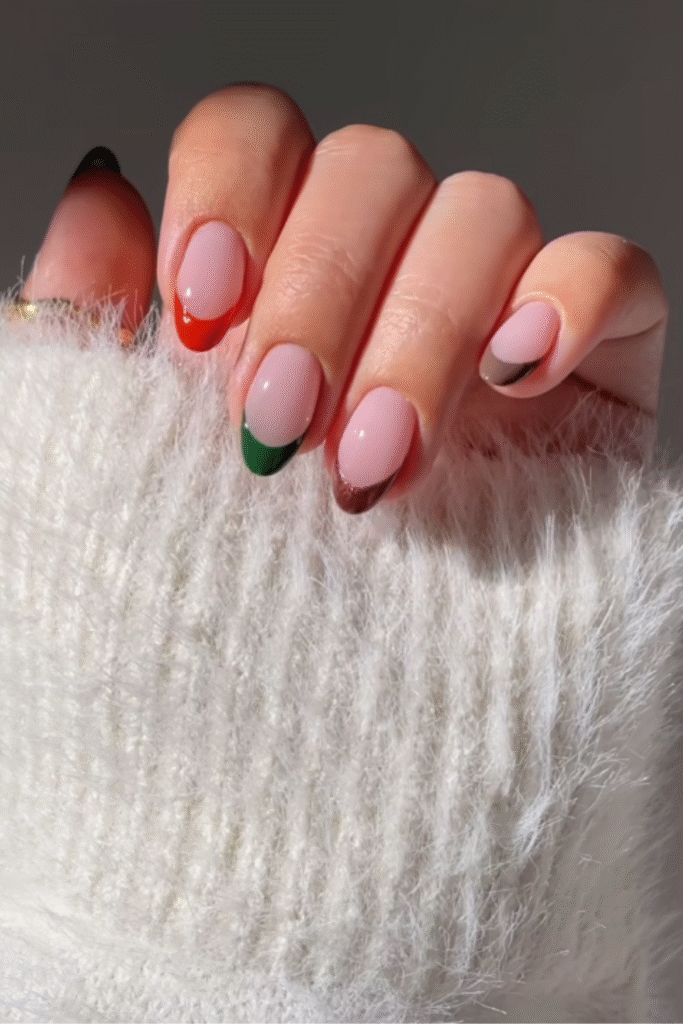
- Nail polish or press-on nails
- Mini speaker for music
- A book or coloring pages for chill moments
If you’re wondering what to pack for a sleepover or what to bring to a sleepover, this sleepover list has you covered.
Pro tip: always double-check before you leave so you’re not borrowing a toothbrush at midnight.
Fun Sleepover Activities
If you’ve ever asked yourself what to do at a sleepover, this section is about to be your best friend. Fun sleepover activities are what turn an ordinary night into a core memory.
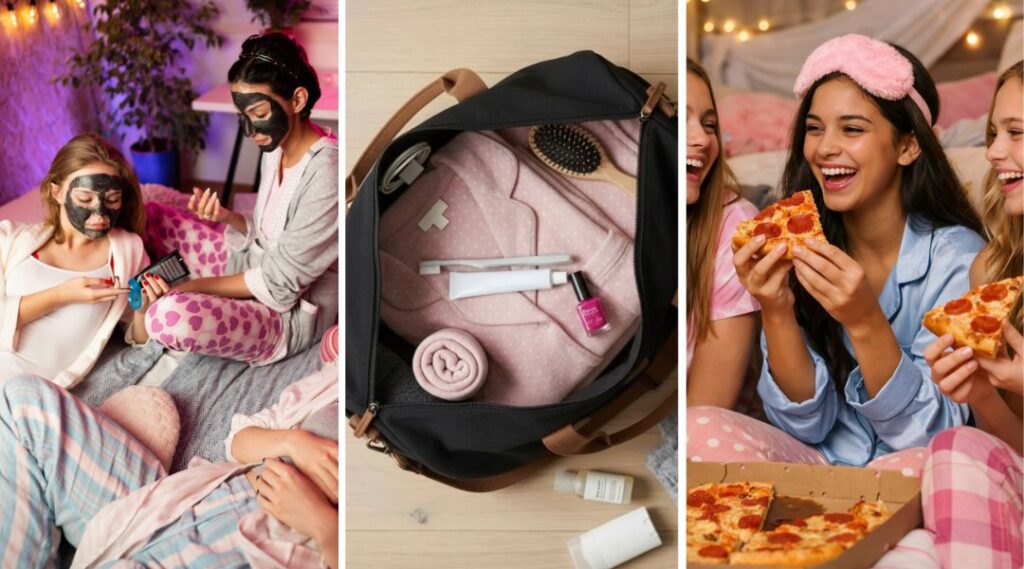
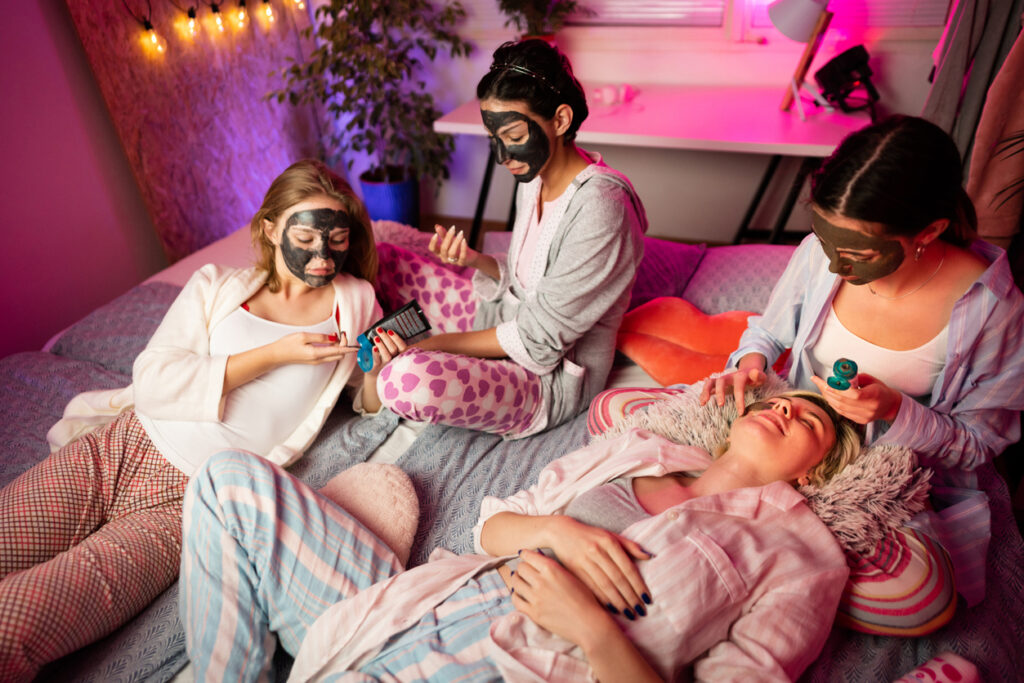
- Glow-up & self-care night: Turn your sleepover party into a mini spa. Face masks, hand massages, hair braiding, and calming music instantly set the mood. This is one of those activities to do with friends that feels relaxing but is still fun.
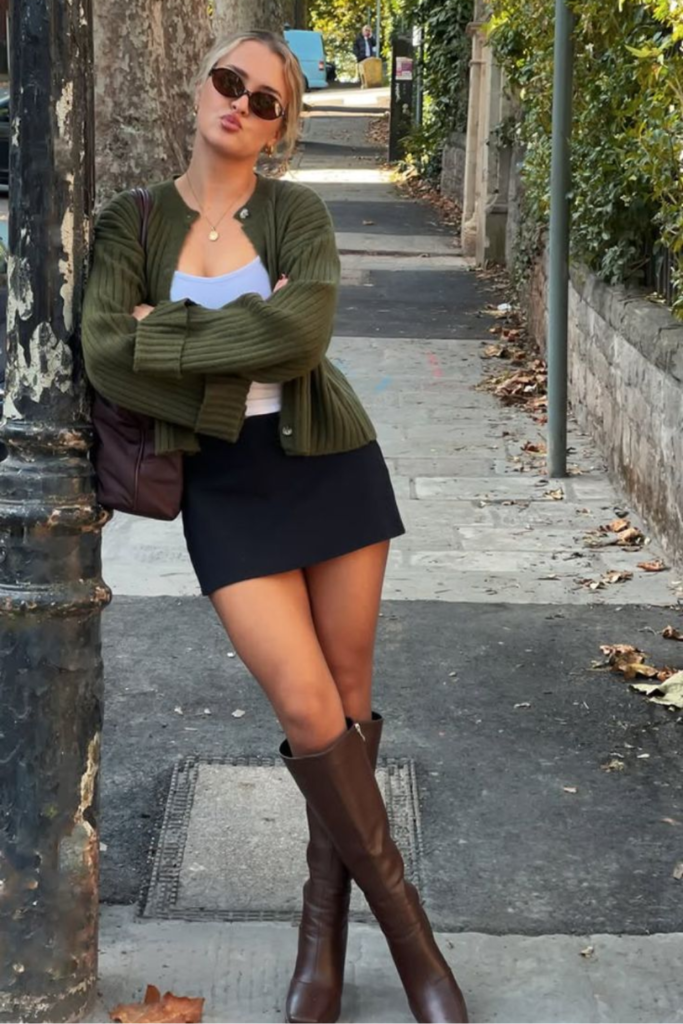
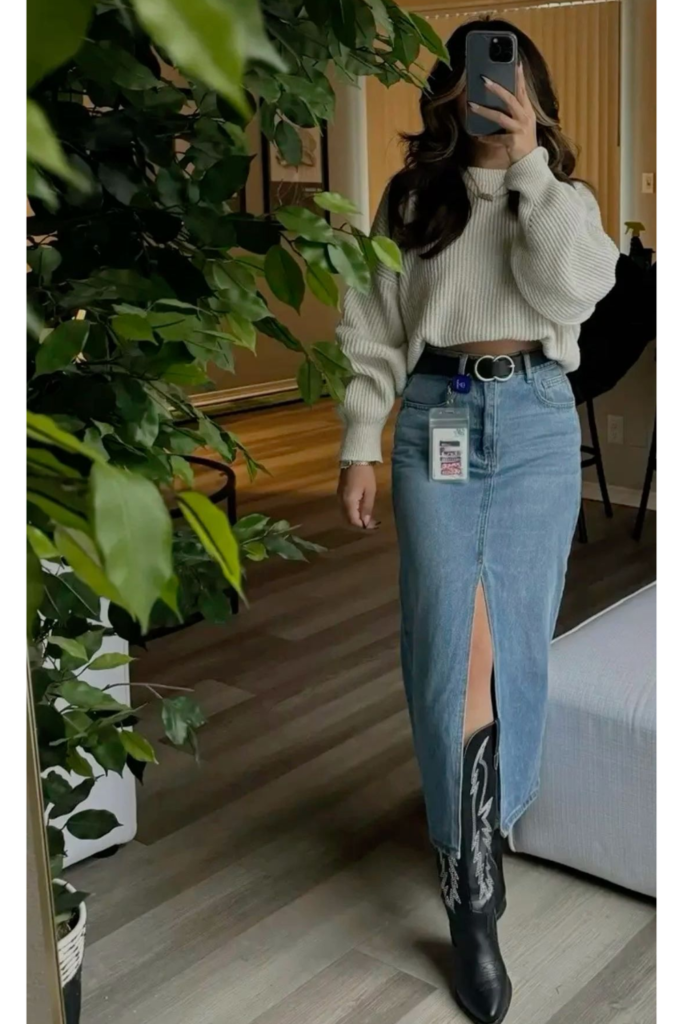
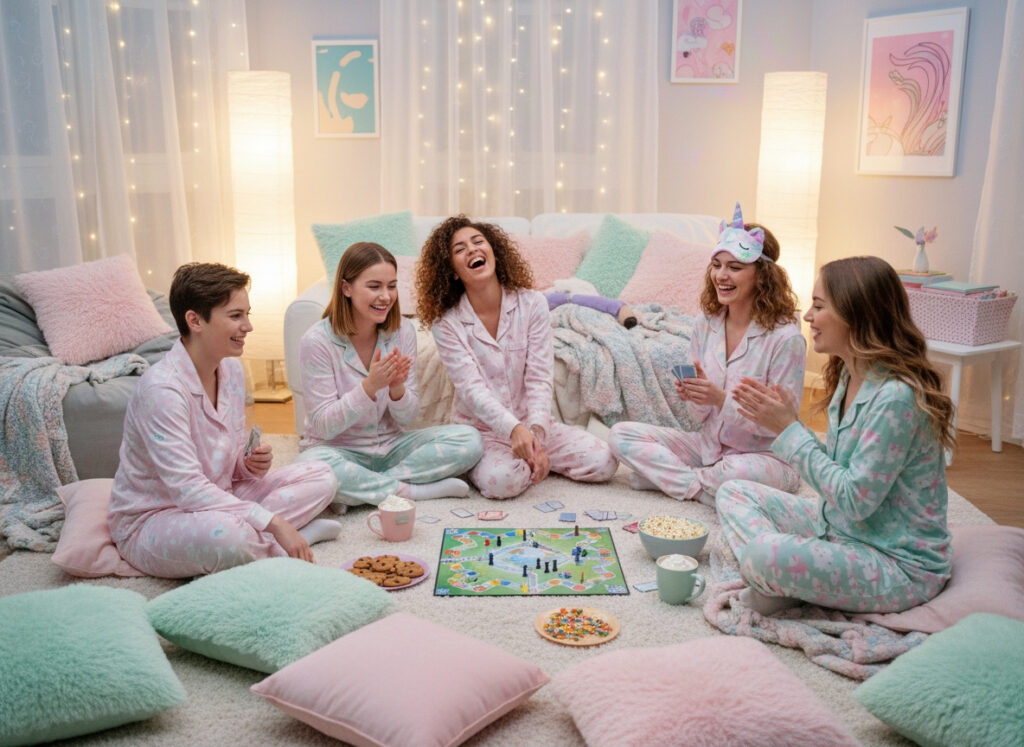
- Themed pajama party: Choose a theme like pastel pajamas, matching sets, or cozy oversized tees. Themes add instant sleepover inspo and make photos way cuter.
- DIY photo shoot: Create a mini photo corner with fairy lights, blankets, and pillows. This is perfect for capturing the sleepover aesthetic and gives everyone something fun to do at a sleepover without feeling awkward.
- Late-night talks & memory sharing: Some of the best stuff to do at a sleepover is just talking. Share stories, dreams, and funny memories. It’s simple, but it’s what makes a girl sleepover feel special.
- Mini talent show: Singing, dancing, comedy skits—nothing is too silly here. This is one of those fun things to do at a sleepover that always ends in laughter.
When you’re planning stuff to do with friends at a sleepover, mixing chill moments with energetic activities keeps the night balanced and fun.
Fun Sleepover Games To Play
No sleepover is complete without games to play at a sleepover. These fun sleepover games work for small groups or bigger sleepover birthday parties.
- Truth or Dare (sleepover edition): Keep it light, funny, and friendly. This classic is a must when thinking about what to do at a sleepover.
- Would You Rather: This game always leads to hilarious debates and unexpected answers. Perfect for late-night laughs.
- Charades or Guess the Song: Split into teams and make it competitive. These are great games to play at a sleepover when energy levels are high.
- Scavenger hunt: Create a simple indoor scavenger hunt using items around the house. It’s interactive and gets everyone involved.
- Board games or card games: Sometimes classic games are the best fun stuff to do at a sleepover. Uno, cards, or simple board games never disappoint.
If you’re ever stuck on stuff to do at a sleepover, games are the quickest way to get everyone laughing.
Sleepover Food & Snacks

The best sleepover snacks should be easy to eat, shareable, and totally crave-worthy, here are some great sleepover snacks and food to try out.
Sweet snack ideas:
- Popcorn with fun toppings
- Cookies or brownies
- Candy bowls everyone can grab from
- Cupcakes for sleepover birthday parties
Savory sleepover snacks:
- Pizza slices or mini sliders
- Chips with different dips
- Cheese and crackers
- Mini sandwiches
Fun food activities:
- DIY popcorn bar
- Make-your-own sundae station
- Decorating cookies together
Sleepover food doesn’t have to be fancy to be amazing. The goal is food that keeps everyone full and happy while you enjoy all the fun things to do at a sleepover.
Sleepover Crafts You Can Make With Your Friends
If you’re looking for calmer activities to do with friends, sleepover crafts are perfect for slowing things down while still being creative.
- Friendship bracelets: A classic craft that never gets old. Everyone leaves with a keepsake from the sleepover party.
- Decorate pillowcases or tote bags: Fabric markers and simple designs make this craft easy and fun.
- Vision boards: Use magazines, stickers, and markers to create boards filled with dreams and goals. It’s meaningful and makes great sleepover inspo.
- DIY journals: Decorate notebooks with stickers and drawings for late-night thoughts and doodles.
Sleepover crafts are perfect for when you want something cozy and creative without too much chaos.
Movies To Watch At Your Pajama Party

Picking the right movies to watch at a sleepover can seriously make or break the vibe. You want films that are fun, cozy, a little nostalgic, and easy to talk through without getting lost.
Whether you’re cuddled up with blankets or half-watching while doing your nails, these picks are perfect for a girl sleepover or pajama party.
Feel‑good & fun classics:
- Clueless – Fashion, friendship, and endlessly quotable moments
- Legally Blonde – Confidence-boosting, funny, and iconic
- Mean Girls – A sleepover must‑watch that never gets old
- The Princess Diaries – Cozy, sweet, and perfect for late-night vibes
Laugh‑out‑loud movies:
- Pitch Perfect – Singing along is basically required
- Yes Day – Light, fun, and easy to watch with friends
- Jumanji: Welcome to the Jungle – Action-packed but still funny
Cozy & nostalgic picks:
- Matilda – Soft, comforting, and perfect for winding down
- To All the Boys I’ve Loved Before – Sweet, romantic, and sleepover-approved
- Paddington – Surprisingly funny and super cozy
Light spooky (not too scary):
- Hocus Pocus – Fun, silly, and perfect for group watching
- The Addams Family – Spooky-cute and full of personality
- Coraline – A little eerie, but still sleepover friendly
Sleepover movie tips:
- Let everyone vote so no one feels left out
- Pick 2–3 movies instead of a huge list
- Keep sleepover snacks within arm’s reach
- Don’t stress if no one actually finishes the movie
Movies are the perfect way to slow things down after all the fun sleepover activities and games, and they’re always a highlight of any sleepover party.
Sleepover Tips for the Best Night Ever
To wrap things up, here are a few simple sleepover tips to make everything run smoothly:
- Plan a loose schedule, so you can stay flexible
- Mix active games with chill activities
- Keep snacks accessible
- Make sure everyone feels included
Whether you’re planning a pajama party, a girl sleepover, or just looking for friend hangout ideas, the key is creating a relaxed space where everyone can be themselves.
At the end of the day, the best sleepover isn’t about perfection—it’s about laughter, connection, and staying up way too late doing fun stuff. So save this guide, share it with your friends, and start planning a night you’ll be talking about for years.
Pin For Later!