Are you dreaming of that golden, sun-kissed glow without subjecting your skin to harmful UV rays?
Look no further than self-tanners!
With the right techniques, you can achieve a natural-looking tan that will leave you feeling confident and radiant.
Self-tanning can be a game-changer when it comes to achieving that sun-kissed glow without the harmful effects of UV radiation.
Here are twelve essential tips to ensure a flawless application every time.
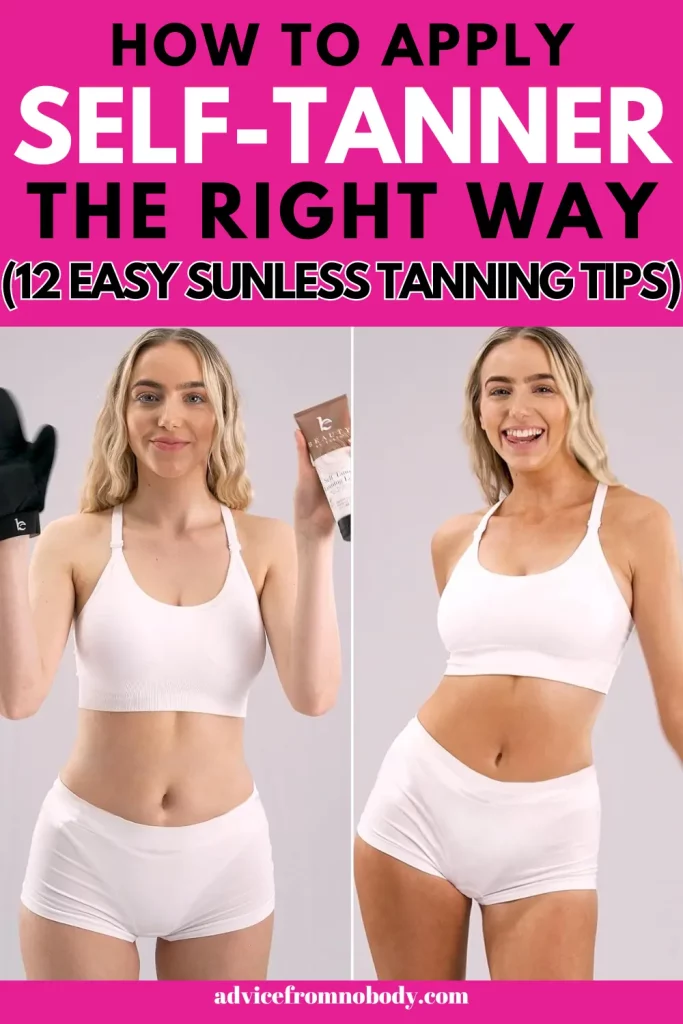
How To Apply Self-Tanner Like A Pro
1. Prep Your Canvas
Preparation is key to a flawless self-tanning experience.
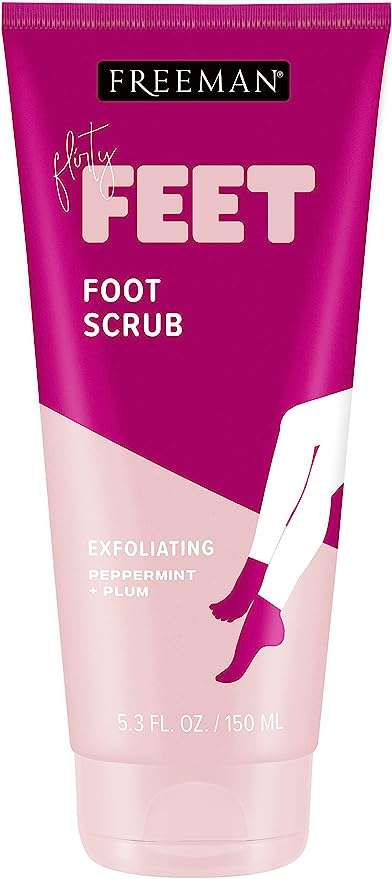
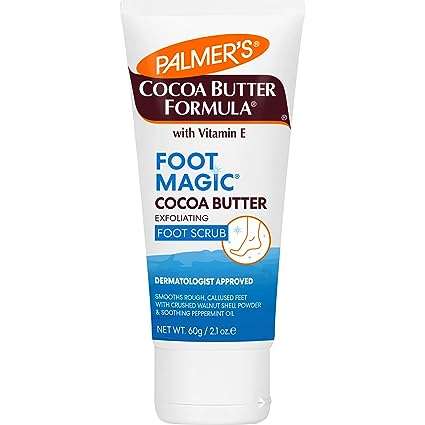
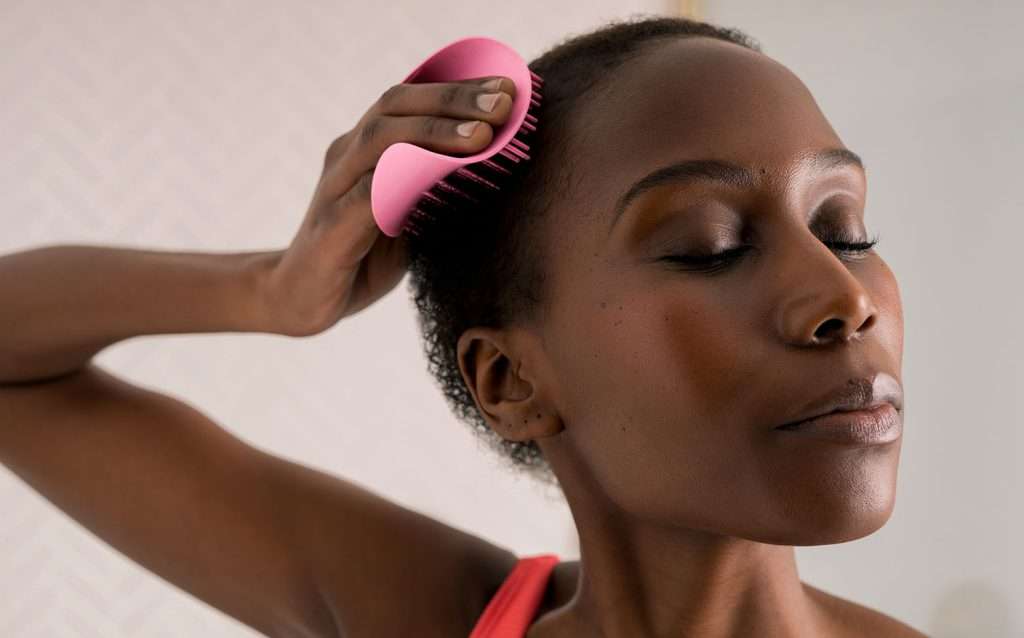
Start by exfoliating your skin to remove any dead cells and create a smooth surface for the tanner to adhere to.
Pay extra attention to rough areas like elbows, knees, and ankles.
After exfoliating, moisturize your skin, focusing on dry areas, to prevent the self-tanner from clinging to patches.
I love to use DIY exfoliators, here’s my recipe for homemade coconut lime body scrub, but if you don’t like to DIY or are short on time, here are my fave body exfoliators from Amazon.
2. Choose the Right Formula
Self-tanners come in many formulas, including lotions, mousses, sprays, and serums.
Consider your skin type and the level of color you desire when selecting a formula.
Lotions are great for dry skin, while mousses and sprays are ideal for oily or acne-prone skin. Serums offer a more gradual tan and are perfect for beginners or those seeking a subtle glow.
If you’re unsure what to choose, here is my blog post on how to choose between tanning lotion and spray tan, there are some great tips in there on how to choose the best tanning option for you.
- Does Self-Tanning Lotion Expire? +How To Make It Last Long
- What’s The Best Time To Tan Before or After My Workout?
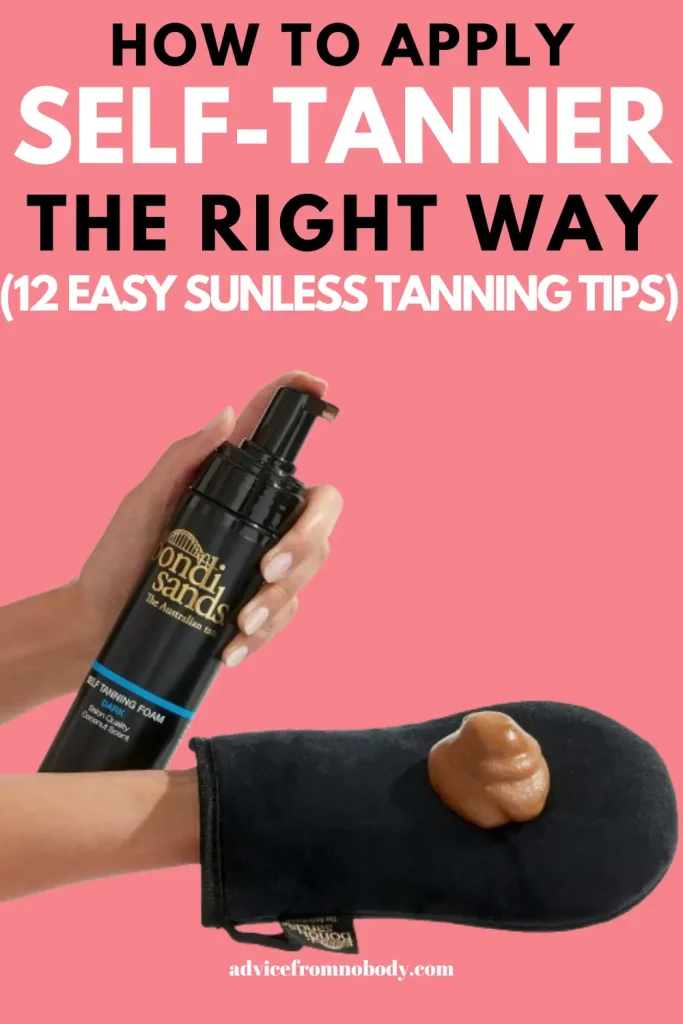
3. Apply with Care
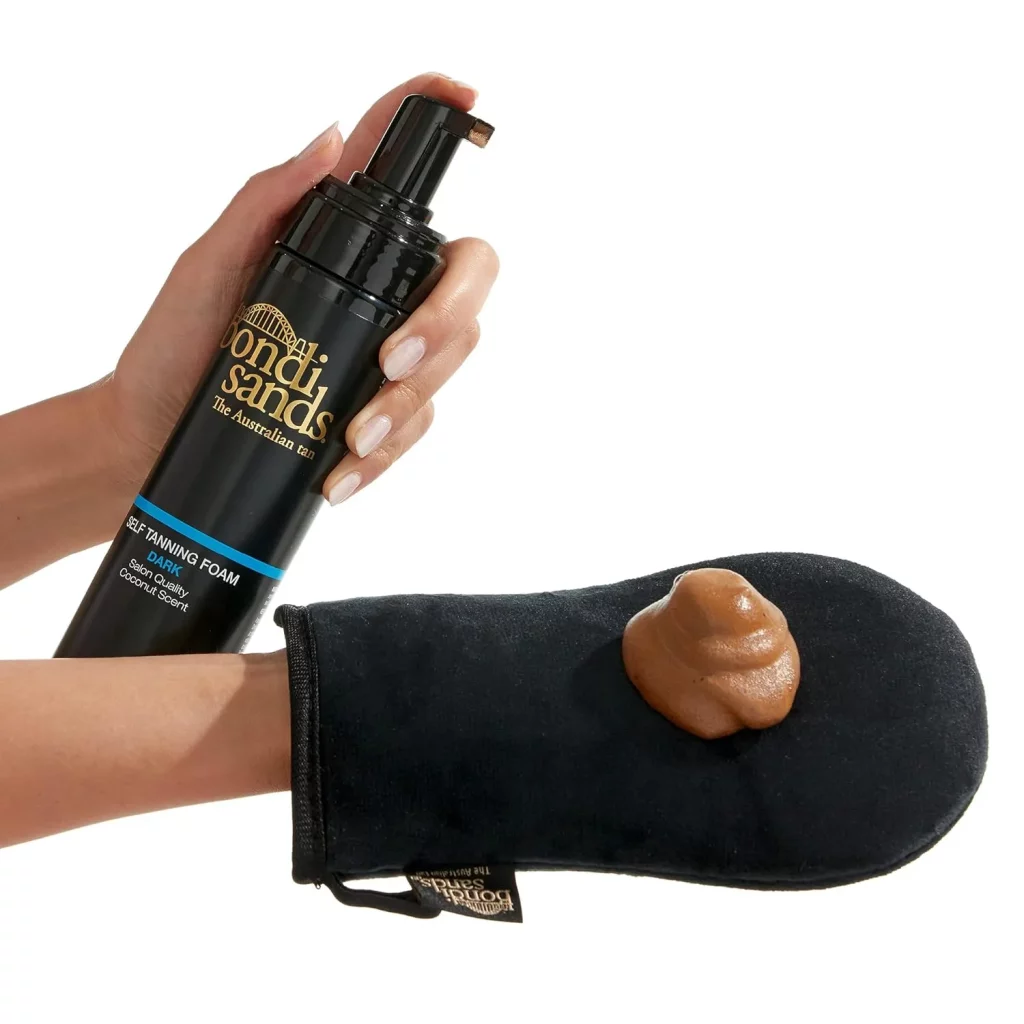
When applying self-tanner, more is almost always less.
Start by putting a small amount of product onto a tanning mitt or glove to avoid streaks and uneven patches.
Begin at your ankles and work your way up, using long, sweeping motions to ensure even coverage.
Don’t forget to blend into areas like wrists, elbows, knees, and ankles for a seamless finish.
4. Take Your Time
Rome wasn’t built in a day, and neither is a flawless tan.
Take your time when applying self-tanner to ensure thorough coverage and avoid mistakes.
Start with a light layer and gradually build up the color to achieve your desired shade.
Remember to wait for each layer to dry completely before applying the next to prevent streaking or smudging.
5. Wash Your Hands
One sign of a self-tanning failure is orange palms.
To avoid this common pitfall, be sure to wash your hands thoroughly after applying self-tanner to remove any product residue.
Pay special attention to the areas between your fingers and under your nails to prevent staining.
6. Maintain Your Glow
To prolong the life of your self-tan, moisturize your skin daily and avoid exfoliating until you’re ready to remove the color.
Opt for gentle, hydrating formulas to keep your skin looking radiant and healthy. When it’s time to say goodbye to your tan, exfoliate regularly to ensure an even fade.
Here are my favorite moisturizers for after self-tanning.
7. Use a Barrier Cream
Suppose you have dry areas or areas prone to excessive absorption, like elbows, knees, and ankles.
In that case, applying a thin layer of barrier cream or lotion can help prevent the self-tanner from clinging too heavily to these areas, resulting in a more even application.
8. Invest in a Back Applicator
Applying self-tanner to your back can be challenging, especially when you’re on your own.
Investing in a back applicator or enlisting the help of a friend can make this task much easier and ensure that you achieve seamless coverage from head to toe.
9. Pay Attention to Product Ingredients
Before purchasing a self-tanner, take a moment to review the ingredients list.
Look for products that contain hydrating ingredients like hyaluronic acid, glycerin, or aloe vera to help keep your skin moisturized and nourished while you tan.
10. Customize Your Shade
If you prefer a lighter or darker tan, consider mixing your self-tanner with a moisturizer to customize the intensity of the color.
This allows you to tailor your tan to suit your preferences and achieve a more natural-looking result.
11. Touch Up as Needed
Even with the best application techniques, your self-tan may fade unevenly over time.
To maintain a seamless glow, touch up any areas that have faded or become patchy using a gradual tanning lotion or a tinted moisturizer.
12. Practice Patience
Self-tanning is a process that requires patience and practice. Don’t be discouraged if your first attempt doesn’t turn out perfectly.
With time and experience, you’ll learn what works best for your skin and be able to achieve a flawless tan with ease.
With these easy tips in mind, you’ll be well-equipped to achieve a flawless, sunless tan that will have you feeling confident and radiant all year round.
Say goodbye to harmful UV rays and hello to a natural-looking glow!
Pin For Later!