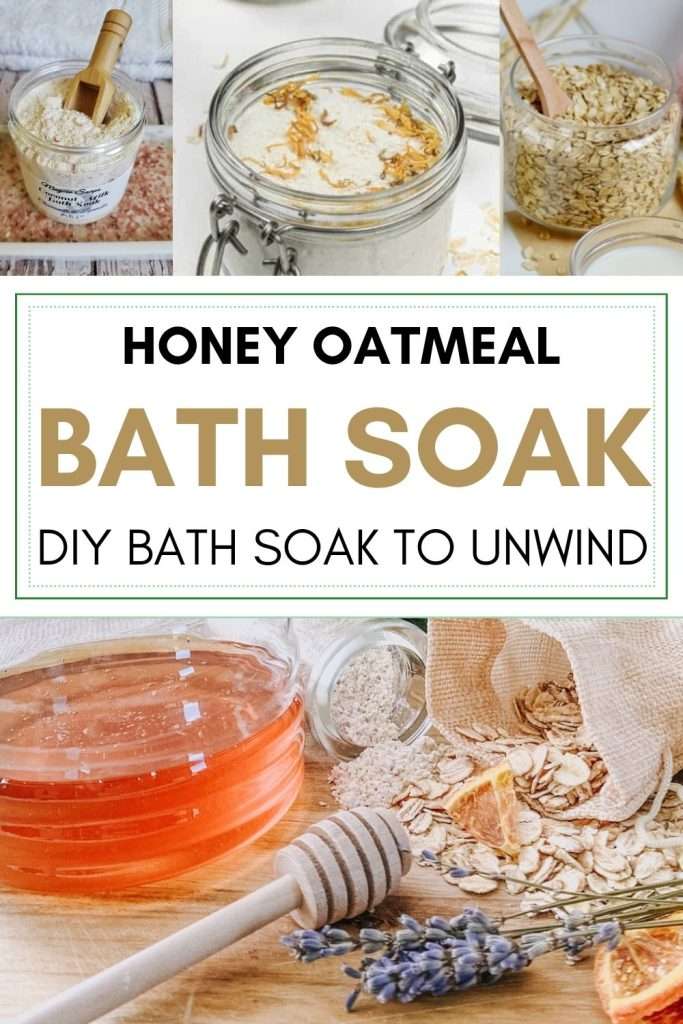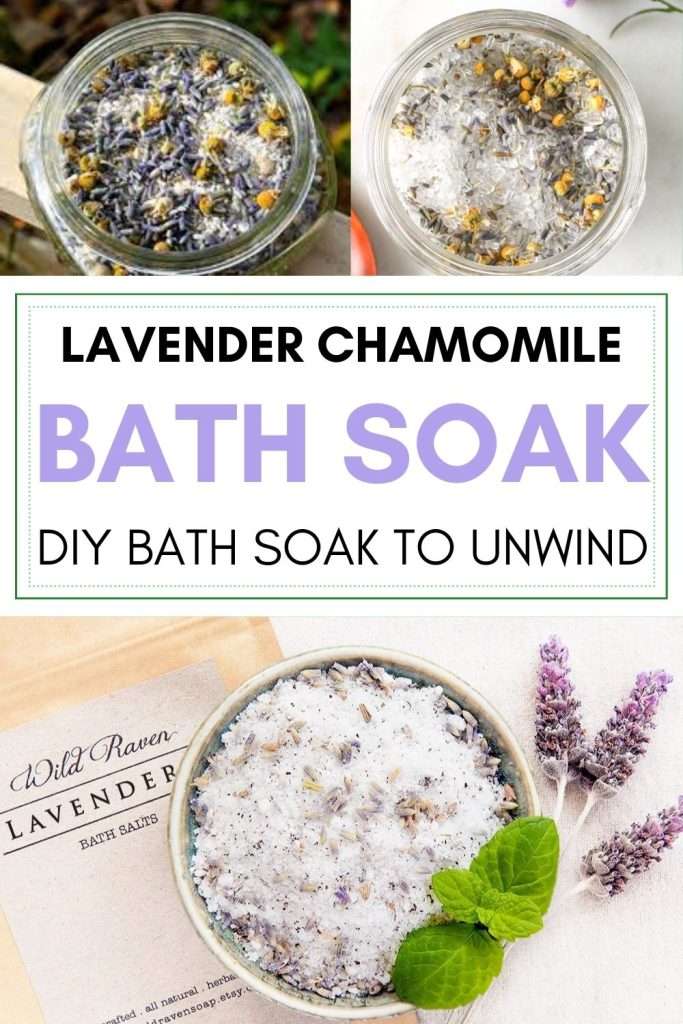
Discover the ultimate relaxation with a Lavender and Chamomile bath.
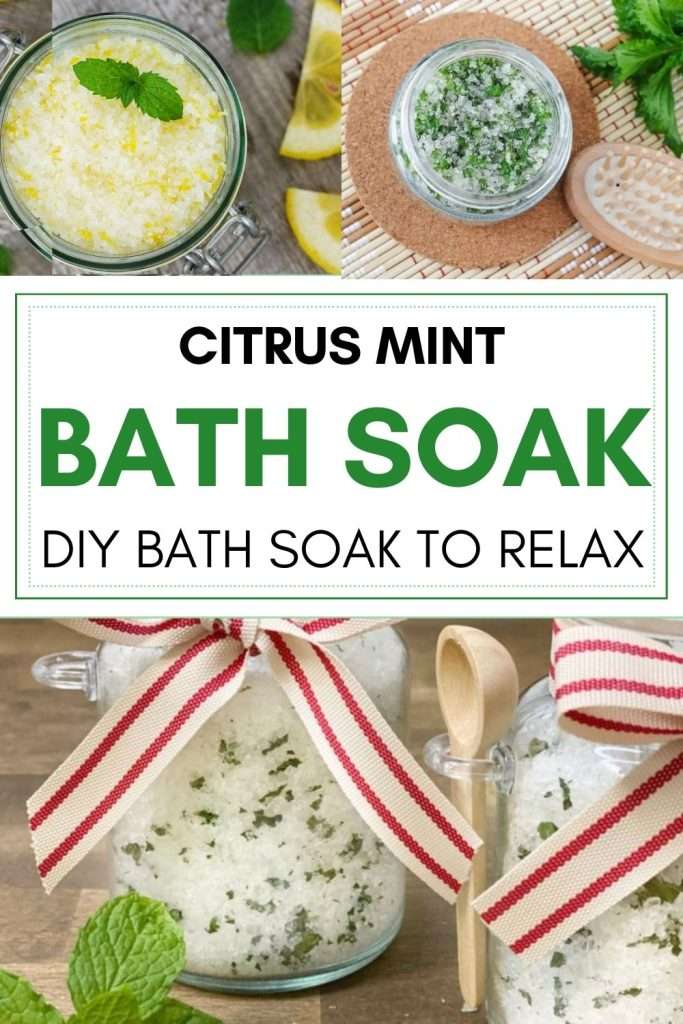
This nourishing Lavender and Chamomile bath soak recipe is crafted with a blend of natural ingredients, including calming essential oils, soothing Epsom salt, and fragrant dried lavender and chamomile flowers for a truly indulgent bath routine experience.
Immerse yourself in the soothing fragrance of lavender and the gentle essence of chamomile with this bath soak recipe, offering a perfect escape at the end of a long, stressful day. With the added benefits of magnesium-rich bath salts and antioxidant-rich lavender and chamomile, your self-care routine will reach new heights of rejuvenation.
Say goodbye to expensive store-bought bath salts and follow this easy tutorial to experience the blissful wonders of a Lavender and Chamomile bath.
Dive into the world of natural ingredients, where the harmonious blend of lavender, chamomile, and bath salts promise an extraordinary and calming bath routine.
Get ready to unwind, relax, and pamper yourself with the gentle embrace of Lavender and Chamomile, all within the comfort of your own bath, this bath soak is especially perfect for your night routine.
Benefits Of Lavender In Your Bath
Lavender and chamomile have long been revered for their restorative and soothing properties, making them the perfect ingredients for a rejuvenating bath soak.
While you may be familiar with lavender’s uses in essential oils and skin care products, the benefits of incorporating lavender into your bath routine extend far beyond its delightful fragrance.
Healing Properties For The Skin
Both lavender offer remarkable healing properties for the skin.
Bathing in lavender-infused water allows this gentle herb to nourish and protect your skin, leaving it feeling revitalized and pampered.
Applying lavender oil to minor cuts or injuries, accompanied by proper care, can accelerate tissue repair and reduce healing time. Moreover, a Lavender bath can be incredibly soothing for sunburns and skin irritations, providing relief and helping the skin heal faster.
Improved Sleep Quality
If you struggle with sleepless nights, a Lavender and Chamomile bath can be a game-changer.
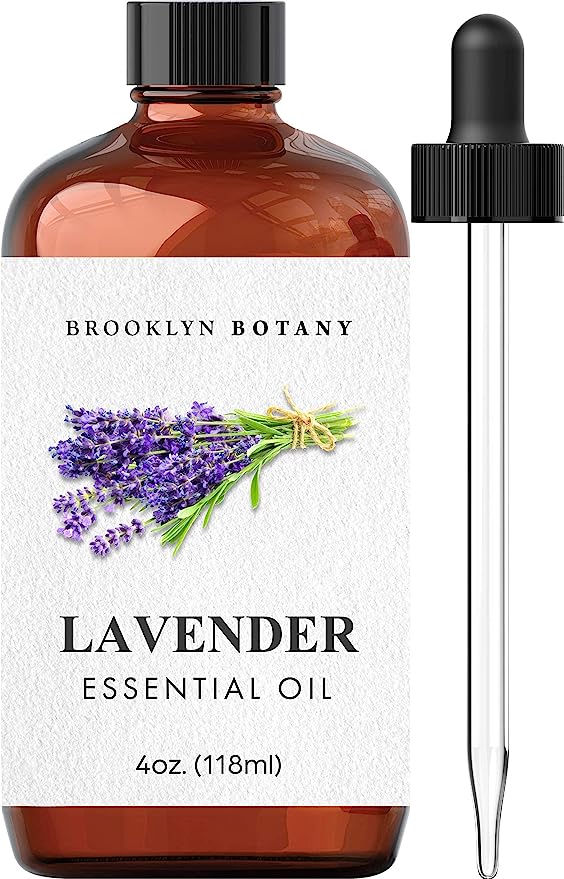
Lavender’s calming and soothing benefits extend to promoting better sleep quality. Just adding a few drops of lavender essential oil to your bath water can help relax your mind and body, preparing you for a peaceful and restorative night’s sleep.
The comforting scent of chamomile further enhances the bath experience, lulling you into a state of tranquility before drifting off to dreamland.
Reduces Stress And Anxiety
When life feels overwhelming, a little bit of lavender might just be what you need.
Inhaling the serene fragrance of lavender and soaking in it during your bath can have a calming effect on your mind, reducing stress and anxiety within minutes.
This therapeutic experience offers a respite from the hustle and bustle of daily life, allowing you to unwind and find solace in the gentle embrace of these natural herbs.
Enhances Emotional Balance
The power of aromatherapy extends to emotional well-being.
The enchanting scents of lavender can calm your nerves and ease emotional suffering, creating an oasis of serenity within your bath. Let go of tension and embrace a sense of peace as you indulge in the aromatic journey of this bath soak.
The Lavender in your bath soak offers not only a luxurious and aromatic experience but also a myriad of health benefits for your skin, mind, and body.
Embrace the natural healing properties of lavender and let them elevate your bath routine to a truly blissful and rejuvenating spa experience right in the comfort of your own home.
Benefits of Chamomile In A Bath
Chamomile, with its gentle and mild fragrance, is another fantastic herb for enhancing bath time relaxation. It has anti-inflammatory properties that can soothe irritated skin, making it ideal for those with sensitive skin or skin conditions.
Additionally, chamomile can calm nervous tension and anxiety, providing an overall sense of well-being during your bath ritual.
The key active ingredients in chamomile oil, such as bisabolol and matricine, offer potent anti-inflammatory effects. When the oil is steam-distilled, it forms chamazulene, which not only deepens the oil’s blue color but also enhances its anti-inflammatory properties.
But what does this mean for your bath routine? Let’s explore the wonderful benefits of chamomile when incorporated into your bathing experience:
Natural Anti-Inflammatory
Chamomile’s anti-inflammatory nature extends both internally and externally.
When applied topically, chamomile can help soothe skin inflammation and conditions like neurodermatitis.
Its anti-inflammatory effect can also be experienced through the steam of a chamomile steamer, providing comfort to irritated airways during colds.
Has A Calming Effect
Chamomile isn’t just a comforting drink for stomach upsets; it can also be a relaxing and soothing addition to your bath.
By infusing dried chamomile flowers in hot water, you can create a chamomile tea bath that calms your senses and relieves gastrointestinal cramps.
Great For Your Skin
Incorporating chamomile in your bath water can work wonders for your skin.
A chamomile bath can offer relief from skin conditions like neurodermatitis and mild sunburn due to its anti-inflammatory and antibacterial effects, chamomile can aid in healing wounds and provide antibacterial benefits for skin inflammations.
How To Take A Lavender And Chamomile Bath
There’s nothing quite like sinking into a warm bath infused with the calming essence of lavender and chamomile.
This calming duo of herbs offers a tranquil and rejuvenating experience, perfect for unwinding after a long day or as a nightly self-care routine. If you’re wondering how much chamomile and lavender to use for the ultimate bath soak, we’ve got you covered:
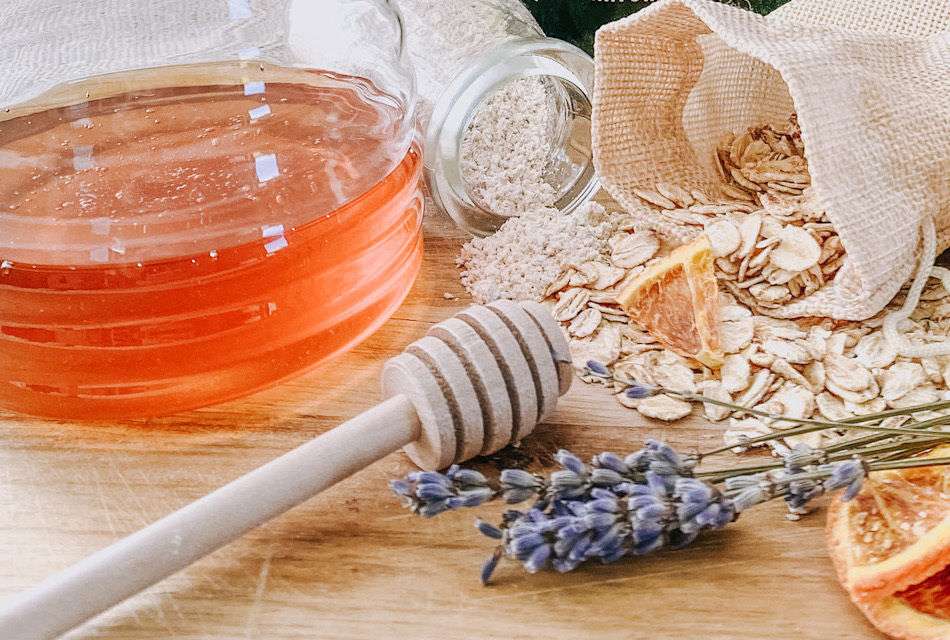
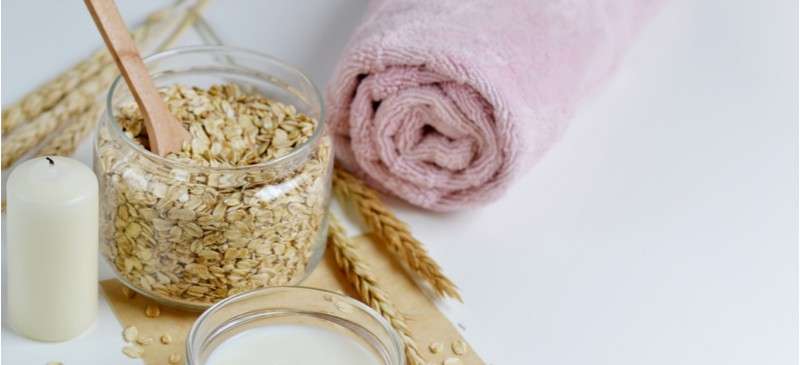
Gather Your Ingredients
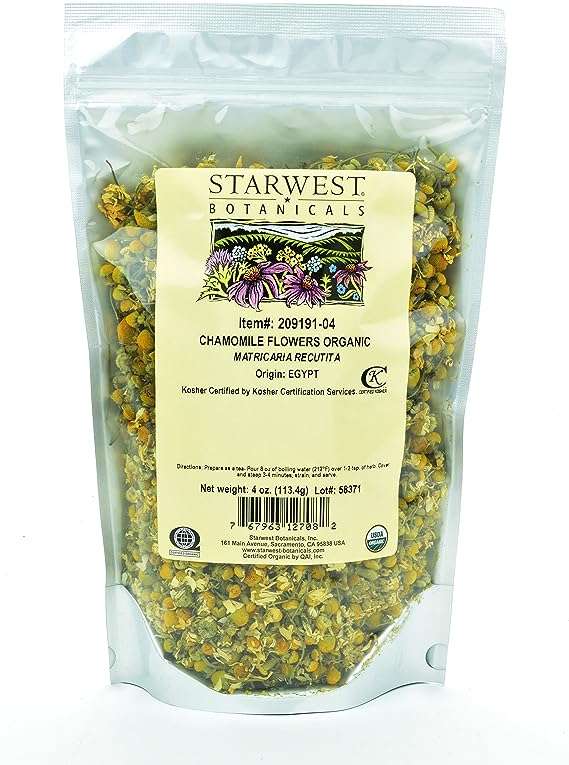
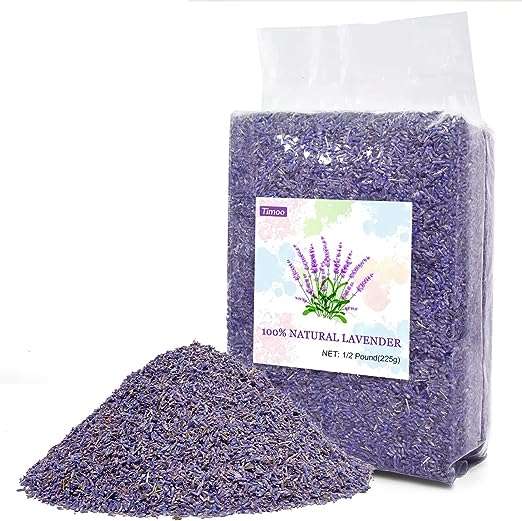
To begin, you’ll need dried chamomile flowers and dried lavender flowers. You can find these at health food stores, herbal shops, or online retailers. Make sure to choose high-quality, organic flowers for the best results.
The ideal amount of chamomile and lavender for your bath depends on personal preference and the size of your tub.
A good starting point is to use approximately 1/2 to 1 cup of dried chamomile flowers and dried lavender flowers each. Feel free to adjust the amounts to suit your scent preference and the intensity of the aroma you desire.
More Ingredients For Your Lavender & Chamomile Bath Soak
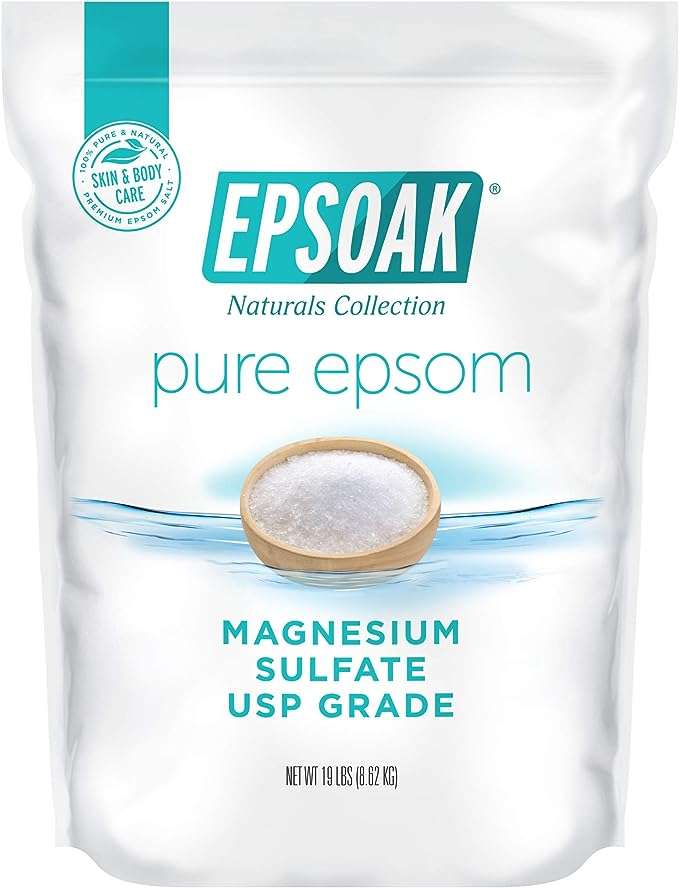
- 1 Cup Epsom salts
- 1/2 Cup sea salt
- 1 Cup dried lavender flowers
- 1 Cup dried chamomile flowers
- 10-15 Drops of lavender essential oil
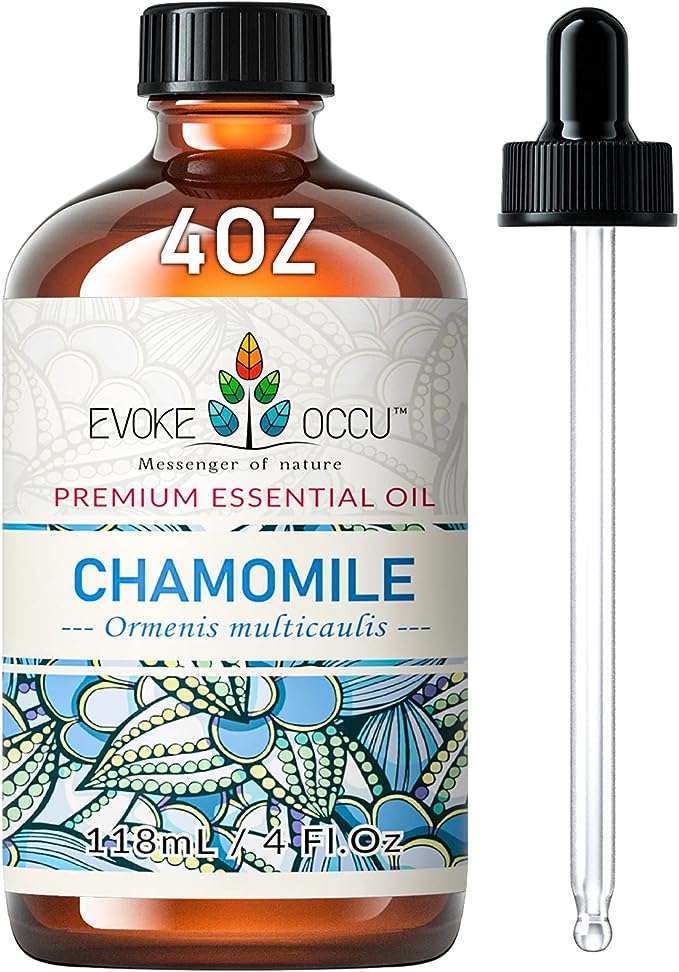
- 5-7 Drops of chamomile essential oil
Prepare Your Bath
Fill your bathtub with warm water to your desired level. As the tub is filling, sprinkle the dried chamomile and lavender flowers directly into the water.
You can also use a muslin bag or a reusable tea infuser to contain the flowers if you prefer not to have loose herbs in your bathwater.
Enjoy And Relax
Once the flowers have been added, step into the bath and allow yourself to fully relax and unwind.
Take deep breaths and inhale the soothing fragrance of lavender and chamomile. Let the aromatic atmosphere transport you to a world of tranquility.
The ideal soaking time is typically 20 to 30 minutes, but you can adjust this based on your preference. Feel free to stay in the bath longer if you find it particularly calming and enjoyable.
While enjoying your Lavender and Chamomile bath, take the opportunity to care for your skin. Gently exfoliate with a loofah or bath scrub to remove dead skin cells, and use a moisturizing soap or body wash to cleanse your skin without drying it out.
After your bath, gently pat your skin dry with a soft towel. You can apply a soothing body lotion or oil to lock in moisture and keep your skin feeling soft and nourished.
Why Add Epsom Salt To Your Bathwater
Epsom salt is a wonderful addition to your Lavender and Chamomile bath soak, complementing the soothing properties of both these herbs.
The inclusion of Epsom salt provides a range of benefits, from relaxing muscles and reducing stress to promoting better sleep and aiding in skin nourishment.
To delve deeper into the advantages of Epsom salt in bathwater, I have a full blog post dedicated to exploring its numerous therapeutic effects. So, soak in the serenity of lavender and chamomile, and discover the wonders of Epsom salt in your rejuvenating bath experience.
Why Add Sea Salt To Your Bathwater
Adding sea salt to your Lavender and Chamomile bath soak enhances the overall bathing experience and offers additional benefits for your skin.
Sea salt is rich in minerals like magnesium, calcium, and potassium, which can help soothe and nourish the skin. When combined with lavender and chamomile, sea salt aids in relaxing tense muscles and promoting a sense of tranquility.
The gentle exfoliating properties of sea salt also help to cleanse and revitalize the skin, leaving it feeling soft and refreshed. So, next time you indulge in a Lavender and Chamomile bath soak, consider adding a sprinkle of sea salt for an extra touch of relaxation and skin-loving goodness.
Why Add Essential Oils To Your Bath Soak
While dried flowers in your Chamomile and Lavender bath soak already release a lovely aroma and provide soothing benefits, adding chamomile essential oil can take the experience to the next level.
Chamomile essential oil is highly concentrated and offers a more potent fragrance, intensifying the calming effect.
By combining both dried flowers and essential oil, you enhance the aromatic ambiance and ensure a more robust infusion of chamomile’s therapeutic properties into the bathwater.
The synergy of the dried flowers and essential oil creates a truly immersive and indulgent bathing experience, making it a delightful choice for those seeking a heightened sense of relaxation and tranquility.
How To Make A Lavender And Chamomile Bath Soak
Instructions:
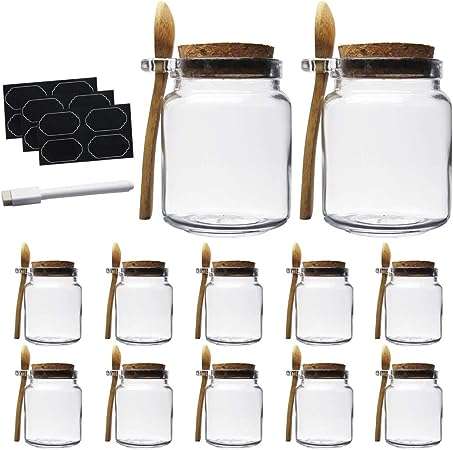
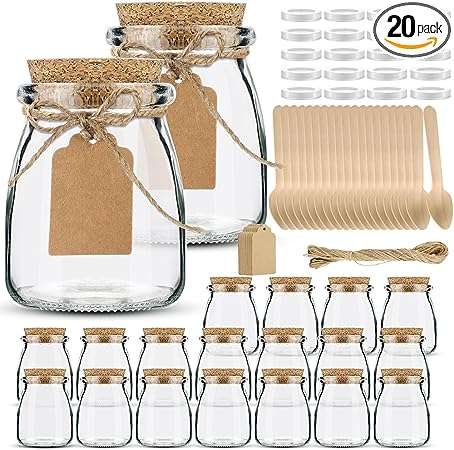
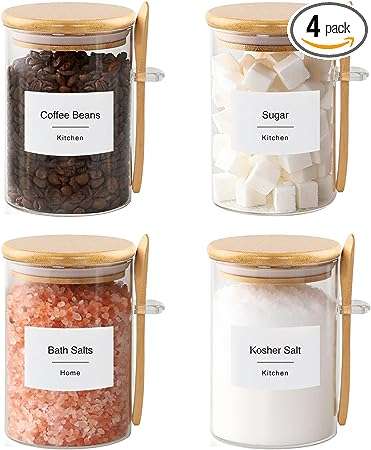
- Prepare a Clean and Dry Jar: Begin by ensuring that the jar you plan to use for storing your bath soak is clean, dry, and airtight. This will help maintain the freshness and potency of the ingredients.

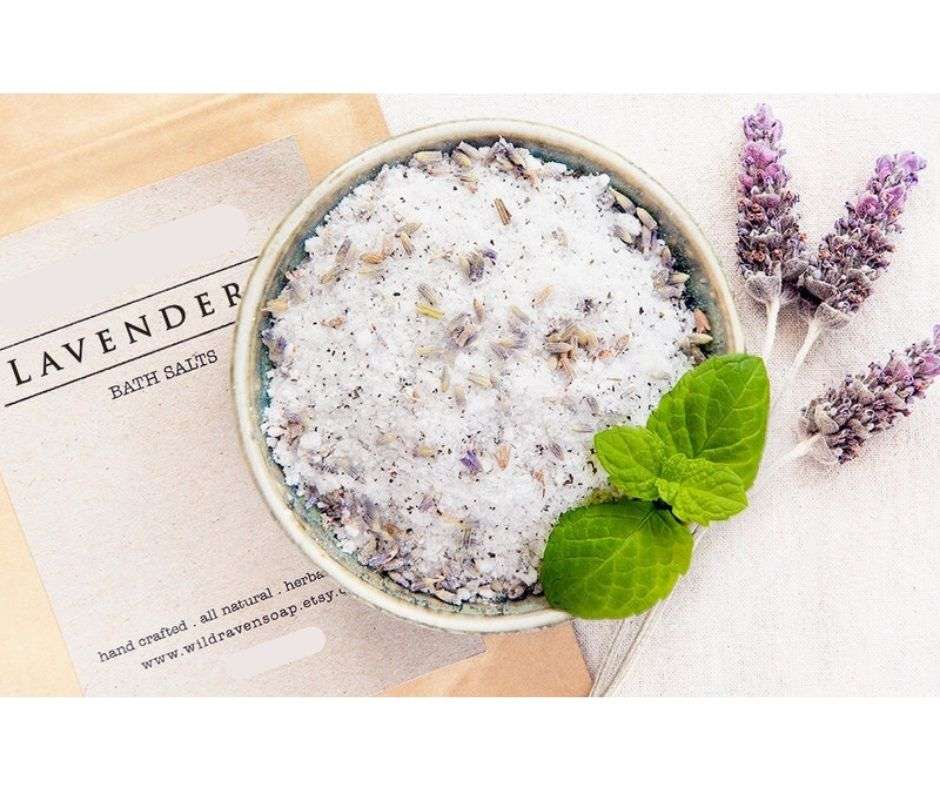
- Combine the Salts: In a mixing bowl, blend the Epsom salts and sea salt together. These salts will help relax muscles and soften the skin during your bath.
- Add the Dried Flowers: Incorporate the dried lavender flowers and dried chamomile flowers into the bowl with the salts. Gently mix the ingredients to distribute them evenly.
- Enhance the Aroma: Now, it’s time to infuse the blend with the delightful scents of lavender and chamomile essential oils. Add 10-15 drops of lavender essential oil and 5-7 drops of chamomile essential oil to the mixture. Adjust the number of drops based on your preference for scent intensity.
- Mix Thoroughly: Use a spoon or your hands to mix all the ingredients thoroughly. Ensure that the essential oils are evenly distributed throughout the blend.
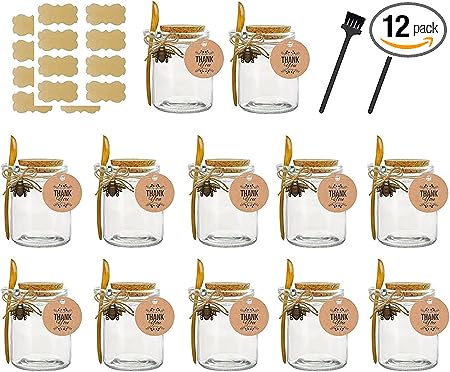
- Transfer to the Jar: Carefully pour the Lavender and Chamomile Bliss Soak into your prepared jar. Use a funnel if necessary to avoid spills. Seal the jar tightly to preserve the aroma and quality.
- Label and Decorate: To add a personal touch, consider labeling the jar with the name of the bath soak or any other special message. You can also decorate the jar with ribbons or charms for a charming and giftable presentation.
How To Use The Lavender And Chamomile Bath Soak:
To use your Lavender and Chamomile Bliss Soak, simply add a generous amount to warm running bathwater.
Allow the blend to dissolve, releasing the soothing aroma and beneficial properties into the water. Immerse yourself in the blissful bath, take deep breaths, and let the calming scents envelop you in relaxation.
Enjoy your tranquil and rejuvenating soak, courtesy of the delightful combination of lavender and chamomile.